How To Make Your Own Journal
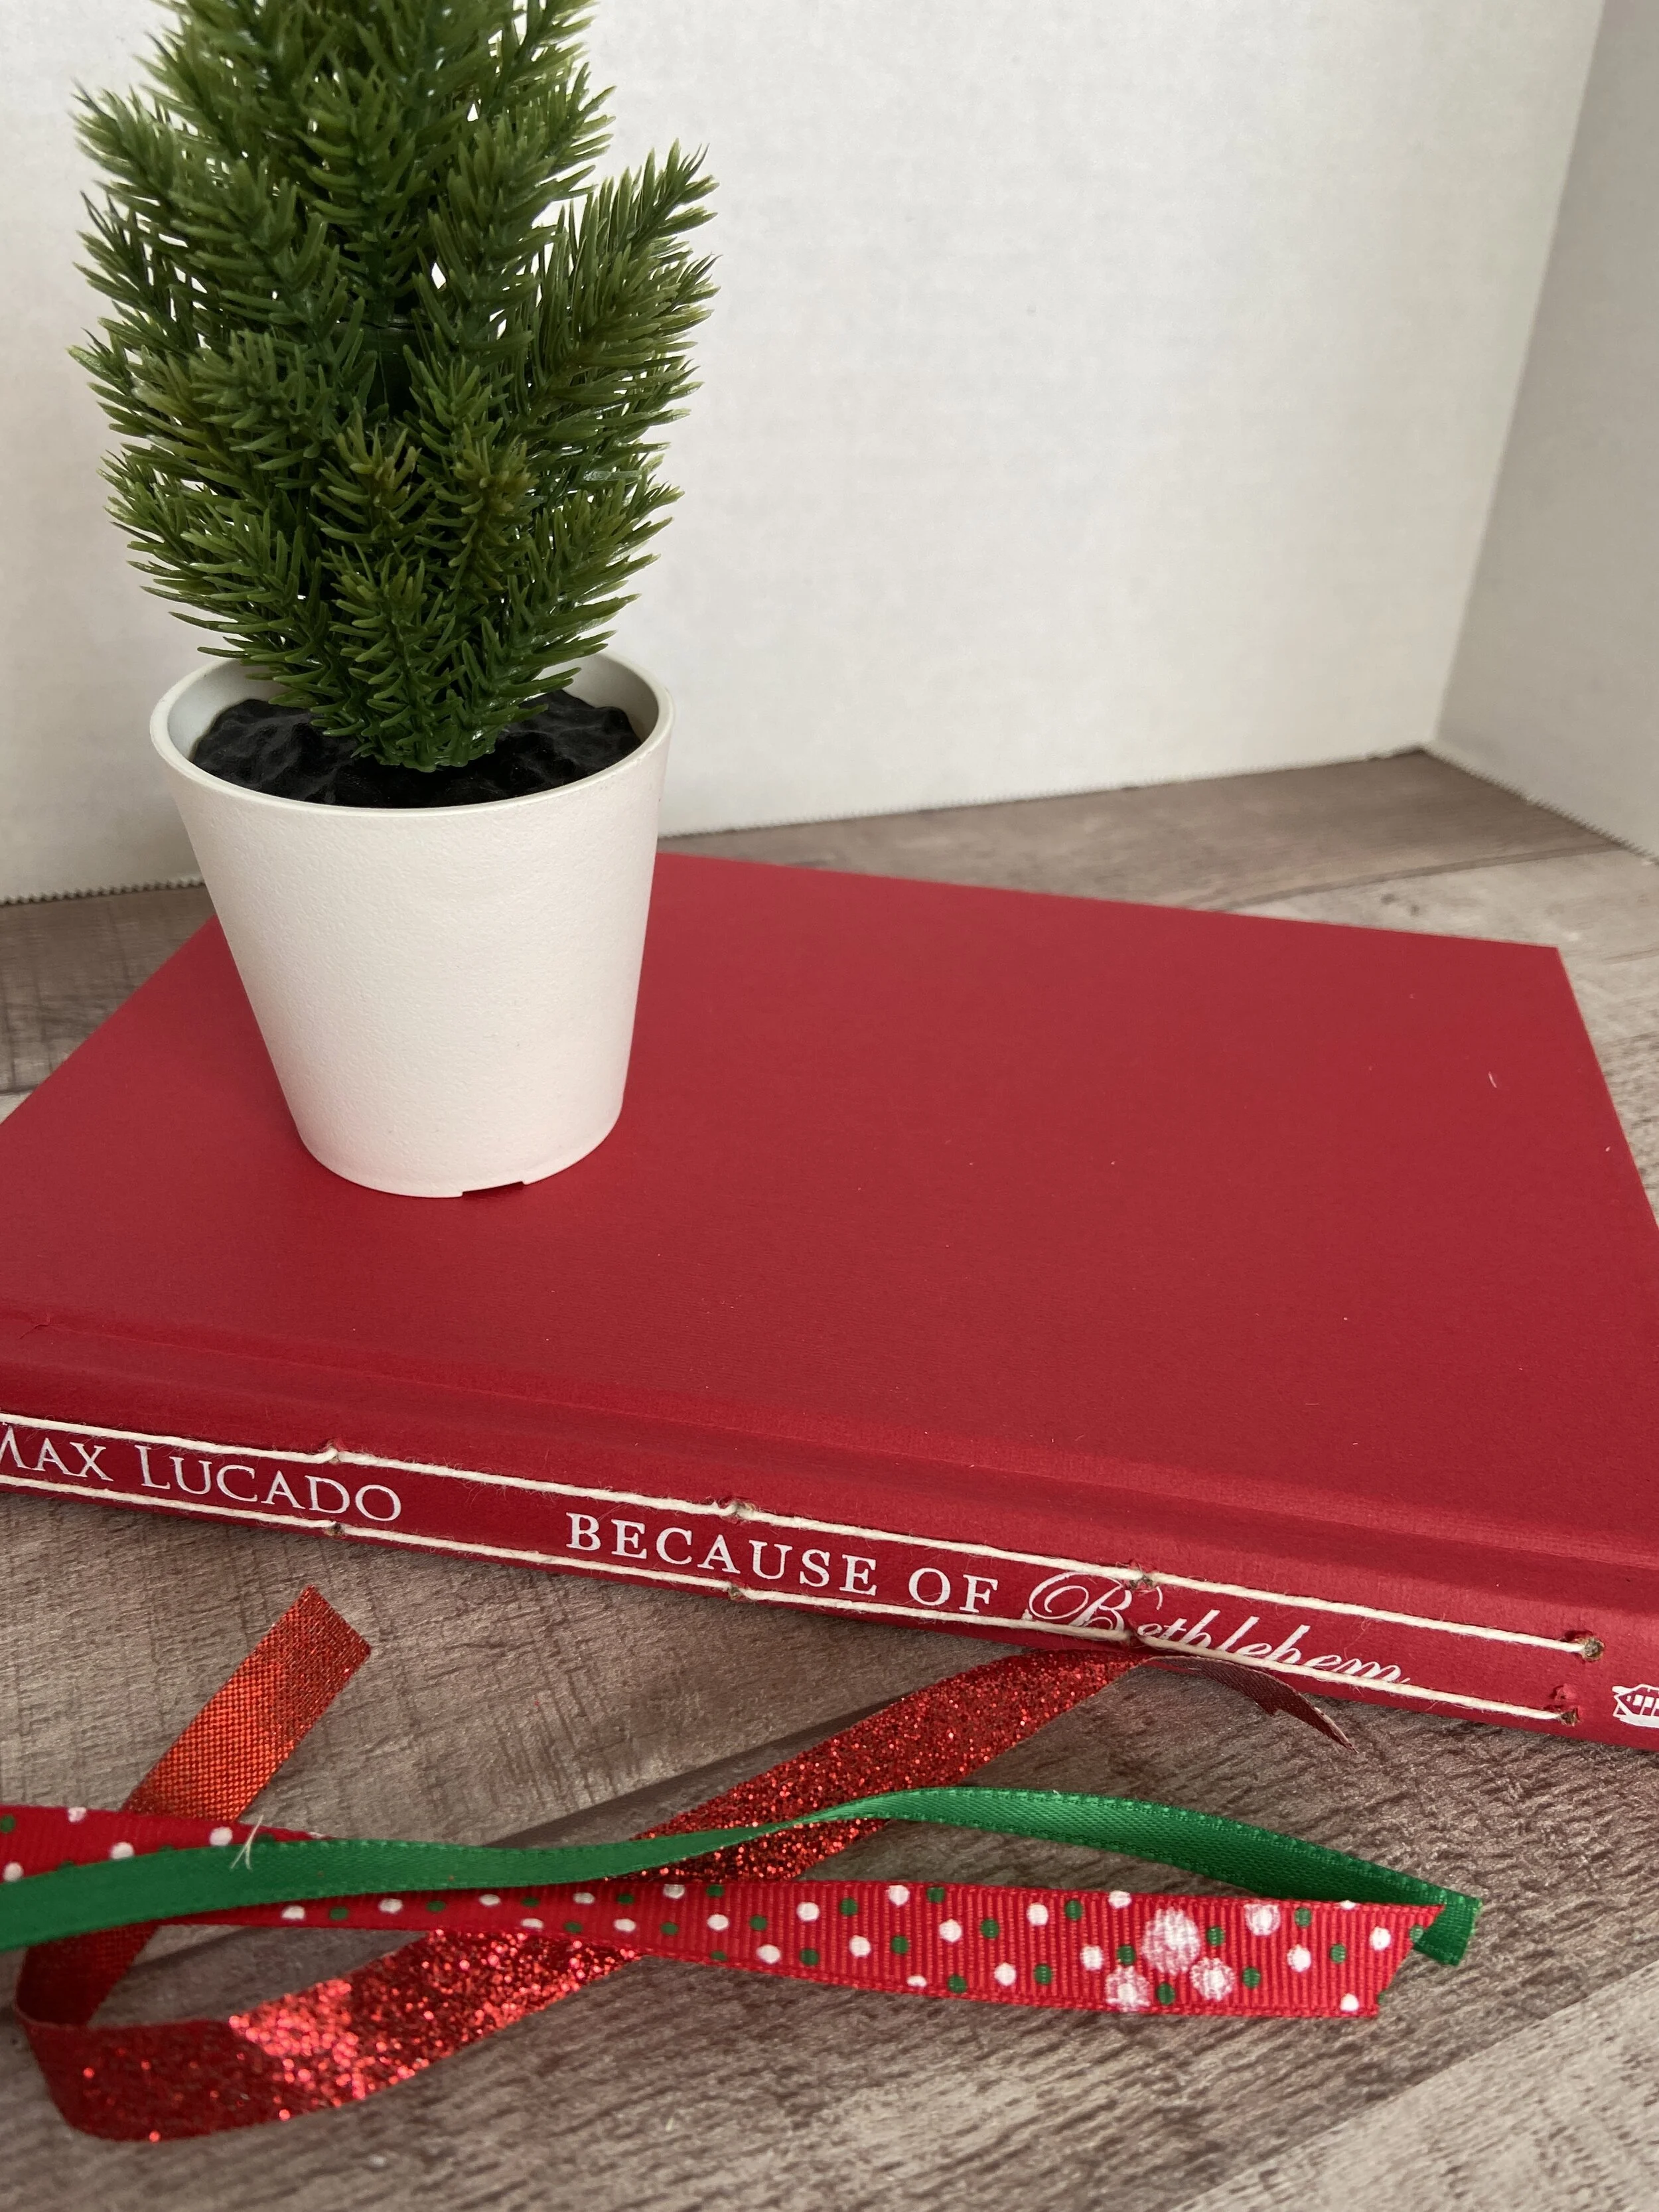

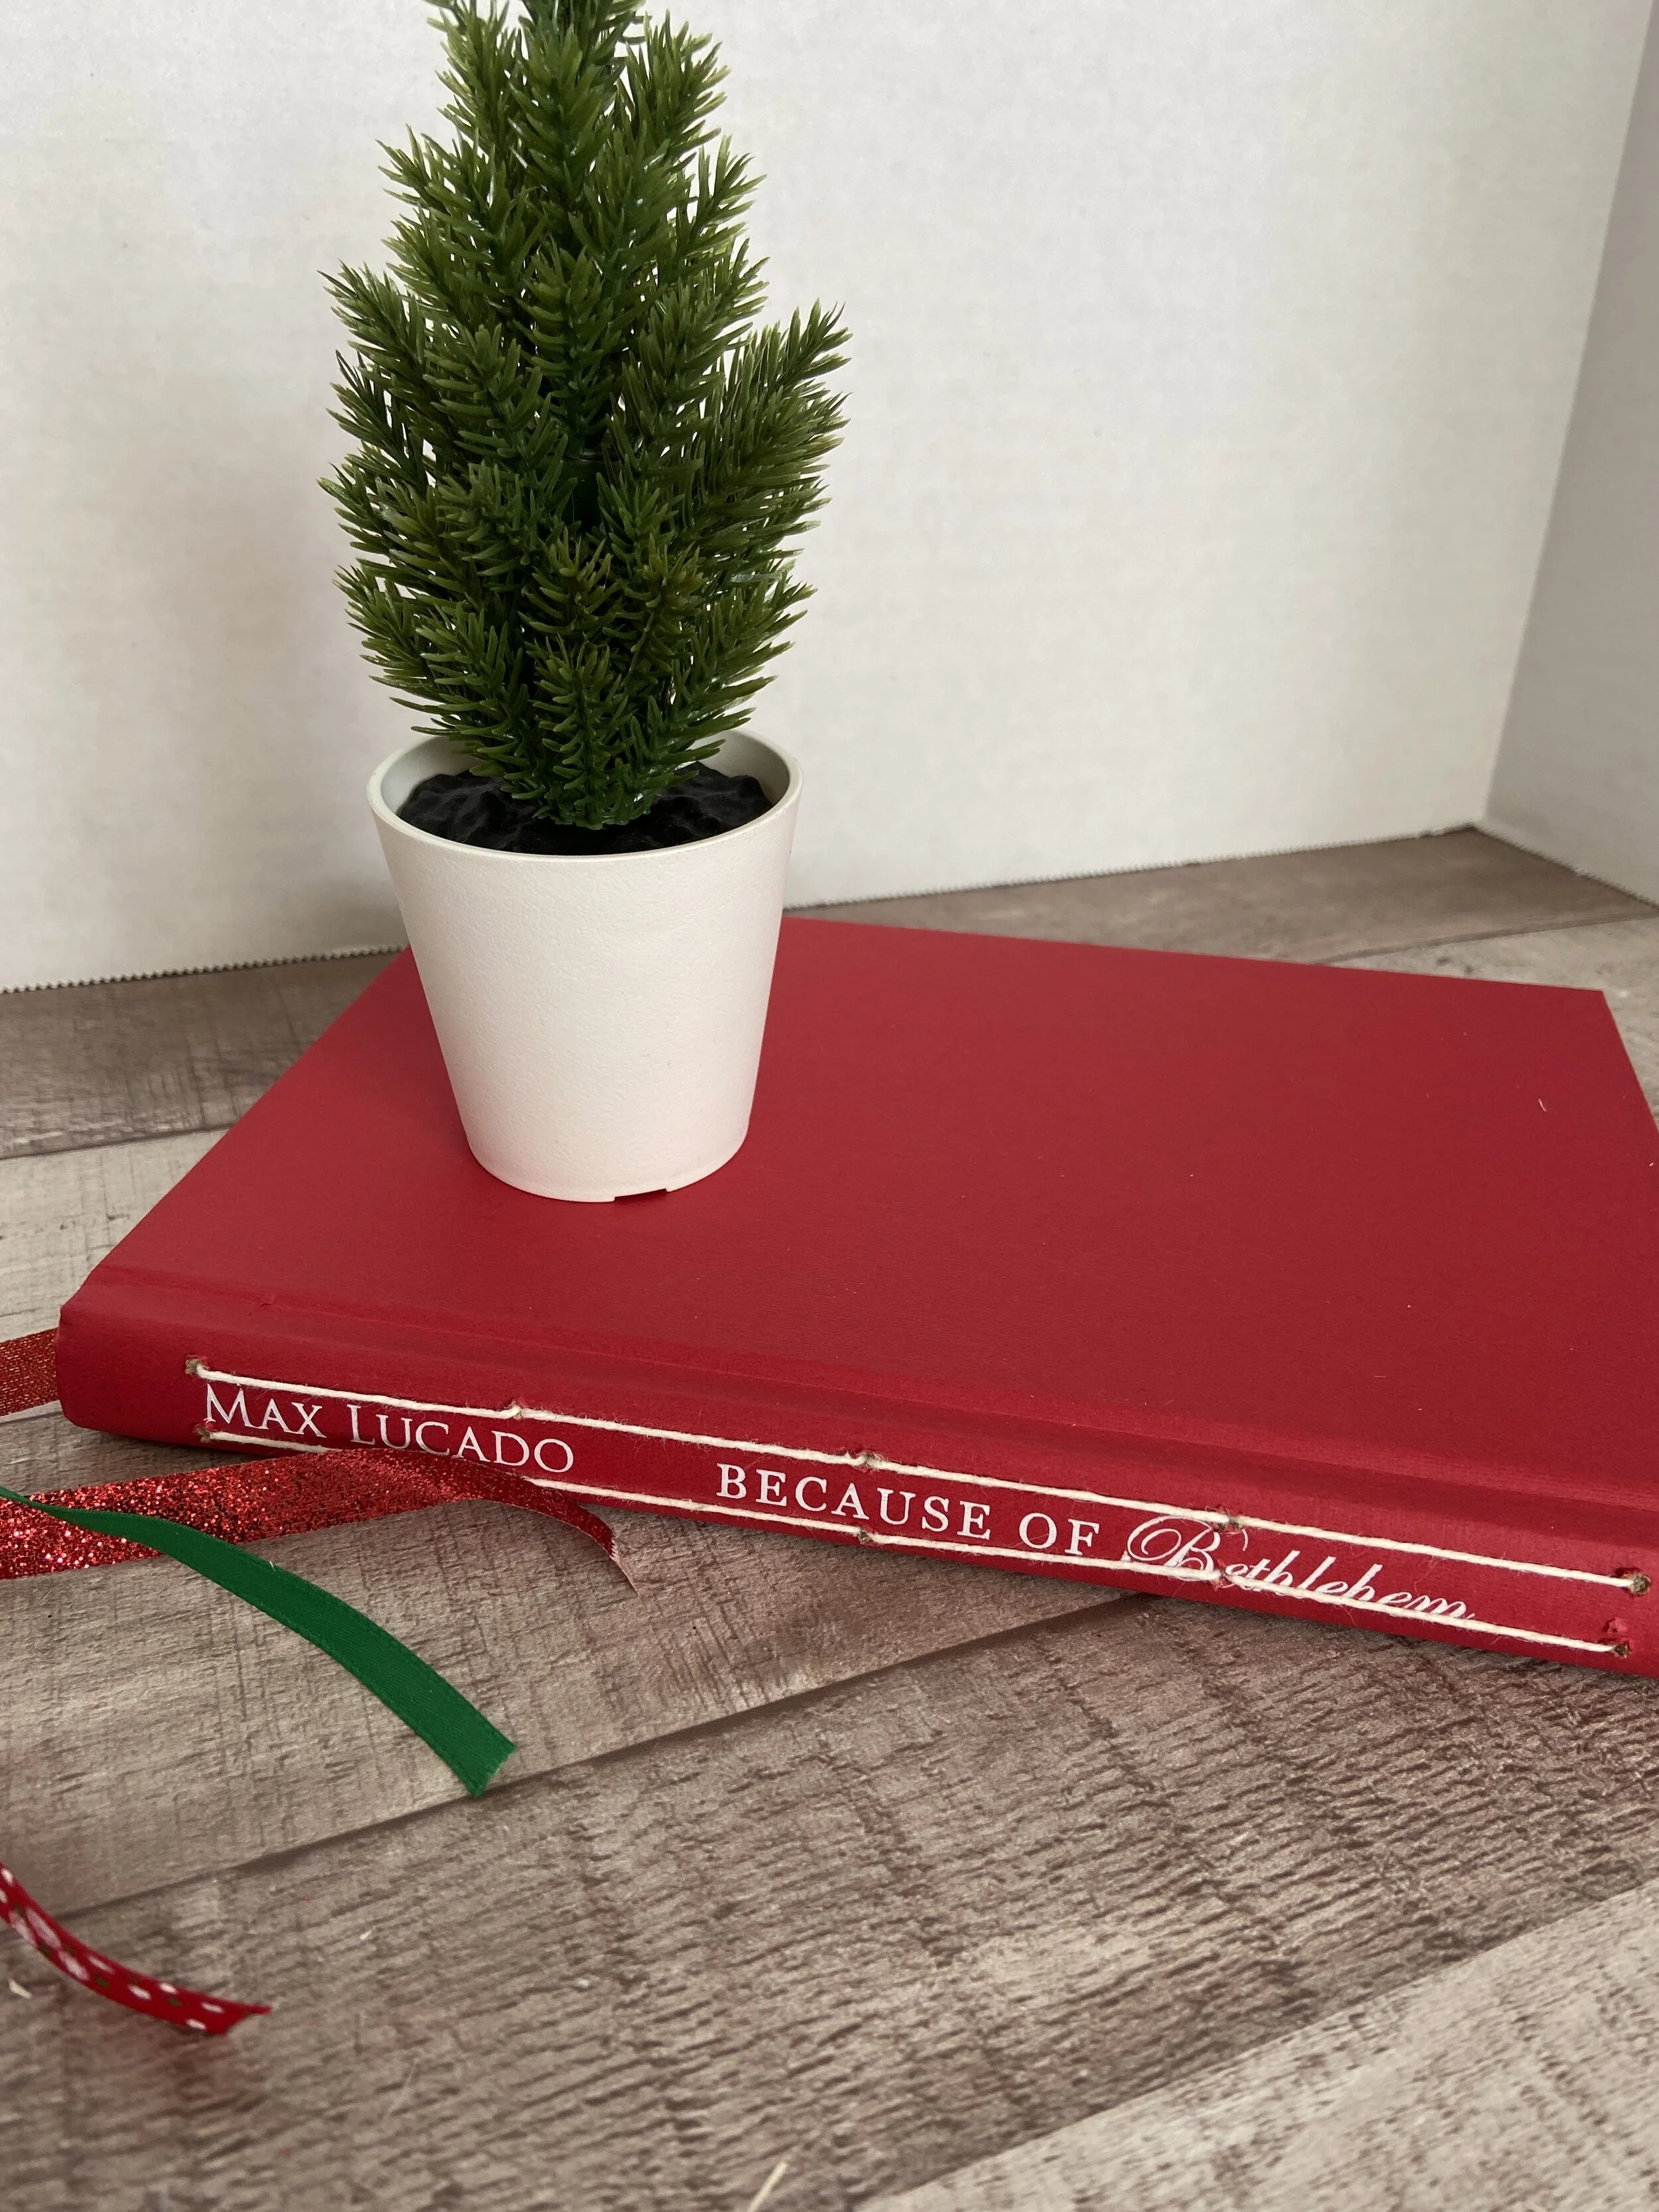
I love making my own journals because I can customize them to any size and use any kind of paper. You just need a few other supplies and a used book and you can create your own homemade journal. For this journal I decided to use a Christmas book that I’ve had on the bookshelf for a long time and add my Christmas Planner 2020 to the inside.
Main Supplies Needed:
Here is a Book binding Supplies Kit that has almost everything that you need
Paper Piercer or Awl
Xacto Knife
Metal Ruler
Rotary Cutter with Mat
2 Binder Clips
Book Binding Wax Thread in color of your choice

Preparing The Book
For the book, I usually go to the clearance section at Half-Price Bookstore and rescue a book that will probably be going into a landfill somewhere if not sold. This way I can pick my own size book and add any kind of paper that I want: bright white copy paper, watercolor paper or scrapbook paper. Sometimes I use the cover as is and sometimes I paint the cover to fit the theme of the journal.
Usually the inside of the book comes right easily, but this book I had to cut all the pages out and then carefully pull out the middle that was left so that the spine was smooth. You just need to be sure to not cut through the spine.
I use Sookwang 2 1/2” double-sided tape, which is very sticky. You can also use canvas fabric or scrapbook paper plus heavy duty gel medium instead of the tape to cover and strengthen the spine.
Making and Adding Signatures
A signature refers to a section of paper bound together in a book. All the papers of a book are divided into several signatures and then sewn together. The number of signatures in a book can vary. It depends on the thickness of the paper and the width of the book spine.
In my December Daily Journal I used two signatures of about 10 pieces of paper per signature. I can tell you from experience – don’t add too many signatures because even though they may all fit, if you add any embellishments it can make your journal too thick and it won’t close.
Trim Your Signatures
I’ve also learned from experience that you need to trim your signatures after you have folded and put them together. I use a rotary cutter, cutting mat and a metal edge ruler. You can use an Xacto knife but the rotary cutter work great and makes the job really easy!
You don’t have to trim your signatures but I really like it when the edges are even and smooth! If I’m using watercolor paper, I usually tear the edges of the paper to give it a more vintage look.
Paper Template
Make yourself a paper template the size of the spine and mark your holes. I start in the center of the paper and then add two holes to both sides. You can either measure with a ruler and do the math or just eyeball it!
I use a paper piercer to punch holes. I’ve found it much easier to punch several pieces of paper at a time. You can use binder clips to hold the paper together.

Stitching the Signatures
Above is a diagram of how to stitch the signature inside the book. It may look a bit tricky but once you’ve done it several times, it’s not that complicated. Also, the video makes it look more difficult than it is because I felt like I was doing everything upside down! Be sure and watch the “How To Video” below for all the details.
Just A Few Helpful Hints
If you are using more than one signatures, make sure that you put the right signature in the right spot.
If you are using around 3 signatures, add the middle signature first and then the other two.
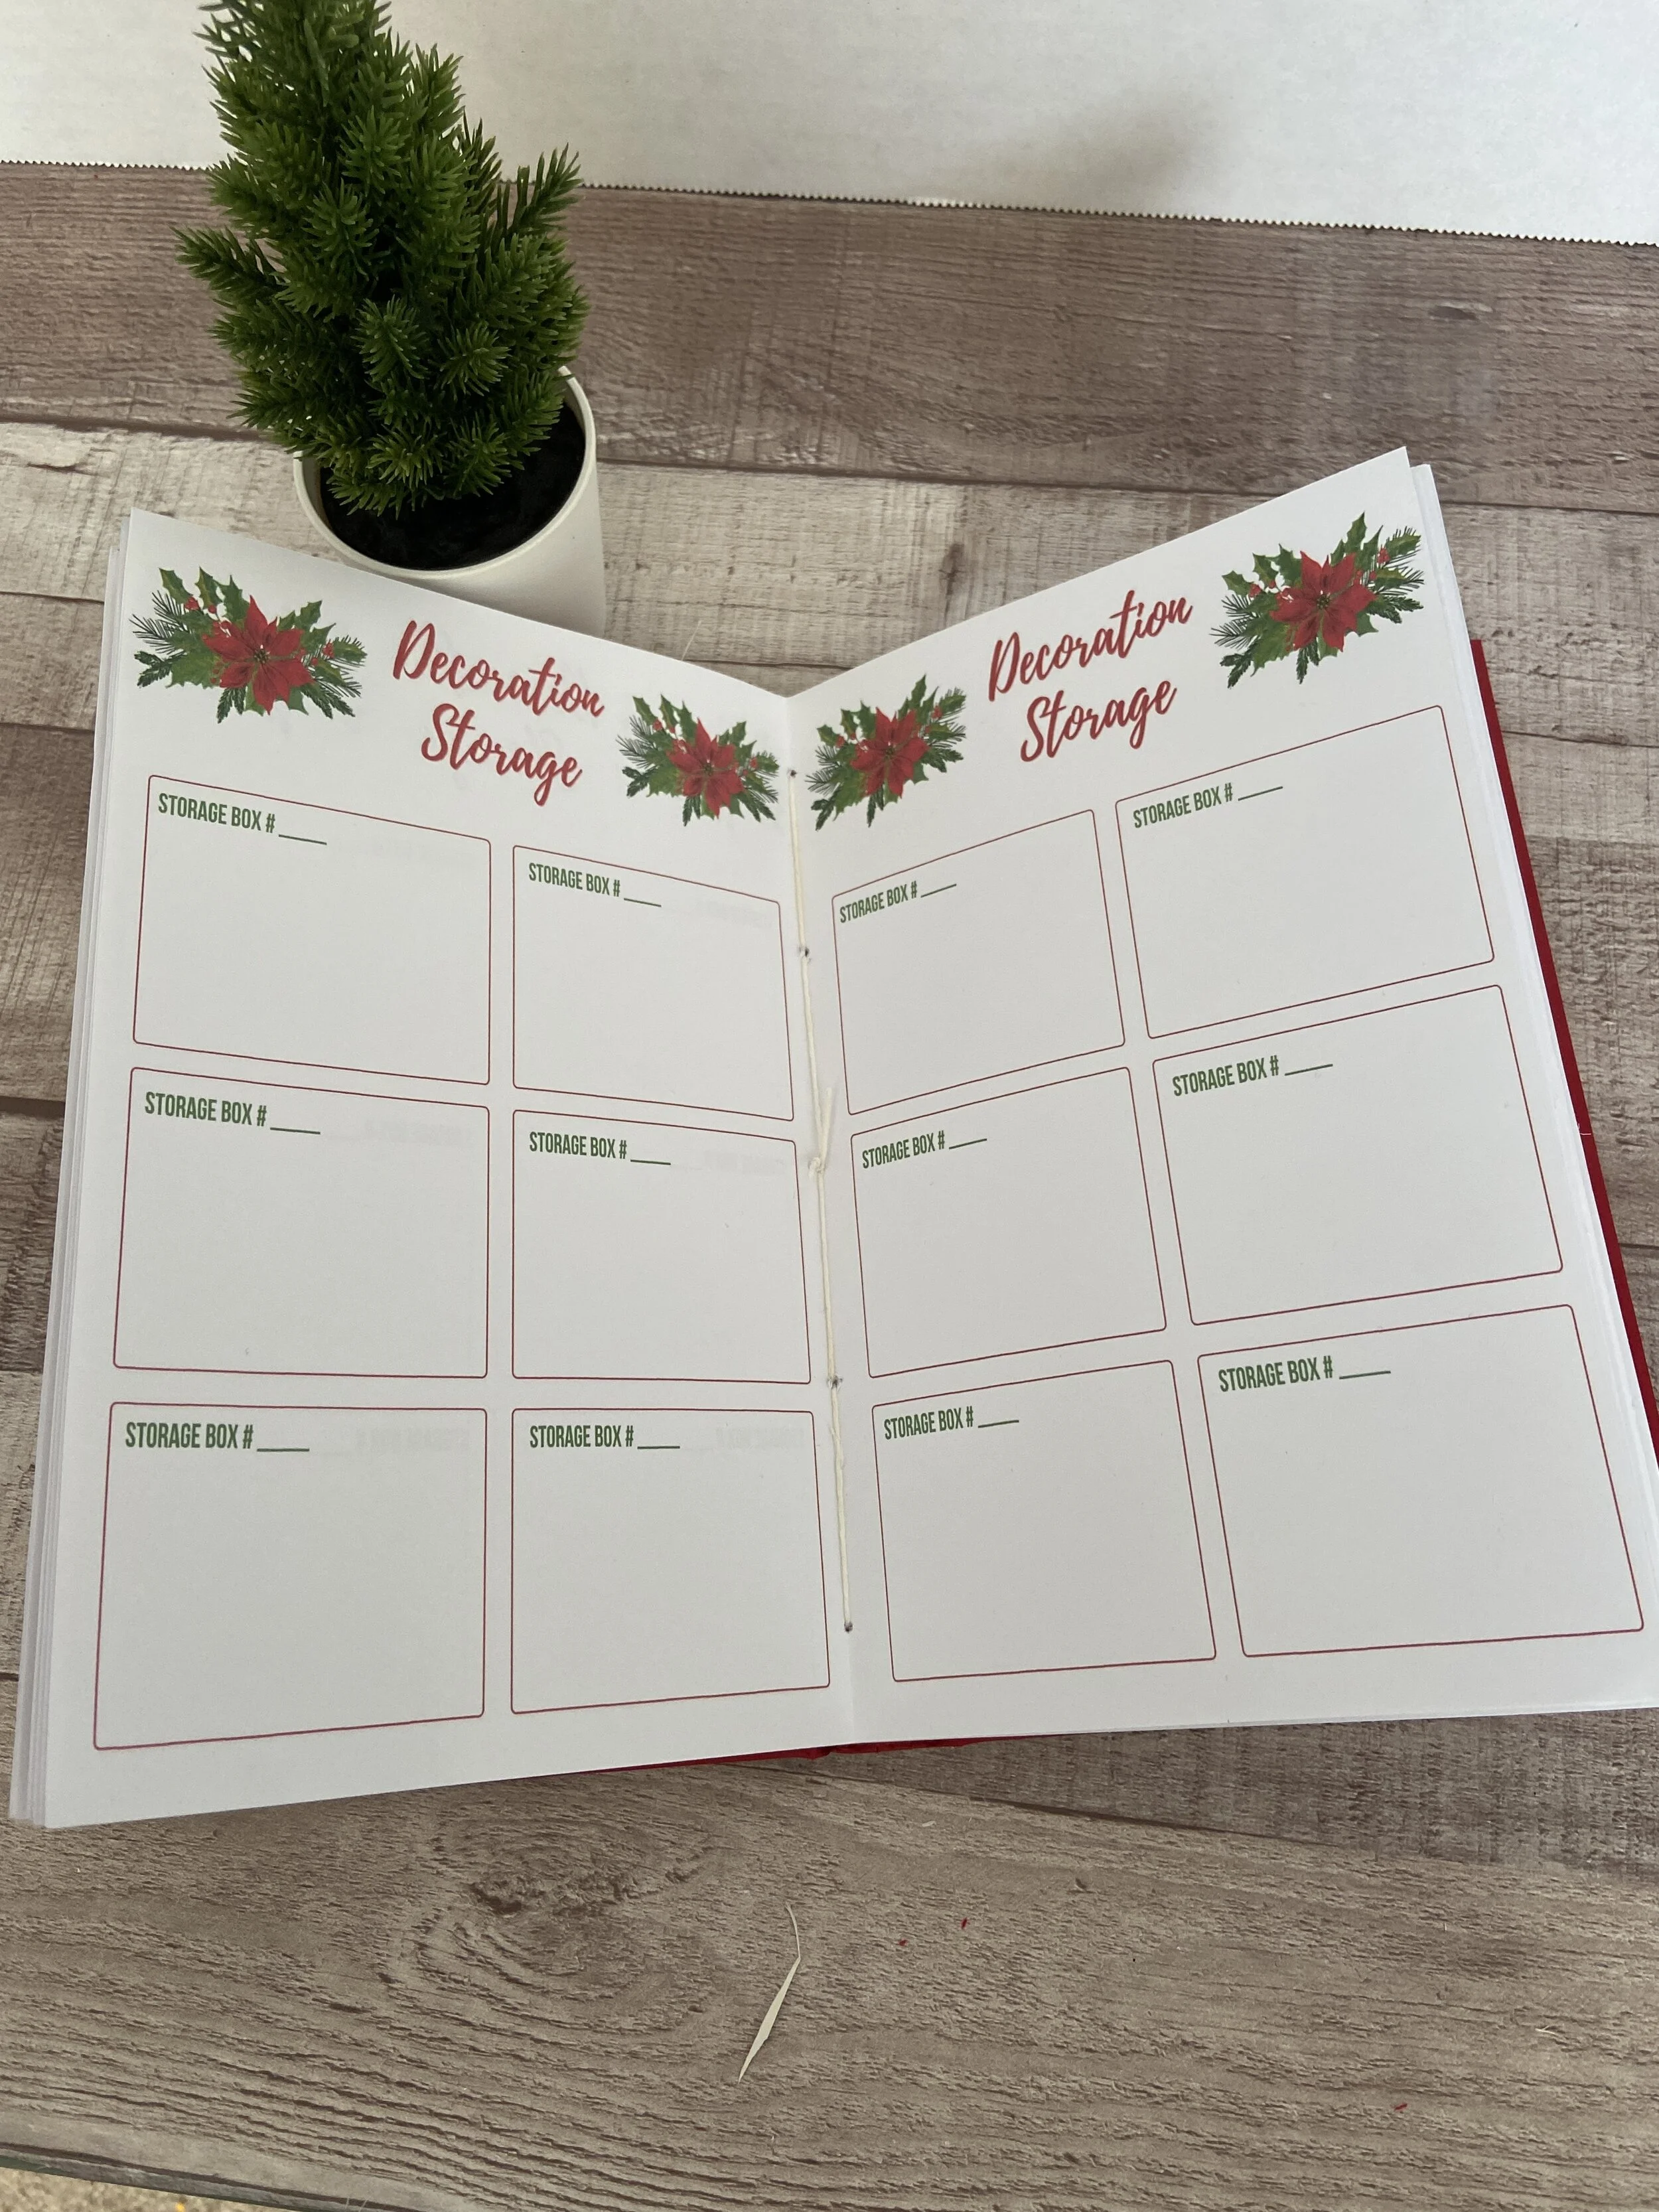
Be sure if you are adding printed material, make sure that the pages are facing the right direction. You don’t want to get your book finished and discover that you’ve put your pages in upside down.