DIY Dollar Tree Patriotic Wreath Tutorial

Are you ready to add some patriotic flair to your home this summer without breaking the bank? Look no further than this DIY Dollar Tree Patriotic Wreath tutorial. With just a few simple supplies and easy steps, you can create a festive wreath that will make a big impact. So, grab your scissors and paintbrushes, and let's get crafting!
Gather Your Supplies
To get started on your DIY Dollar Tree Patriotic Wreath, the first step is to gather your supplies. Head to your nearest Dollar Tree store or check their website to pick up:

Charger Plate
6 - 8 Aluminum Sheet Pans (depends on the size of your petals)
Red, white, and blue acrylic paint
8” Circle
Paintbrushes
Scissors
Hot glue gun
E6000
Patriotic ribbon
Patriotic Napkin (if desired)
Mod Podge
Once you have everything you need, you're ready to move on to cutting and painting the petal shapes.
Cut and Paint Petal Shapes
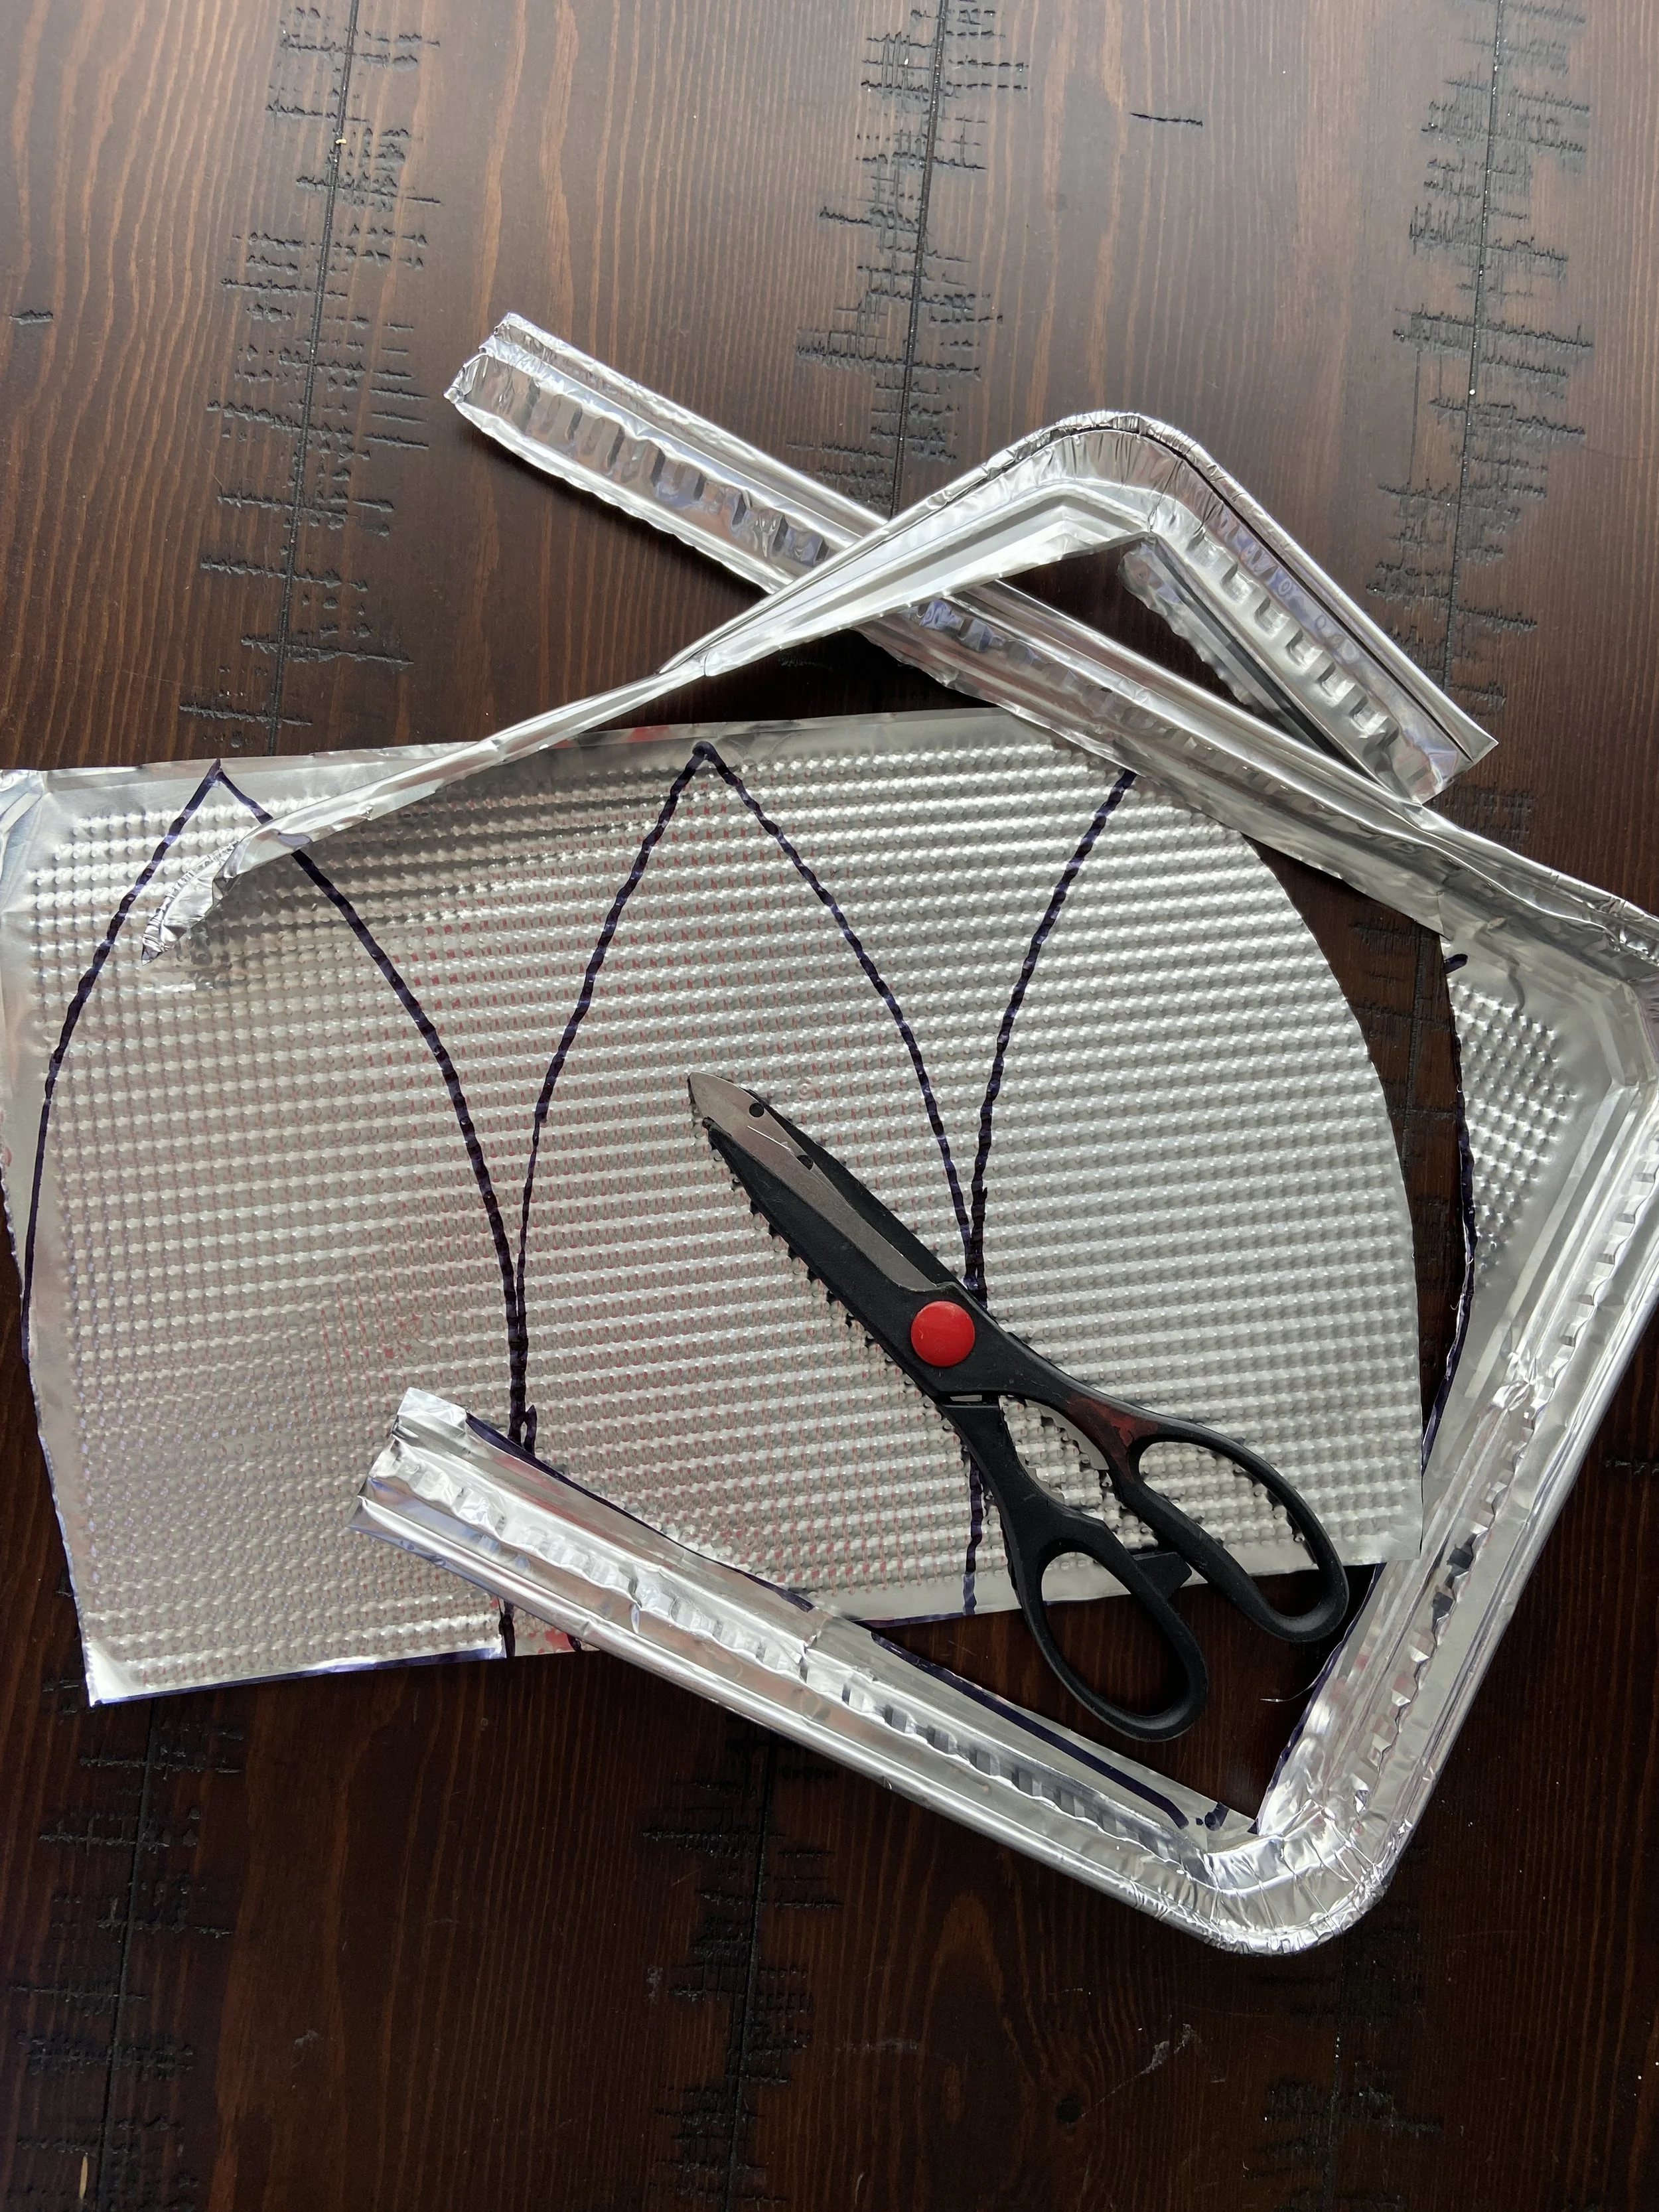
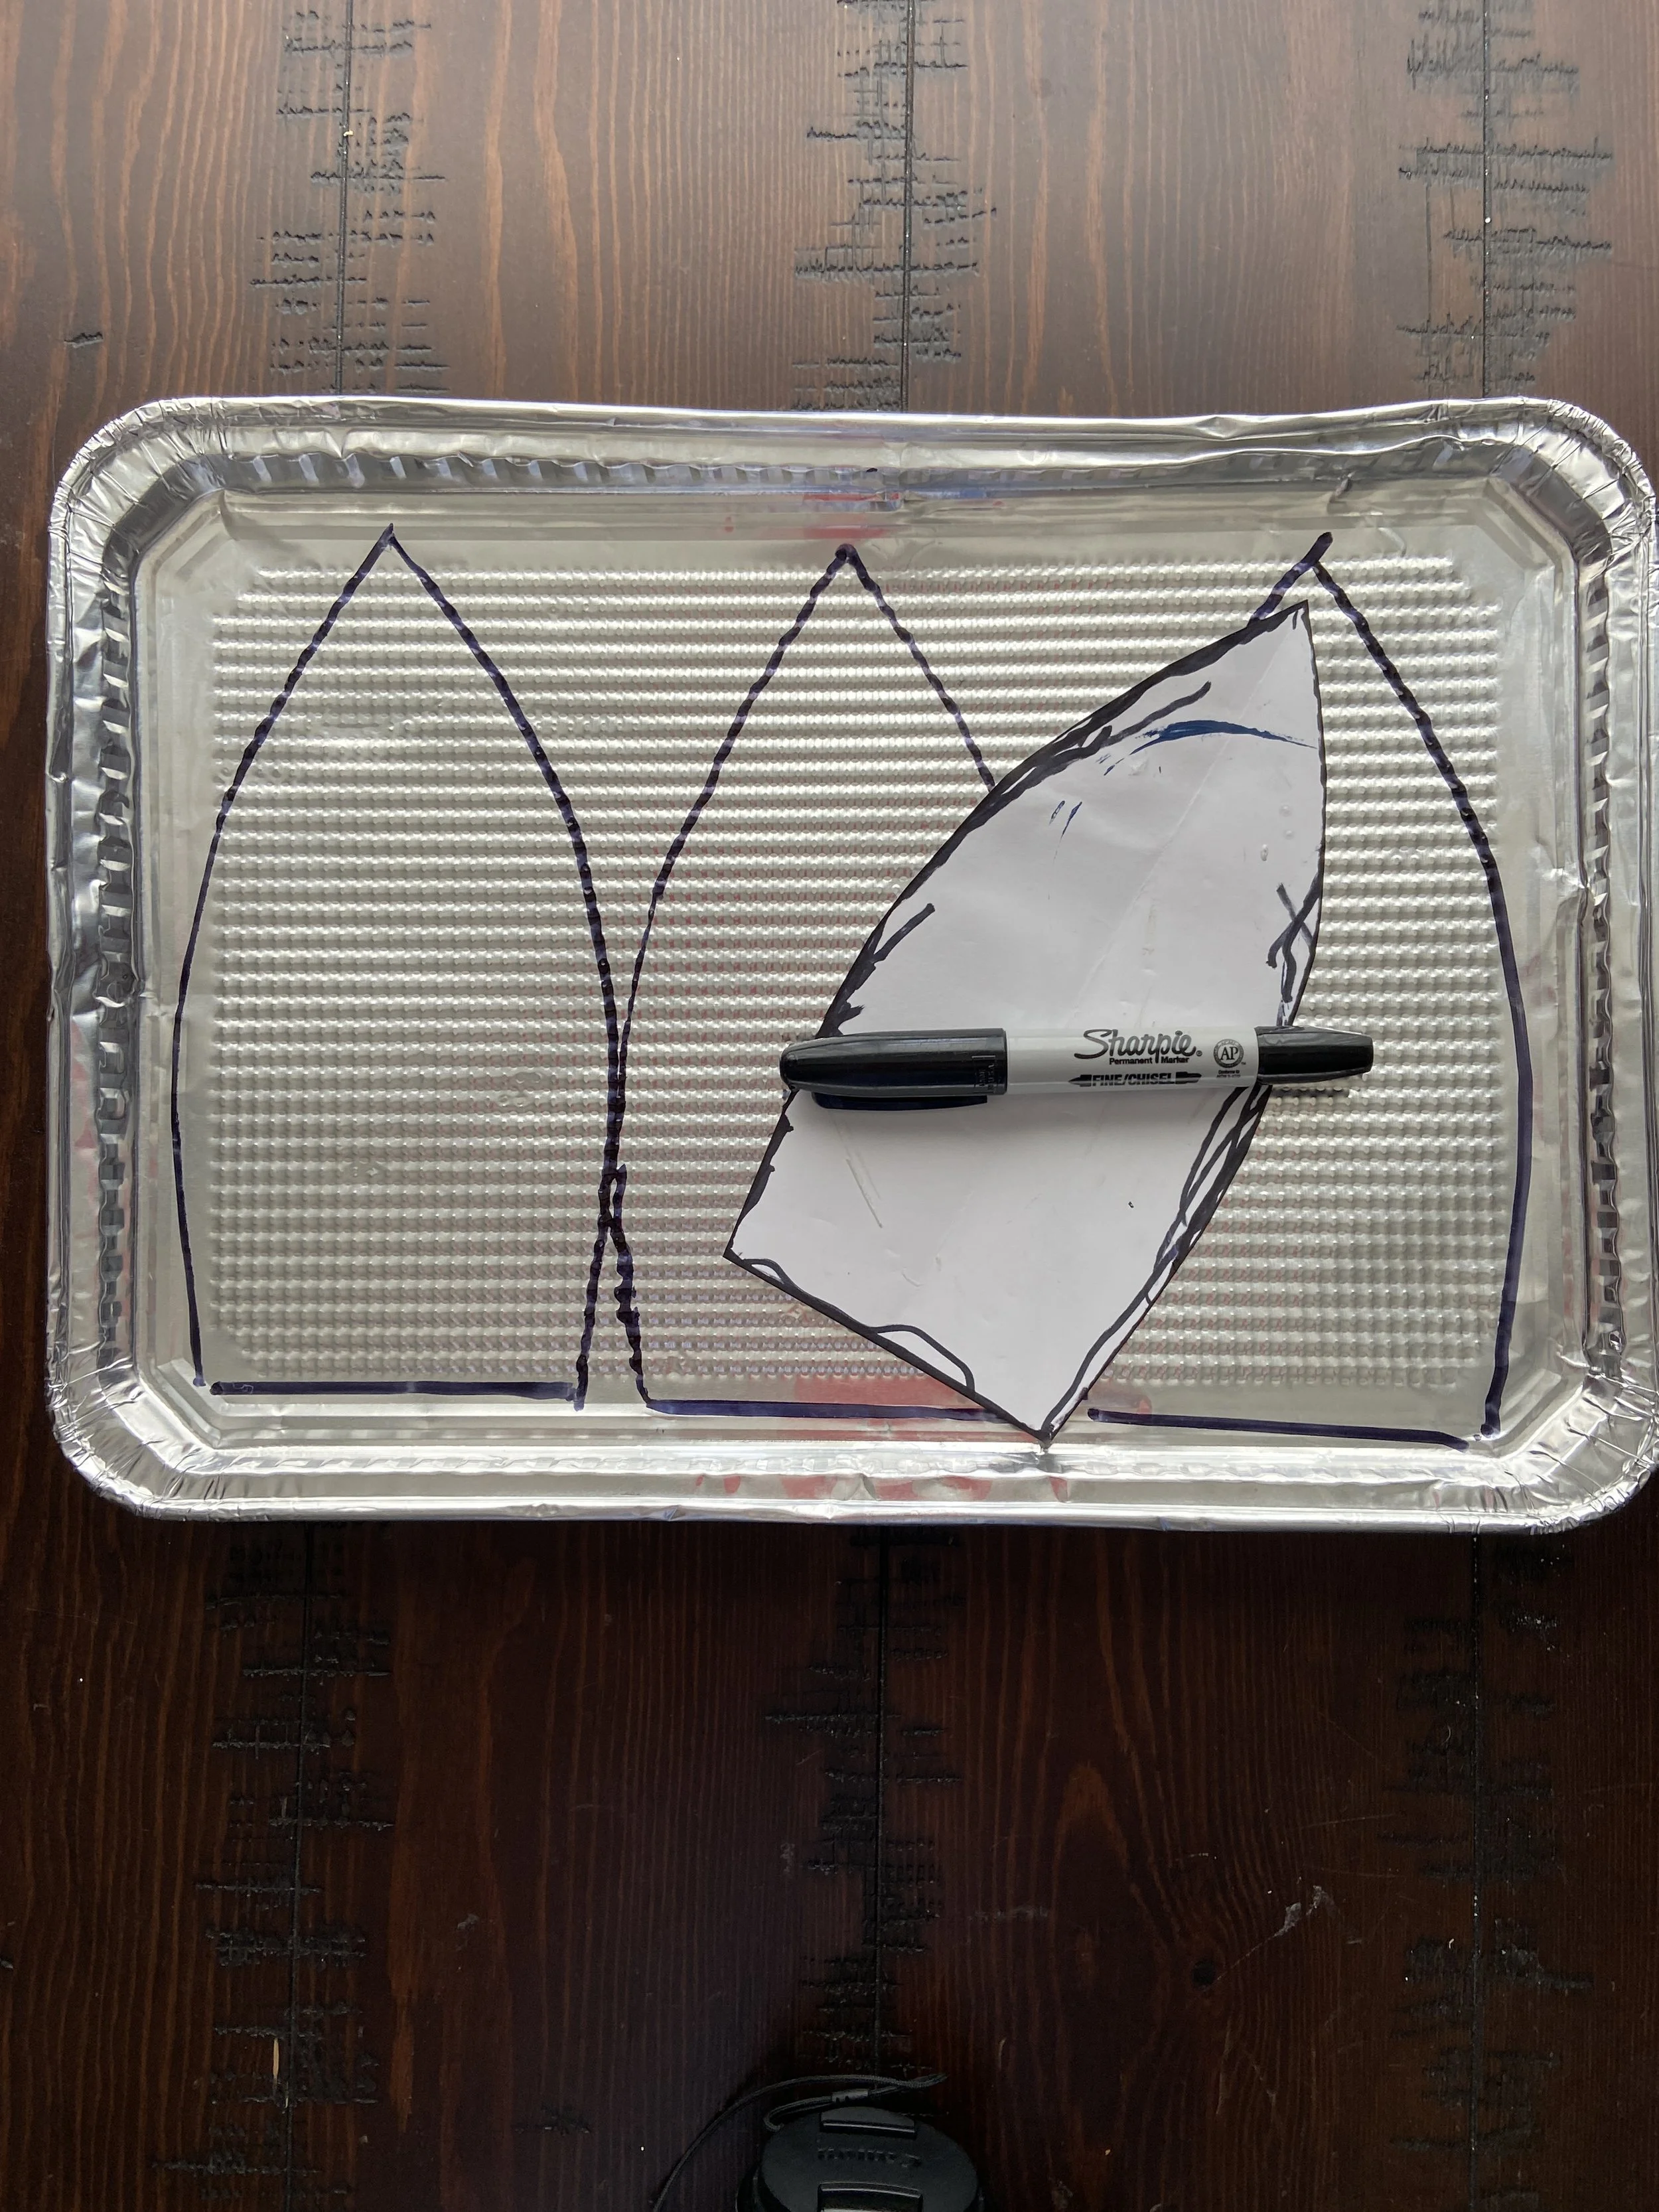
I have provided a template for the petal flowers. Just click this link for a FREE download.
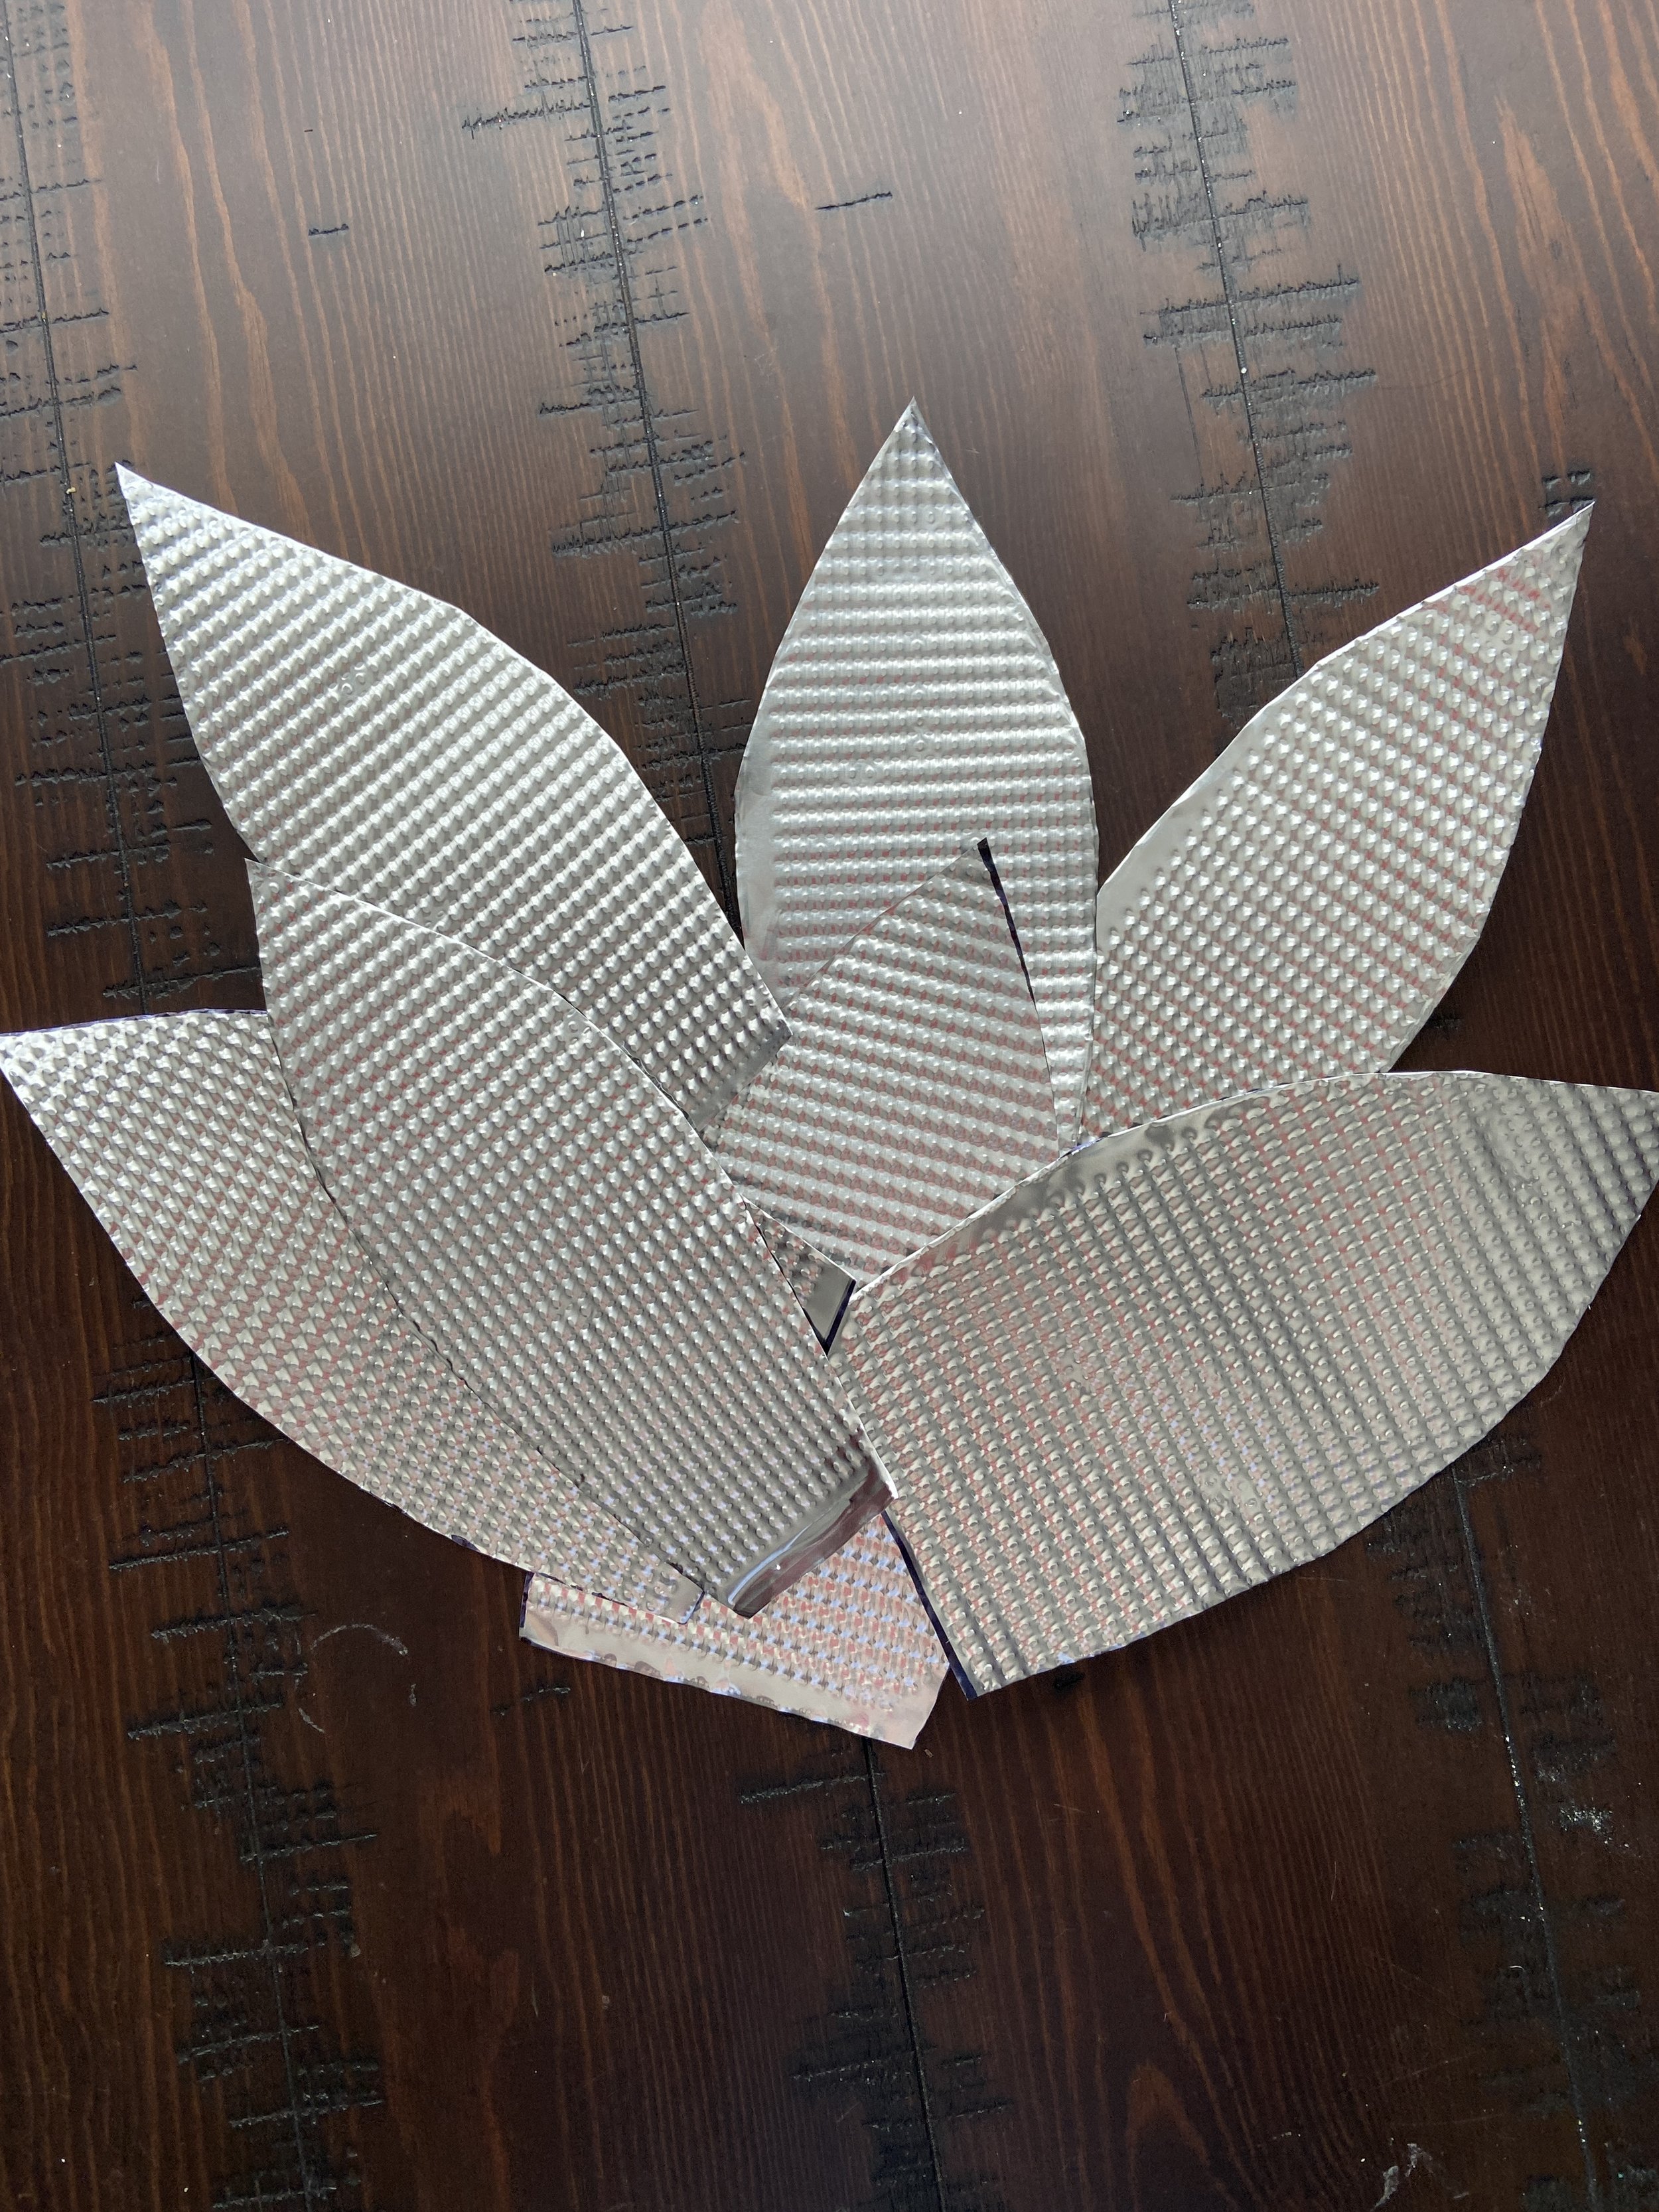
10 large petals: 4 Red, 3 White and 3 blue
Small Petals: 4 - 5 White and 2 blue
Helpful Hints:
I used Chalk Paint in Red, White and Blue (both Waverly and FolkArt) but acrylic paint will work also.
I used Kitchen Scissors from Dollar Tree and they worked great on this Aluminum Sheet Pan.
Take off the edges of the Aluminum Sheet pans to make it easier to cut out the petals
Be very careful because the edges can be sharp.
If you want, you can decoupage a Patriotic Napkin to the 4-5 Small Petals. (I used this Striped Napkin which can be found in my shop - 2 Americana Striped Patriotic Napkins for Decoupage)
Let the paint dry completely before moving on to the next step.


Arranging the Petals to the Charger
I added the large petals to the charger first using E6000 and hot glue.
I started with the blue petals and then added the red and white in an alternating pattern.
I placed the small petals in between the larger petals for a fuller look to the Patriotic Wreath.

Add the Finishing Touches
I cut out the words “Land of the Free because of the Brave” on my Cricut Machine in Red and Blue Vinyl or any patriotic phrase. (be sure and apply the correct way…not like I did the first time!!!)
I painted the 8” Circle (purchased from Dollar Tree) white and allowed this to dry. You may need to paint several coats to get a vibrant coverage. I then added my sentiment to the circle.
Use E6000 and Hot glue to adhere to the middle of the wreath
Make a junk bow for add to the top.
The stars I purchased were aluminum so I painted them white and then used E6000 and hot glue. I added them to the blue petals.
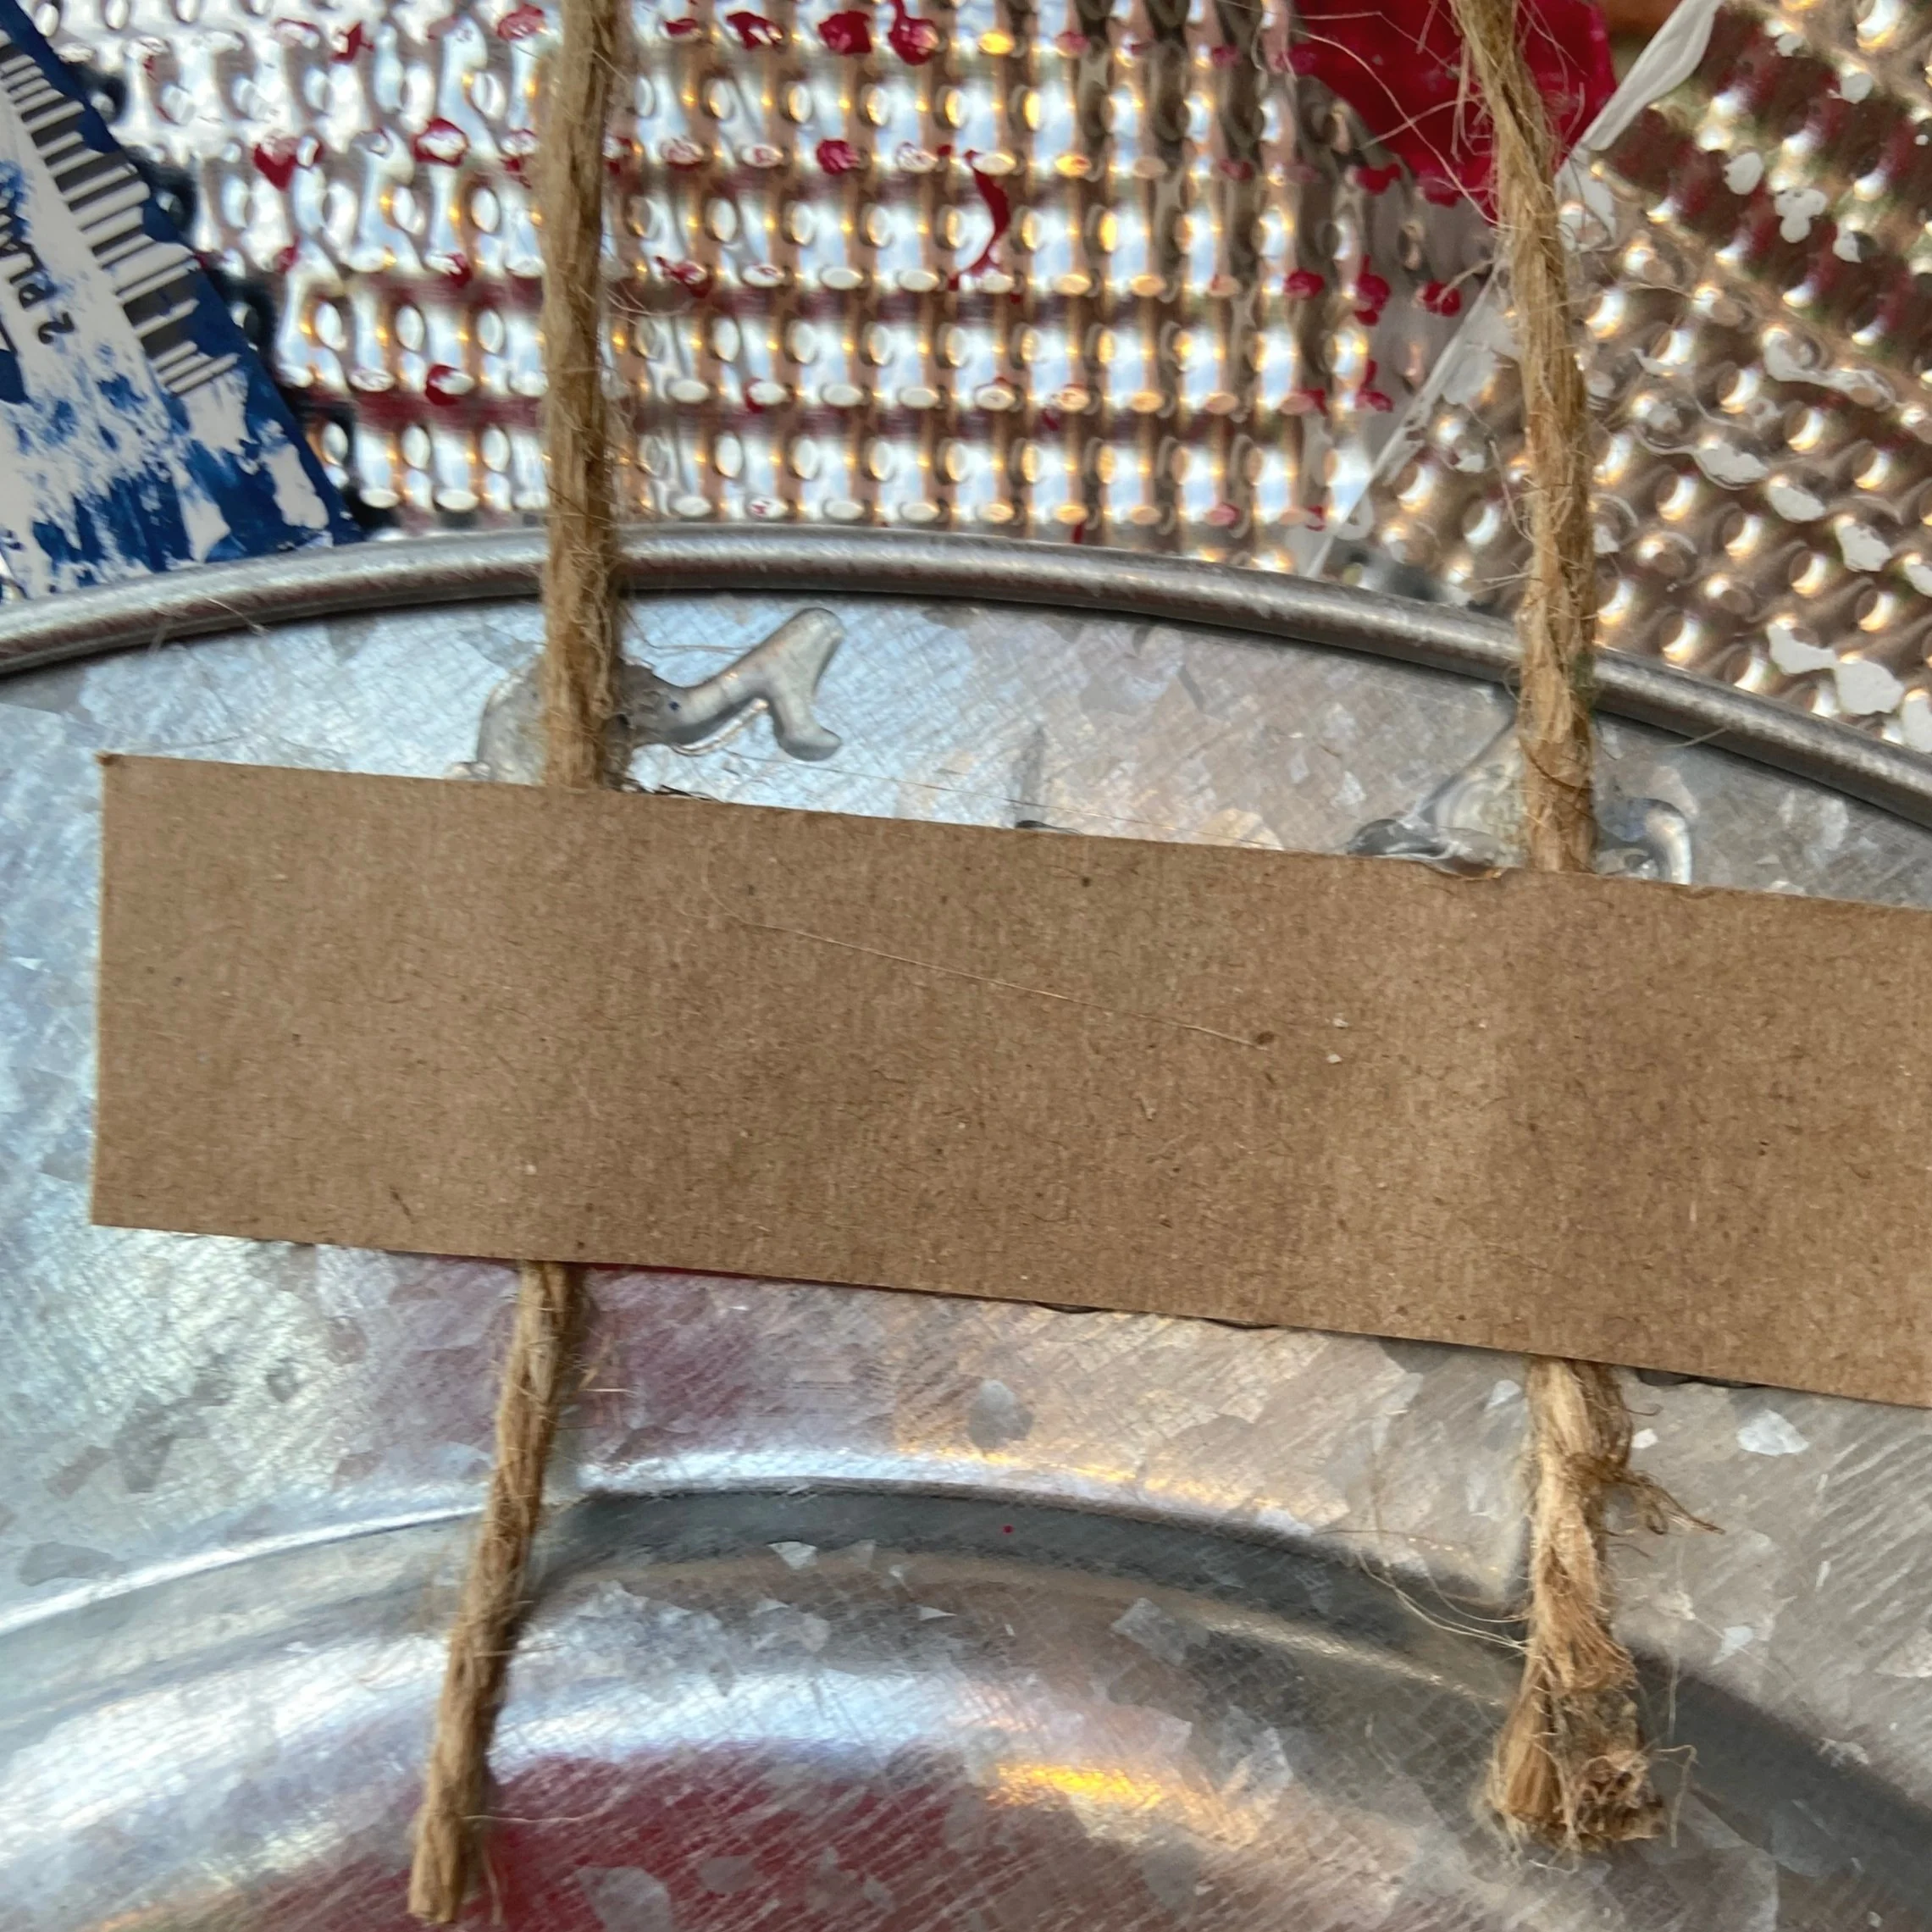
Last, I glued a piece of jute rope to the back using E6000 and hot glue. (Add a strip of cardboard to each side to make the hold stronger)
Grab your supplies, get crafting, and hang up your wreath with pride. Remember, the best decorations are the ones made with love and creativity. Happy crafting, and may your home shine with the spirit of freedom and unity!
