Take a Look at my weekly Spread
I wanted to give you a peek into how I document a week in my journal. I decided instead of doing a Facebook live for this that I’d make a video of me doing a weekly spread. It took about an hour and I didn’t think that you’d want to watch an hour long video….so I edited it down to about 12 minutes! Who knew that doing a voice over was so hard! I bet I tried over 10 times just to say “Hi, this is Carol Adams from Carol Adams Creations”! I mean how hard is that!!!
Each week, I like to add photographs, ticket stubs, funny quotes, or maybe a scripture verses that really touched me that week. The possibilities are endless. I also get to use my creative side by doing a few drawings, watercolors, inks and using collage fodder that I have made.
For this weekly spread, I used Koi Watercolors, a waterbrush, scrapbook paper and a Sharpie Marker. I really like using the Sharpie Fine Point markers because they are waterproof and don’t bleed. I also used Scortape. This is double-sided tape that comes in different widths like: 1/8, 1/4” and 1/2”. I have discovered that I like this better than using a tape runner.
When purchasing a waterbrush, don’t purchase the cheapest you can find! They may work great for you but I’ve discovered that they either let the water flow to the bristles of the brush way too fast or not fast enough. You squeeze and squeeze the reservoir of water and then everything comes spilling out at once…ruining the page that you’ve worked hard on!
That’s all it takes to journal and you don’t even have to have all those supplies! Just paper and a waterproof marker. I printed a few photos on my printer using a template that I’ve made in canva.com which includes 2-3 small size photos. I have really found that I like to use HP 4” x 6” Soft Gloss paper.
The past two years I’ve actually made my journal myself by using an old book and adding light weight cardstock signatures and stitching them inside the book. I’ve learned not to add too many signatures because the book gets pretty fat with all the added stuff I add. If you are interested in making your own journal, be sure and check out my post “How to Bind your own Book.”
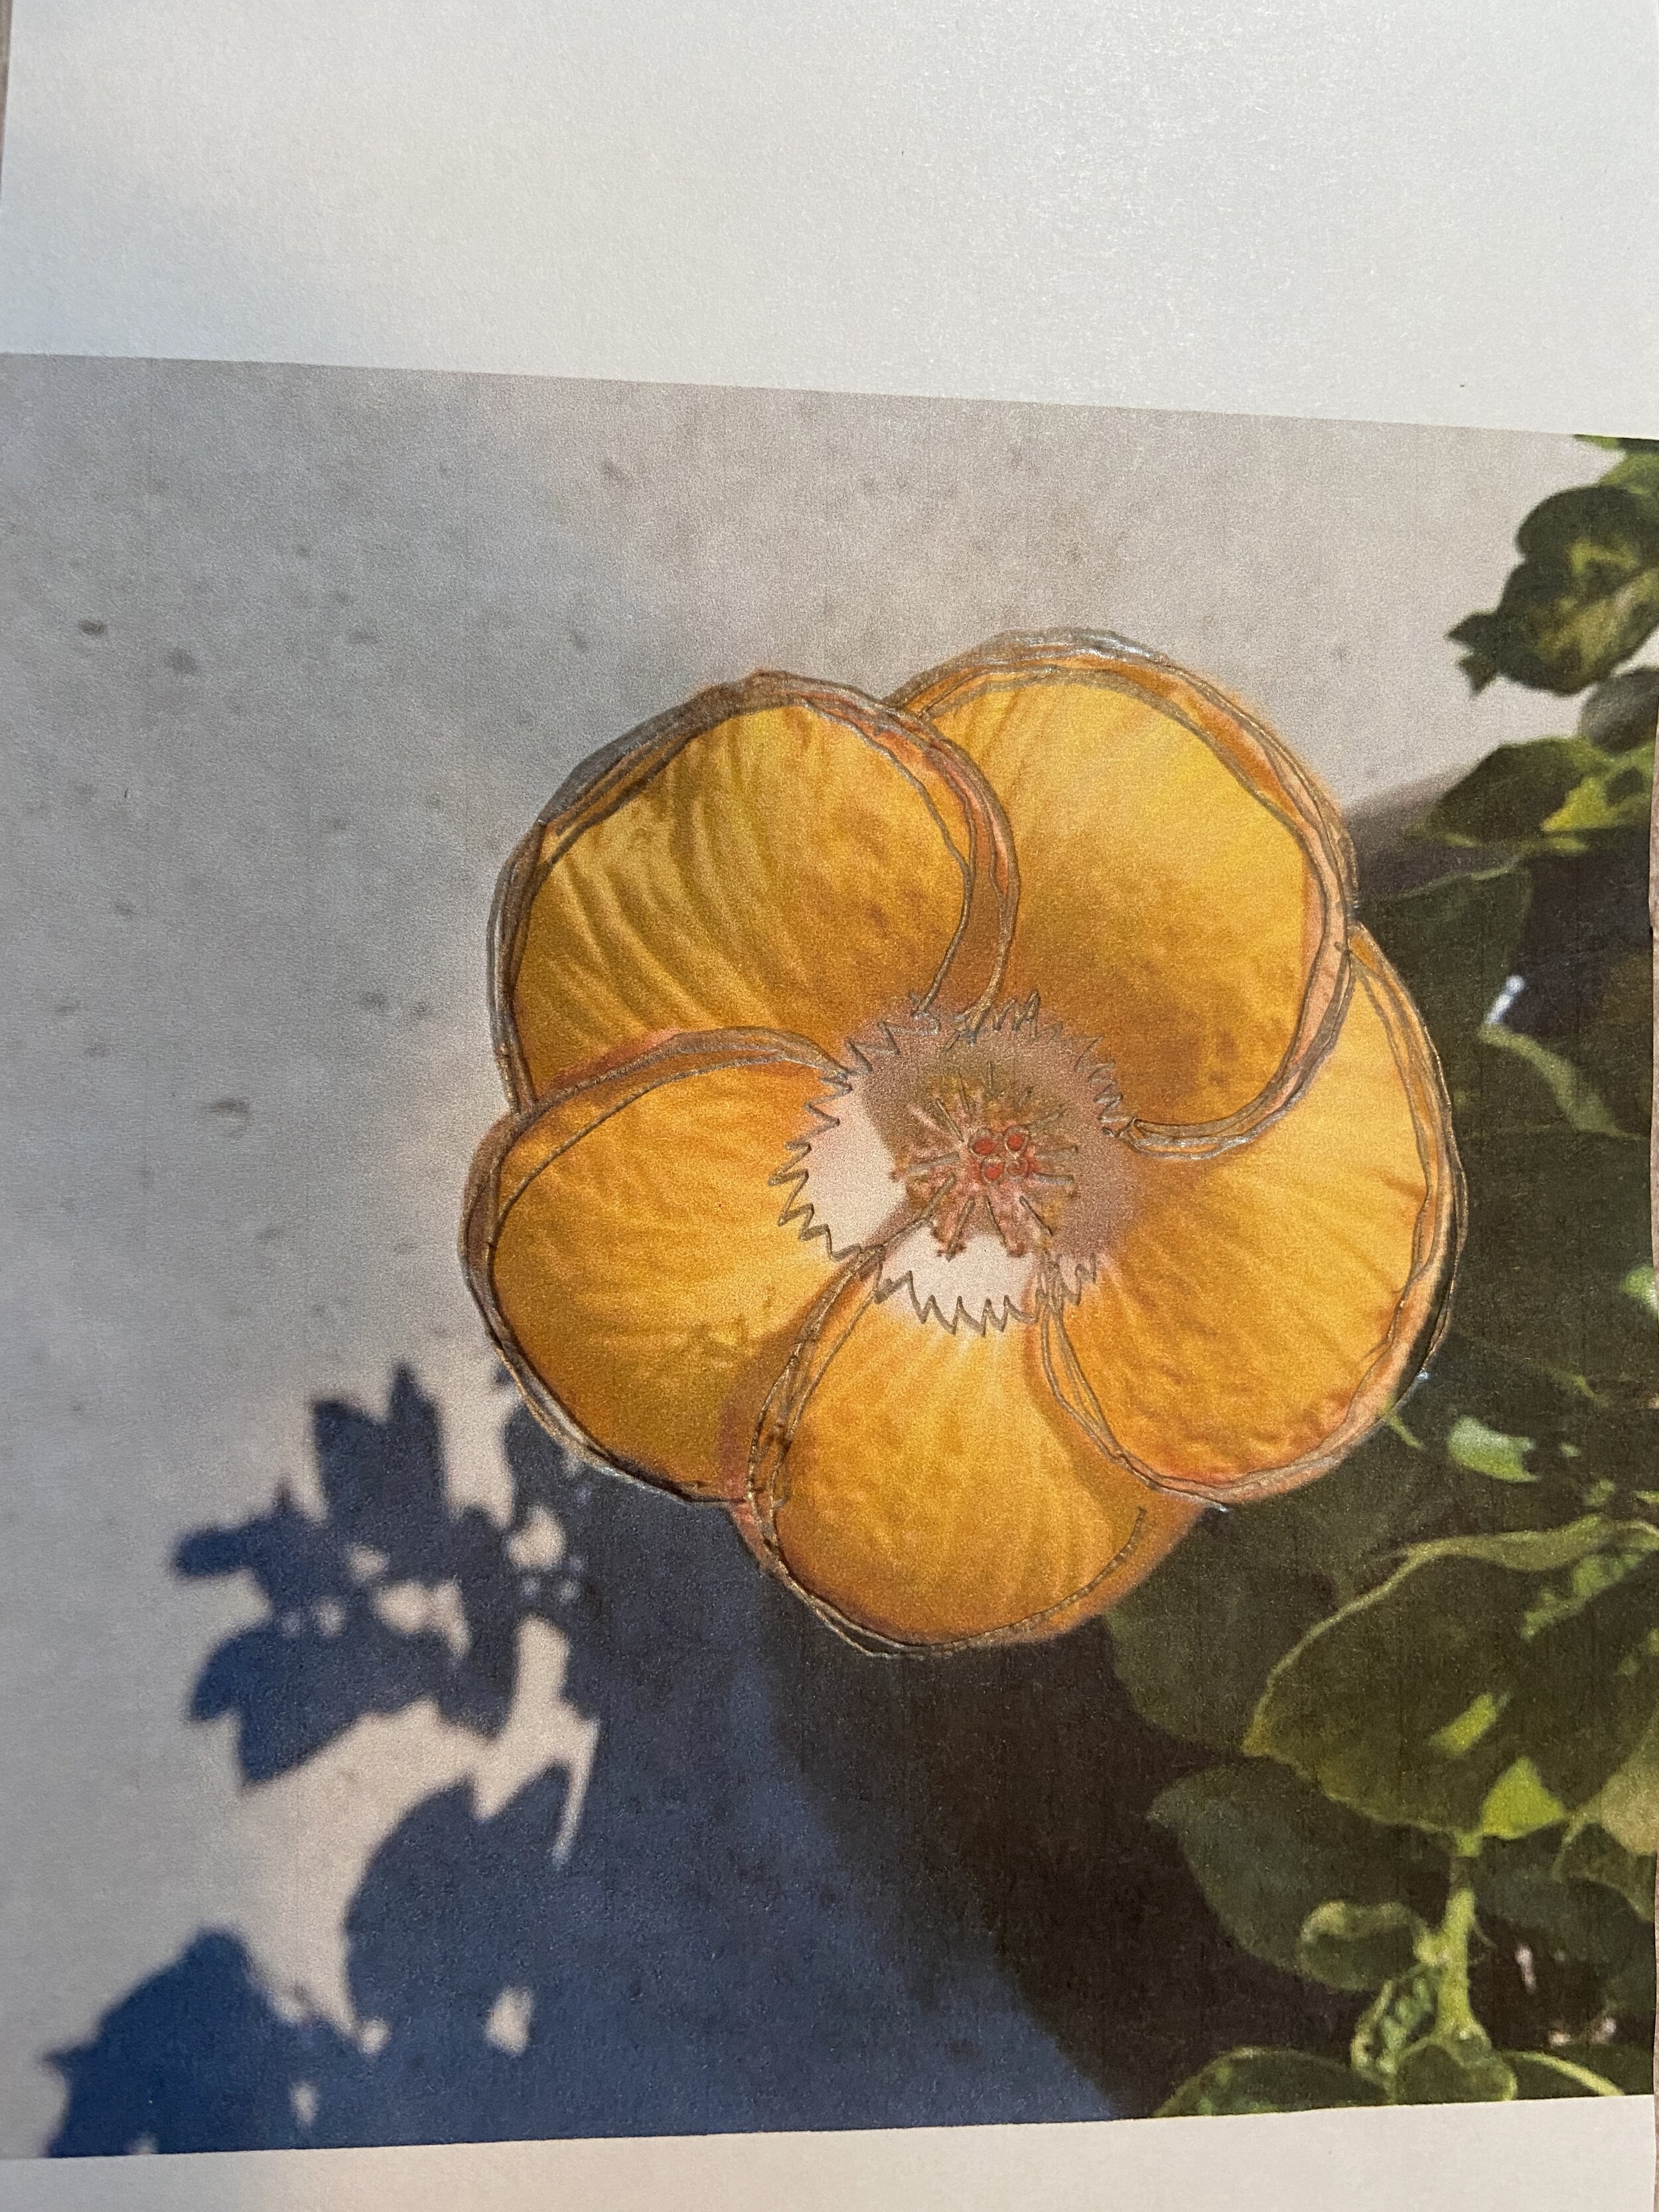
I knew that I wanted to watercolor these beautiful yellow Hibiscus flowers that my friend has around her pool. The easiest way that I know how to transfer an image is with a little trick that I learned in elementary school. A piece of paper and a No. 2 pencil. Print out your image on copy paper (this can be black and white instead of color). Turn the image over and scribble. Get you aggressions out!!! Then all you need to do is to put the image where you want it and trace over the top. The scribble side of the paper will leave marks that you traced over….it’s just like using graphite paper but cheaper!
Hope you enjoy how I document in my planner/journal. If you have any questions, just send me a comment!


