How to Turn a Dollar Tree "Let It Snow" Sign into Holiday Decor

I have a collection of Snowmen that started over 40 years ago. My sister and I went to a craft market and I purchase the cutest ceramic snowman (pictured below in the middle). It used to be a music box but unfortunately with age (as a lot of us) it stopped working! Every year when I unpack this snowman, I’m reminded of just starting out my married life with my husband because this was one of the first Christmas decorations that I purchased. The two wooden snowmen in the picture above were my mothers. I wish that I had dated each one so that I could remember how old they are and where I got each one. Some of the snowmen I purchased and some were given to me as a gift.


This year, I wanted to display my snowmen on the white bookcases that are now in my living room. I used the bookcases as a dividing wall for my craft room when my oldest son and his family lived with us. I had to figure out how to make the living room my craft room plus close it off so that my one-year-old granddaughter couldn’t get into my stuff. (If I can find pictures, I’ll try and post them and show you how I made my living room into a craft room.)
I went to Dollar Tree and found the cutest “Let It Snow” wooden sign and snowflakes but I couldn’t quite figure out what to do with the sign. My inspiration - blue, teal and silver ribbon that I found at Hobby Lobby plus a video from Windy City Crafts on Facebook! You should check her out because she has a lot of great ideas!

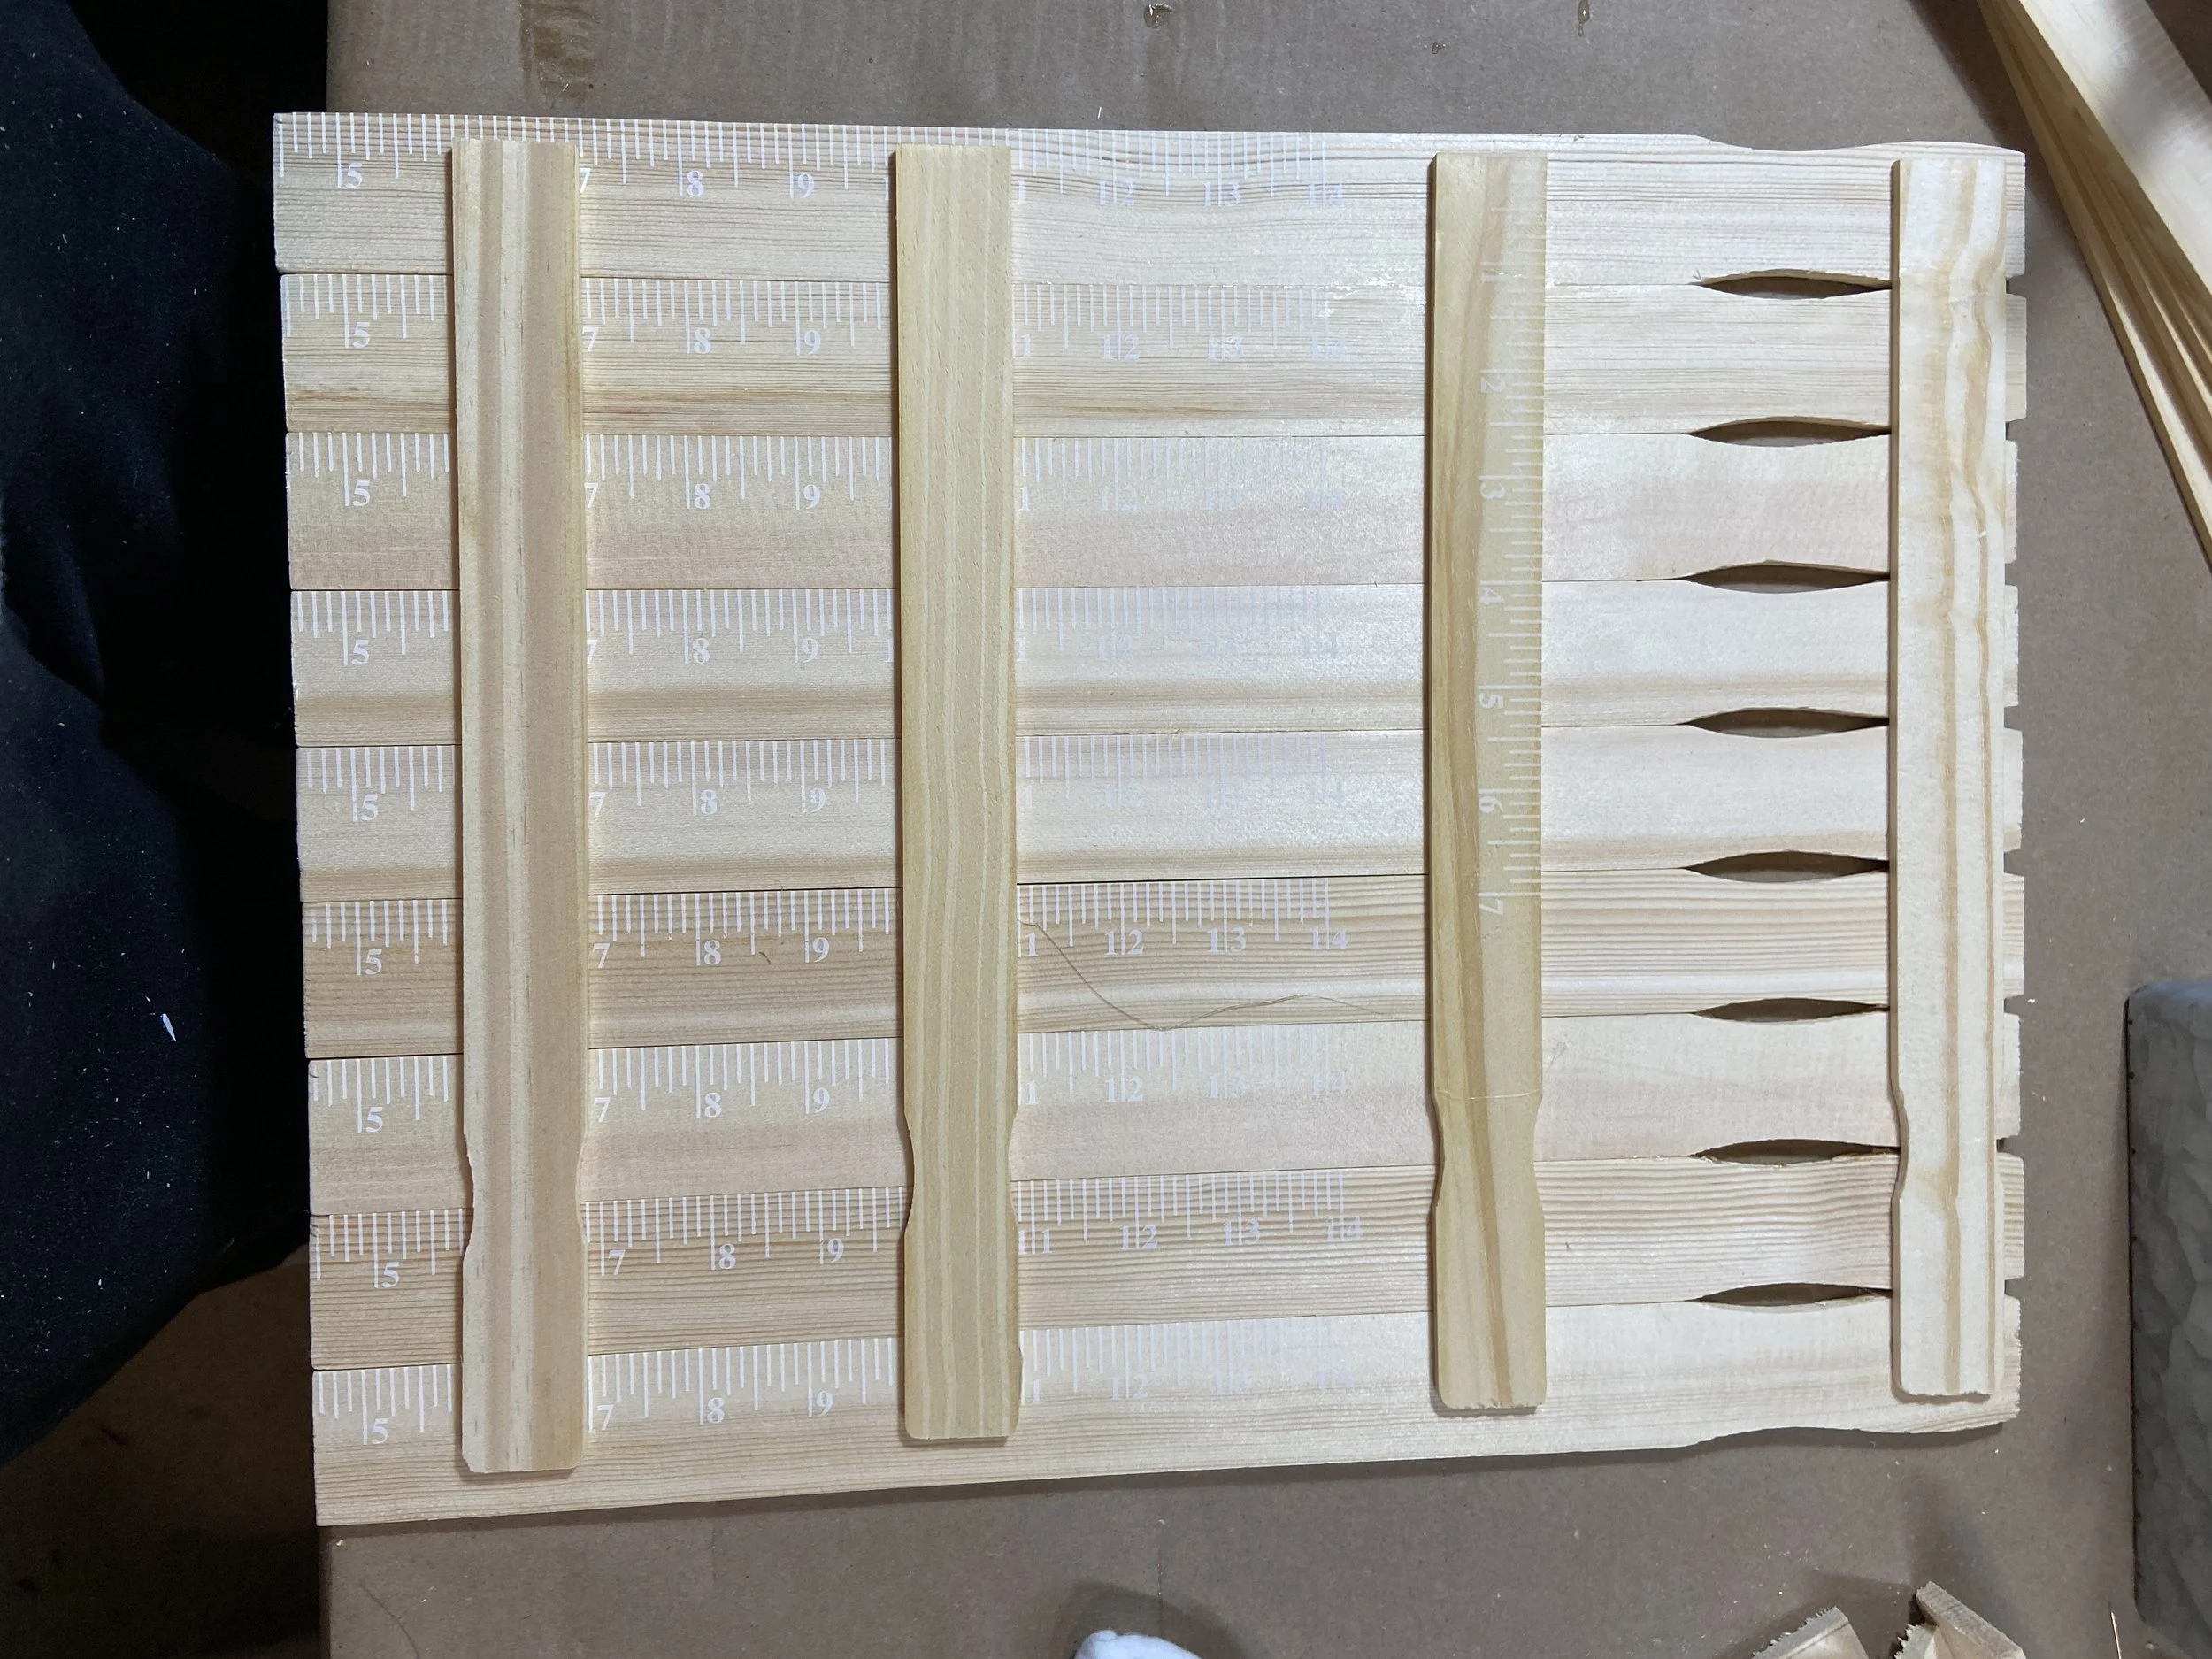
I made a wooden frame from nine 5 gallon paint sticks from Home Depot. The paint sticks come in a package of 3 for around $1.50. I cut off about 4” on the bottom of the paint stick and used regular craft glue to put the paint sticks together. Then I used three 12” paint sticks (1 gallon) on the back to secure everything together. Then I painted the frame with white acrylic paint.


Before I painted the “Let It Snow” sign, I added Light Modeling paste to fill in the hole at the top used for hanging. You could also use spackling paste which you can get at any hardware store. The “Let It Snow” I decided to paint a teal that matched my ribbon that I found at Hobby Lobby. Before the paint dried, I sprinkle fine crystal glitter all over the “Let It Snow” sign. I gave the snowflakes (another Dollar Tree find) a brush of Mod Podge and added teal blue glitter.


I attached the snowflakes first with hot glue. This left the “Let It Snow” sign raised up a bit from the frame. So I decided to add dimensional dots behind the sign so that everything would be raised giving the “Let It Snow” sign a 3D effect. I also had smaller snowflakes in my crafting stash so I hot glued them on the front of the “Let It Snow” sign.
Next I wove the ribbon through the slits at the top of the paint sticks. I added a bow and some Christmas picks with blue embellishments to finish it off. This sign makes a great backdrop for all the snowmen that I have collected over the years.
Merry Christmas!
Hope you enjoy your holiday season!