Let's make a mixed media bunny
While I was at Hobby Lobby the other day, I saw this pack of four 5” x 7” canvas frames with the large sides. As soon as I saw them, I knew that they would be perfect for a Mixed Media Bunny Project.
When I got home, I gathered my supplies and made two cute bunny canvases in about an hour. I just love how they turned out.

SUPPLIES NEEDED:
Scrapbook Paper
Stencils
Ink Pad
Book Paper
Mod Podge Matte
Paint Brush
White Felt
Hot Glue
Acrylic Paint (colors of your choice)
Makeup Sponge or Stencil Brush
First I tore pages from an old book into various shapes. Using Mod Podge Matte, I glued the pieces in random places on the canvas, being sure not to neglect the sides!
After everything had dried, I gave the canvas a quick wash of white paint. If you want more of the paper showing, just take a baby wipe and take off some of the paint in the areas you want.


I used a few stencils, acrylic paint and a makeup sponge sometimes . On two of the canvases, I used black paint. The third canvas I used pops of teal blue, pink and yellow to match the rainbow bunny that I had cut out.
I used a stencil from Balzer Designs but I wasn’t able to find it on Amazon. I did find this one from Crafters Workshop on Amazon that has several different sizes of circles. You can also use bubble wrap and get a similar effect.
I also used a handwriting stencil on one canvas and a type-style font stencil on the other two canvases.
Just use what you have on hand or make your own stencils. You could even write on the canvas or make marks instead of using stencils. (There are no rules in mixed media design)
I like to use makeup sponges instead of a stencil brush. They are less expensive and you can use them several times by cutting off the top after each color you use and then… throw it away. The trick to stenciling is not to have too much paint on your stencil brush (or makeup sponge).


I did find that when I used the black paint with the stencil, the color was too intense. I let the black paint dry and added a few dabs of white paint (pouncing the brush) on top to dull it down just a bit.
I cut my bunny out of scrapbook paper. I used Quick Quotes Powder Puff Chalk Inks that I purchased from Miss Tracy Creates to brighten up the edges of the bunny. I let this dry just a bit and then glued it onto my canvas. Be gentle on the edges so that you don’t smear the chalk ink.

While that was drying, I took coordinating scrapbook paper and tore them into circle shapes. I wanted a distress feel to my flowers so I crumpled them up. If this is hard on your hands, you can spritz the paper with a little bit of water. I learned this trick from Miss Tracy Creates. The water makes the paper softer so that it’s easier to crumple up. I did discover that you don’t need much water on these small pieces because it can dull the color of the cardstock and the paper easier to tear.


On one bunny, I hot glued buttons for the centers of the flowers. On the other two bunnies, I just used smaller pieces of torn scrapbook paper for the centers. I also, used scrapbook paper for the torn green leaves. Once again, I used the Quick Quotes Powder Puff Chalk Inks around the edges of all my pieces in different colors.
I hot glued the flowers and leaves to my bunny canvas between the ears. If you want your flowers to look dimensional, add pop-up dots to one or two of the flowers. If you don’t have pop-up dots, you can always use a small button!
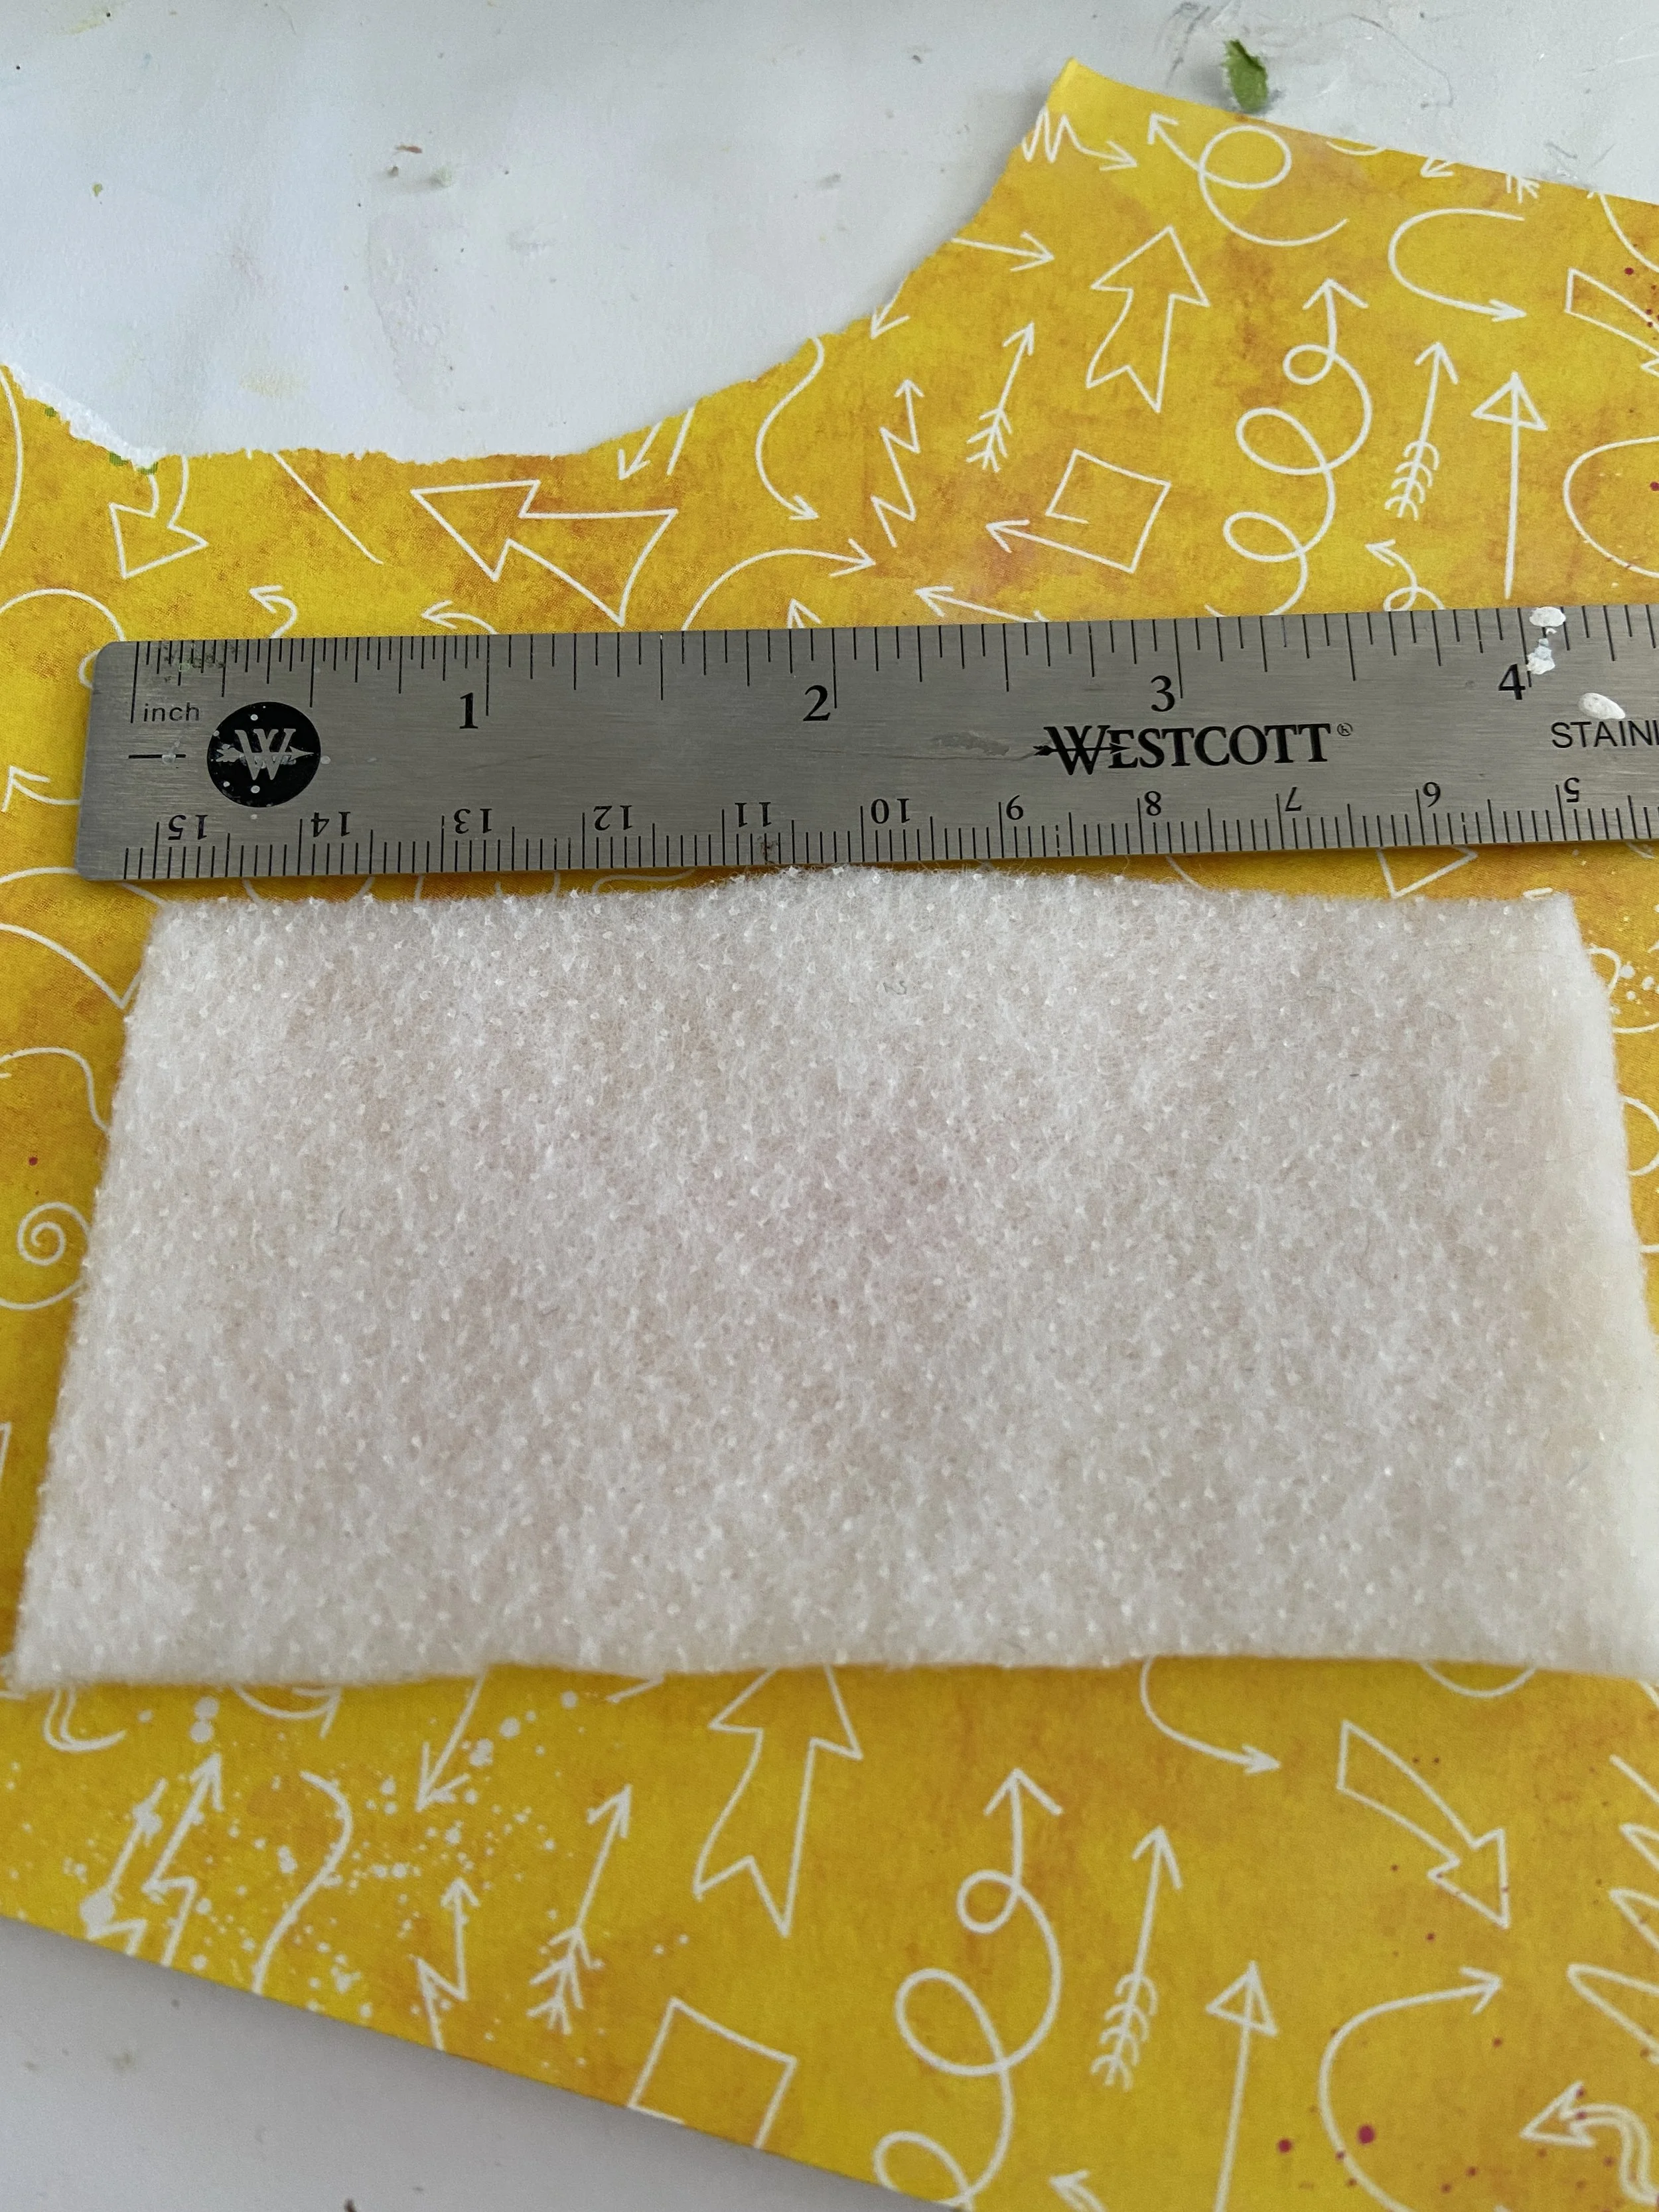
The last thing to do is to make a bunny tail. You could make a yarn pom-pom or just use a cotton ball. I decided to make my own tail.
I cut a piece of white felt into a 2” x 4” rectangle that I folded in half longways. (short end to short end) I snipped small slits into the double layered felt (make sure that you don’t cut all the way through). To make it easier to roll the felt without it coming apart, I hot glued the edges together on the 4” side.


With a bit of hot glue at the beginning of your cut felt, begin to roll it into a circle…adding hot glue to a few places so that the tail doesn’t fall apart. This tail is just so cute!
Hot glue it to your canvas and your bunny is complete! I just love how these bunnies turned out.
