Let's make a Mixed Media Valentine's Heart
Do you decorate for Valentine’s Day? I love to fill my house with splashes of Red, Pink and White! It just seems to add a bit of cheer on a dreary winter’s day!
Today I’m making a Mixed Media Valentine’s Heart to use on my Valentine’s Tree.

I started out with a heavy cardboard heart. This can be either the backing of a sketchpad, scrapbook paper pad or watercolor paper pad. If you don’t have cardboard, you can always use an Amazon box! (If you are anything like me…there’s always an Amazon box laying around somewhere)!

I tore pieces of hymn and vintage book paper into small pieces. Some of the pieces were long and others square. It really doesn’t matter because you are just going to use mod podge and collage them onto the heart. I turned my paper in different directions and made sure to cover the entire heart. Be sure and mod podge on the top of the paper as well. After the heart had dried, I trimmed off the excess paper.
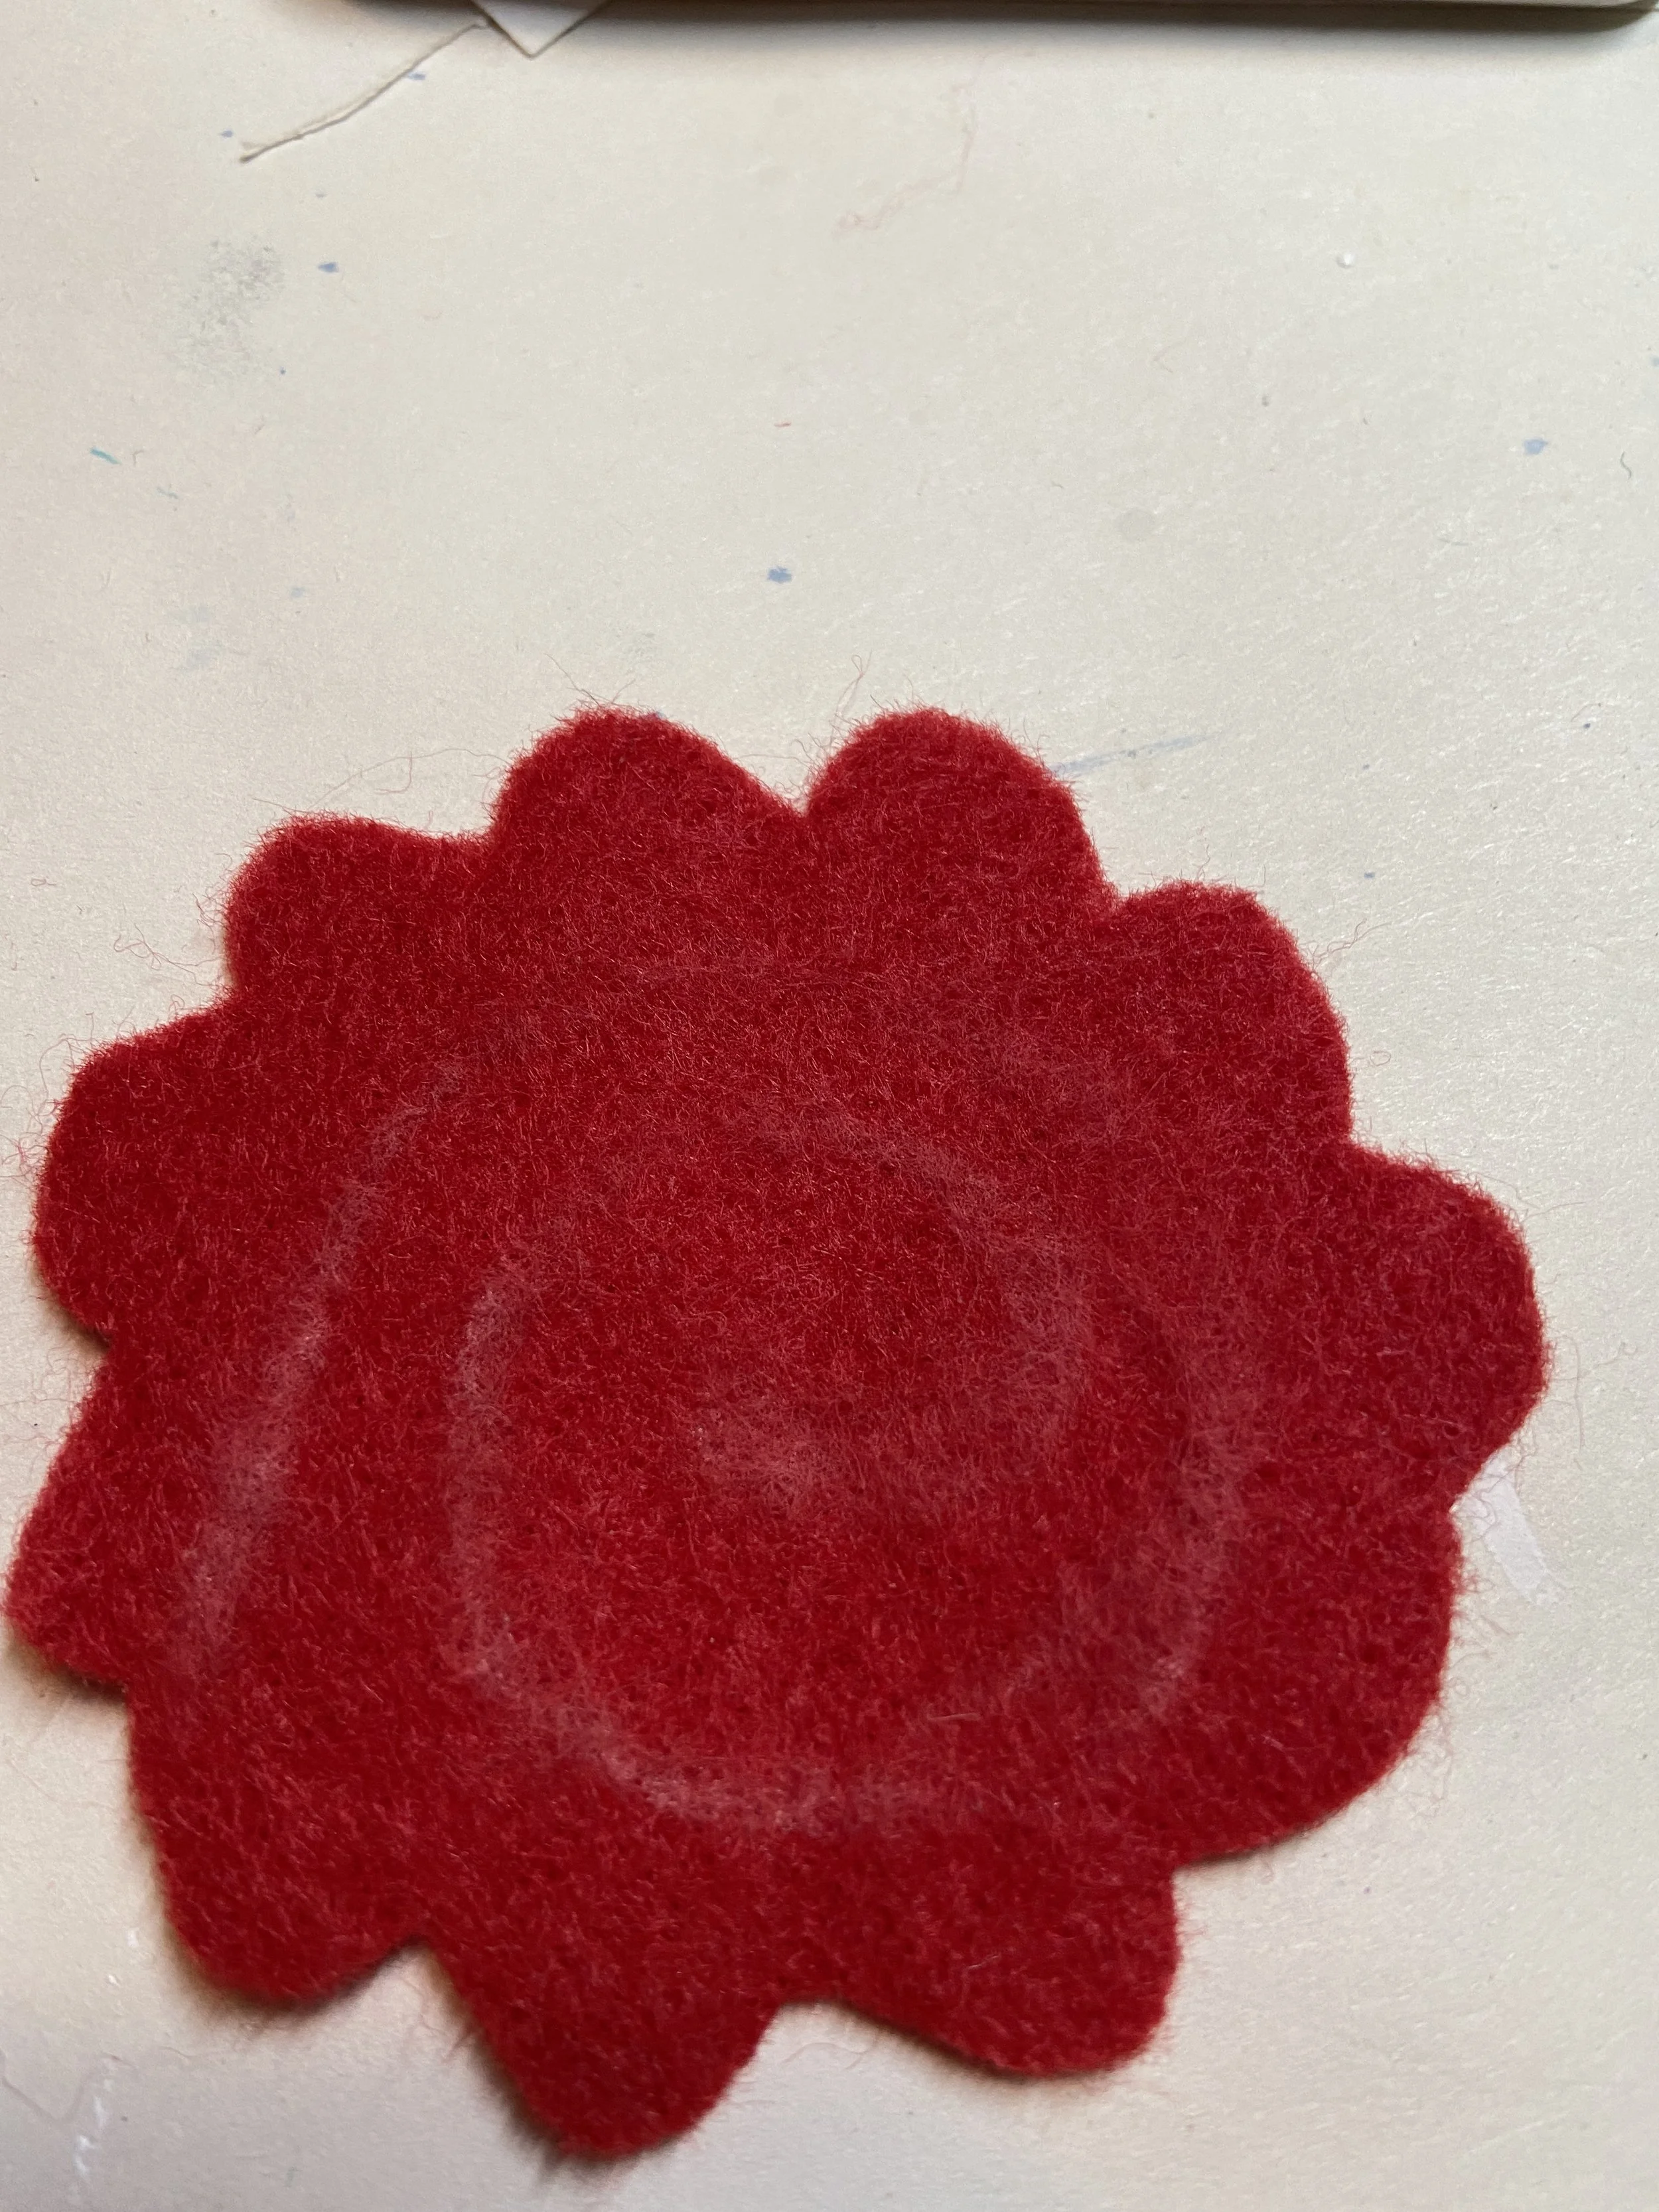
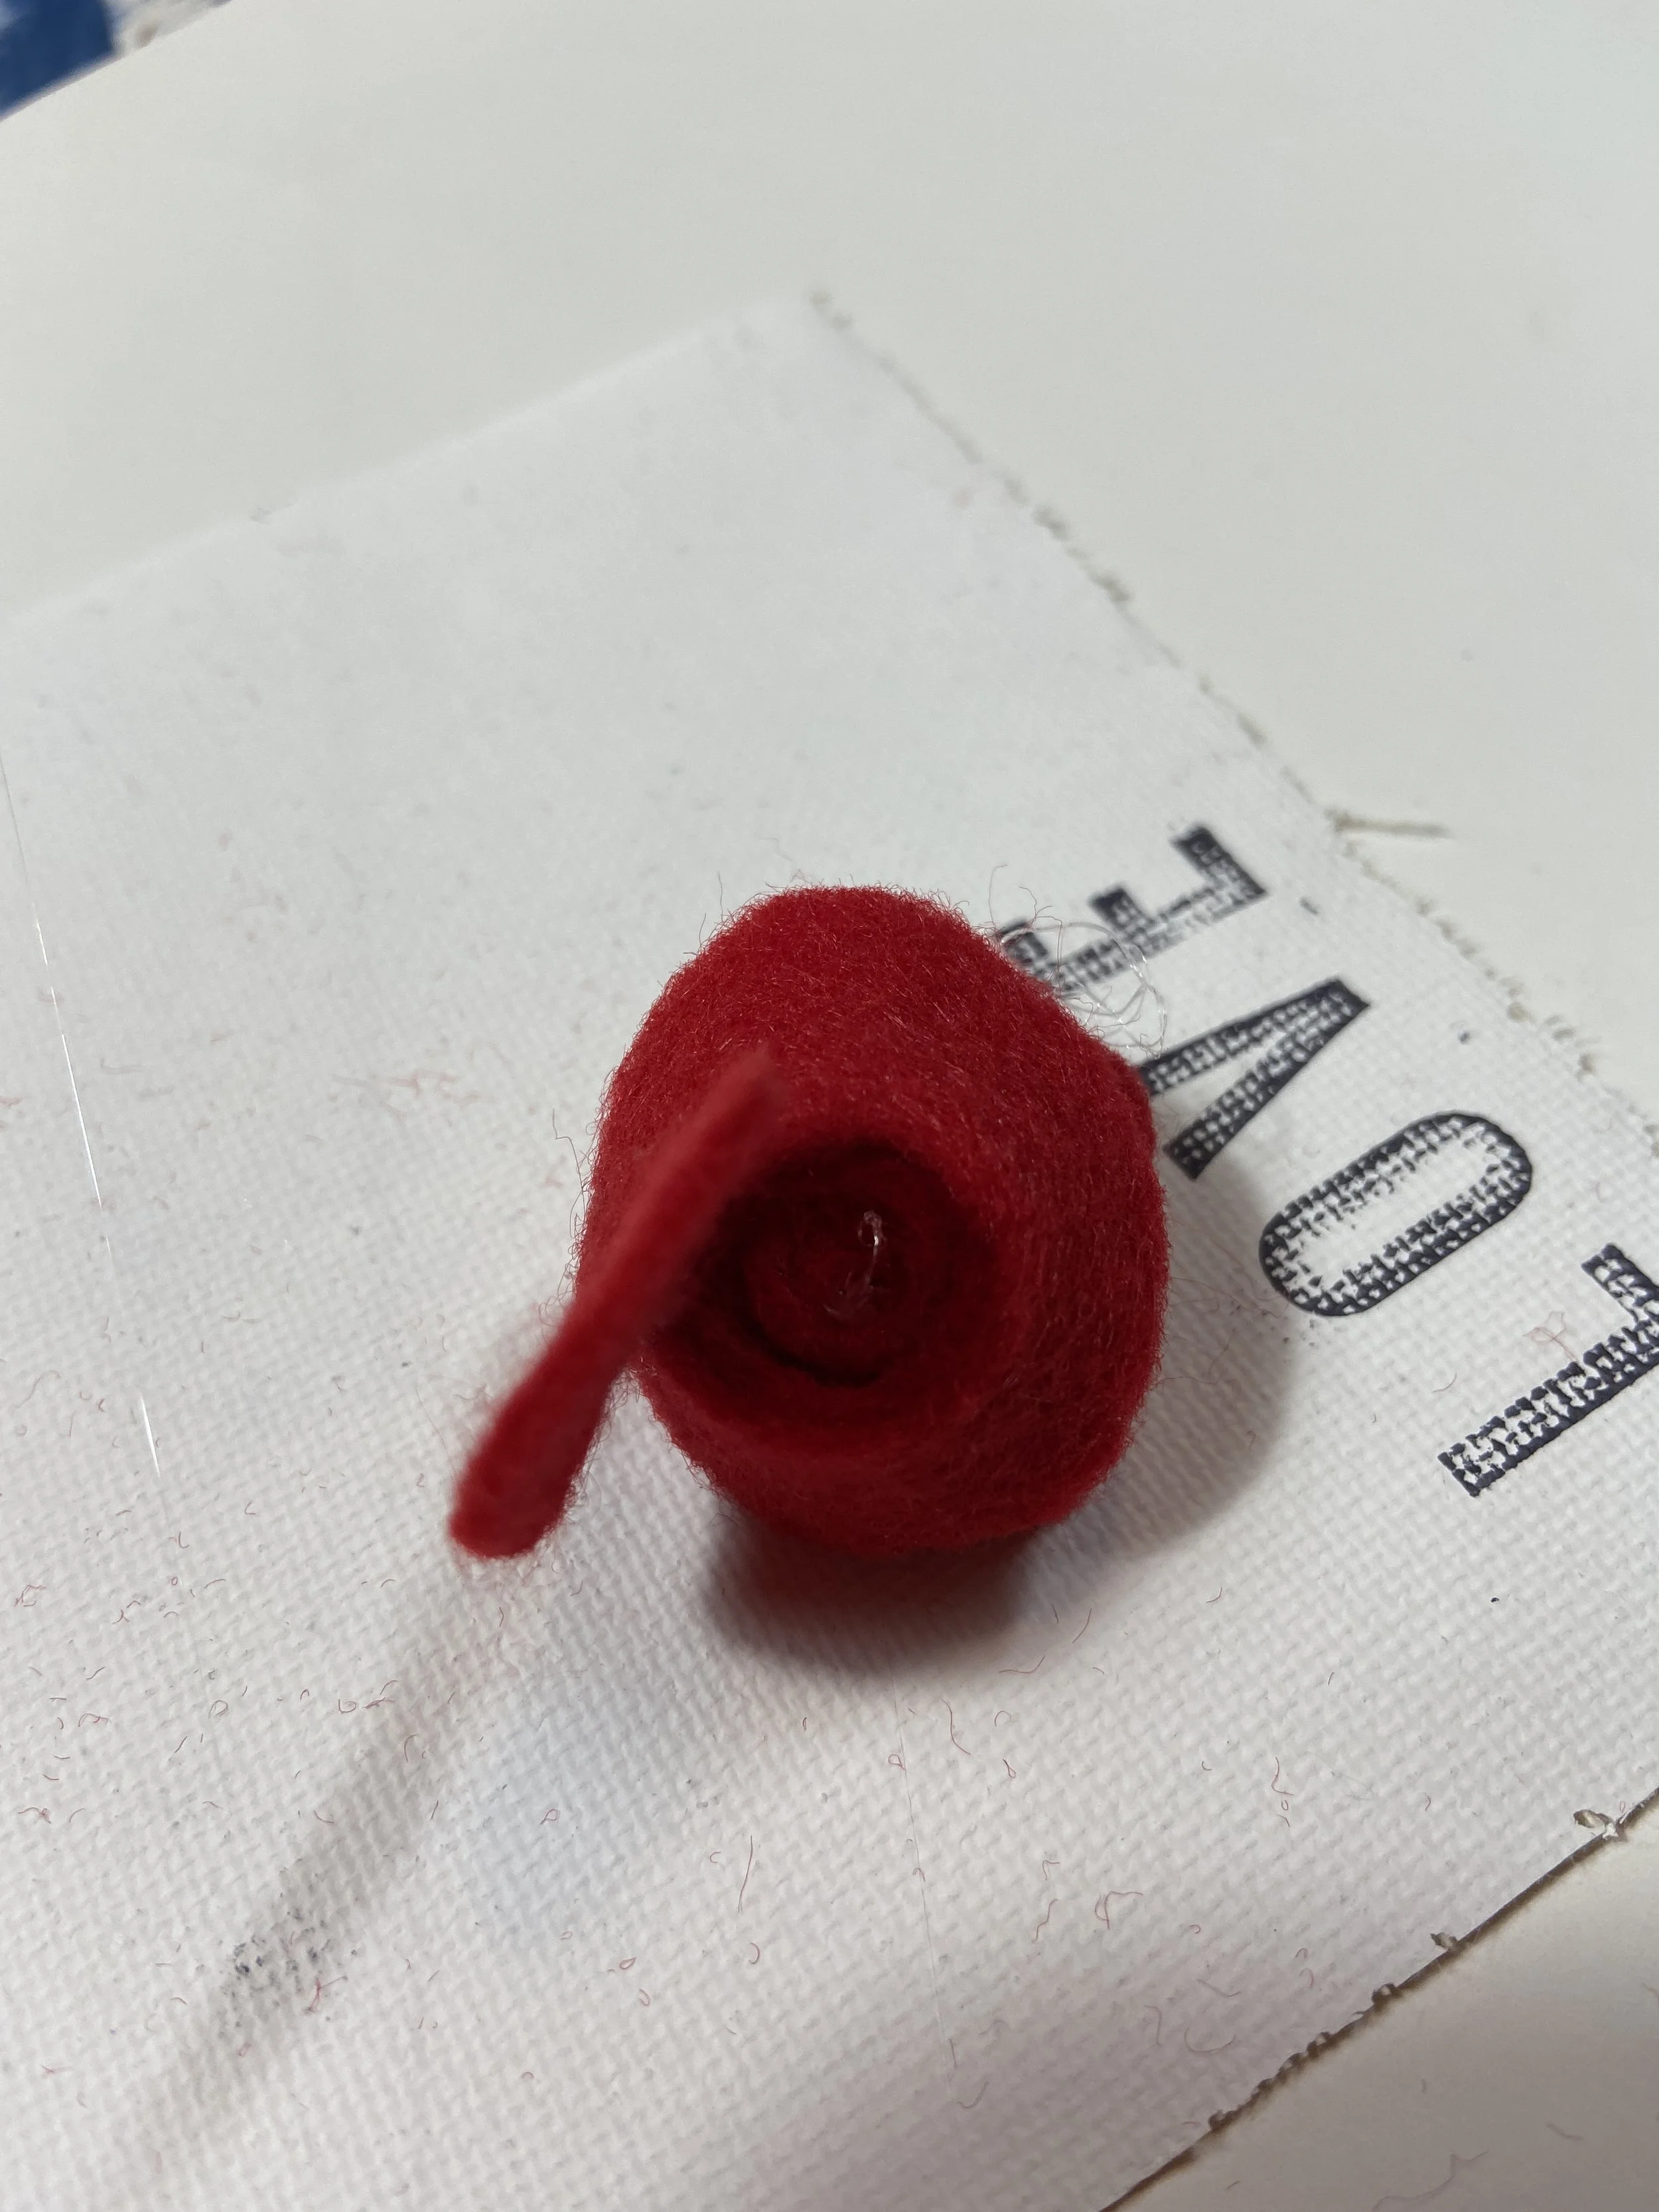
How to make a Felt Rosette
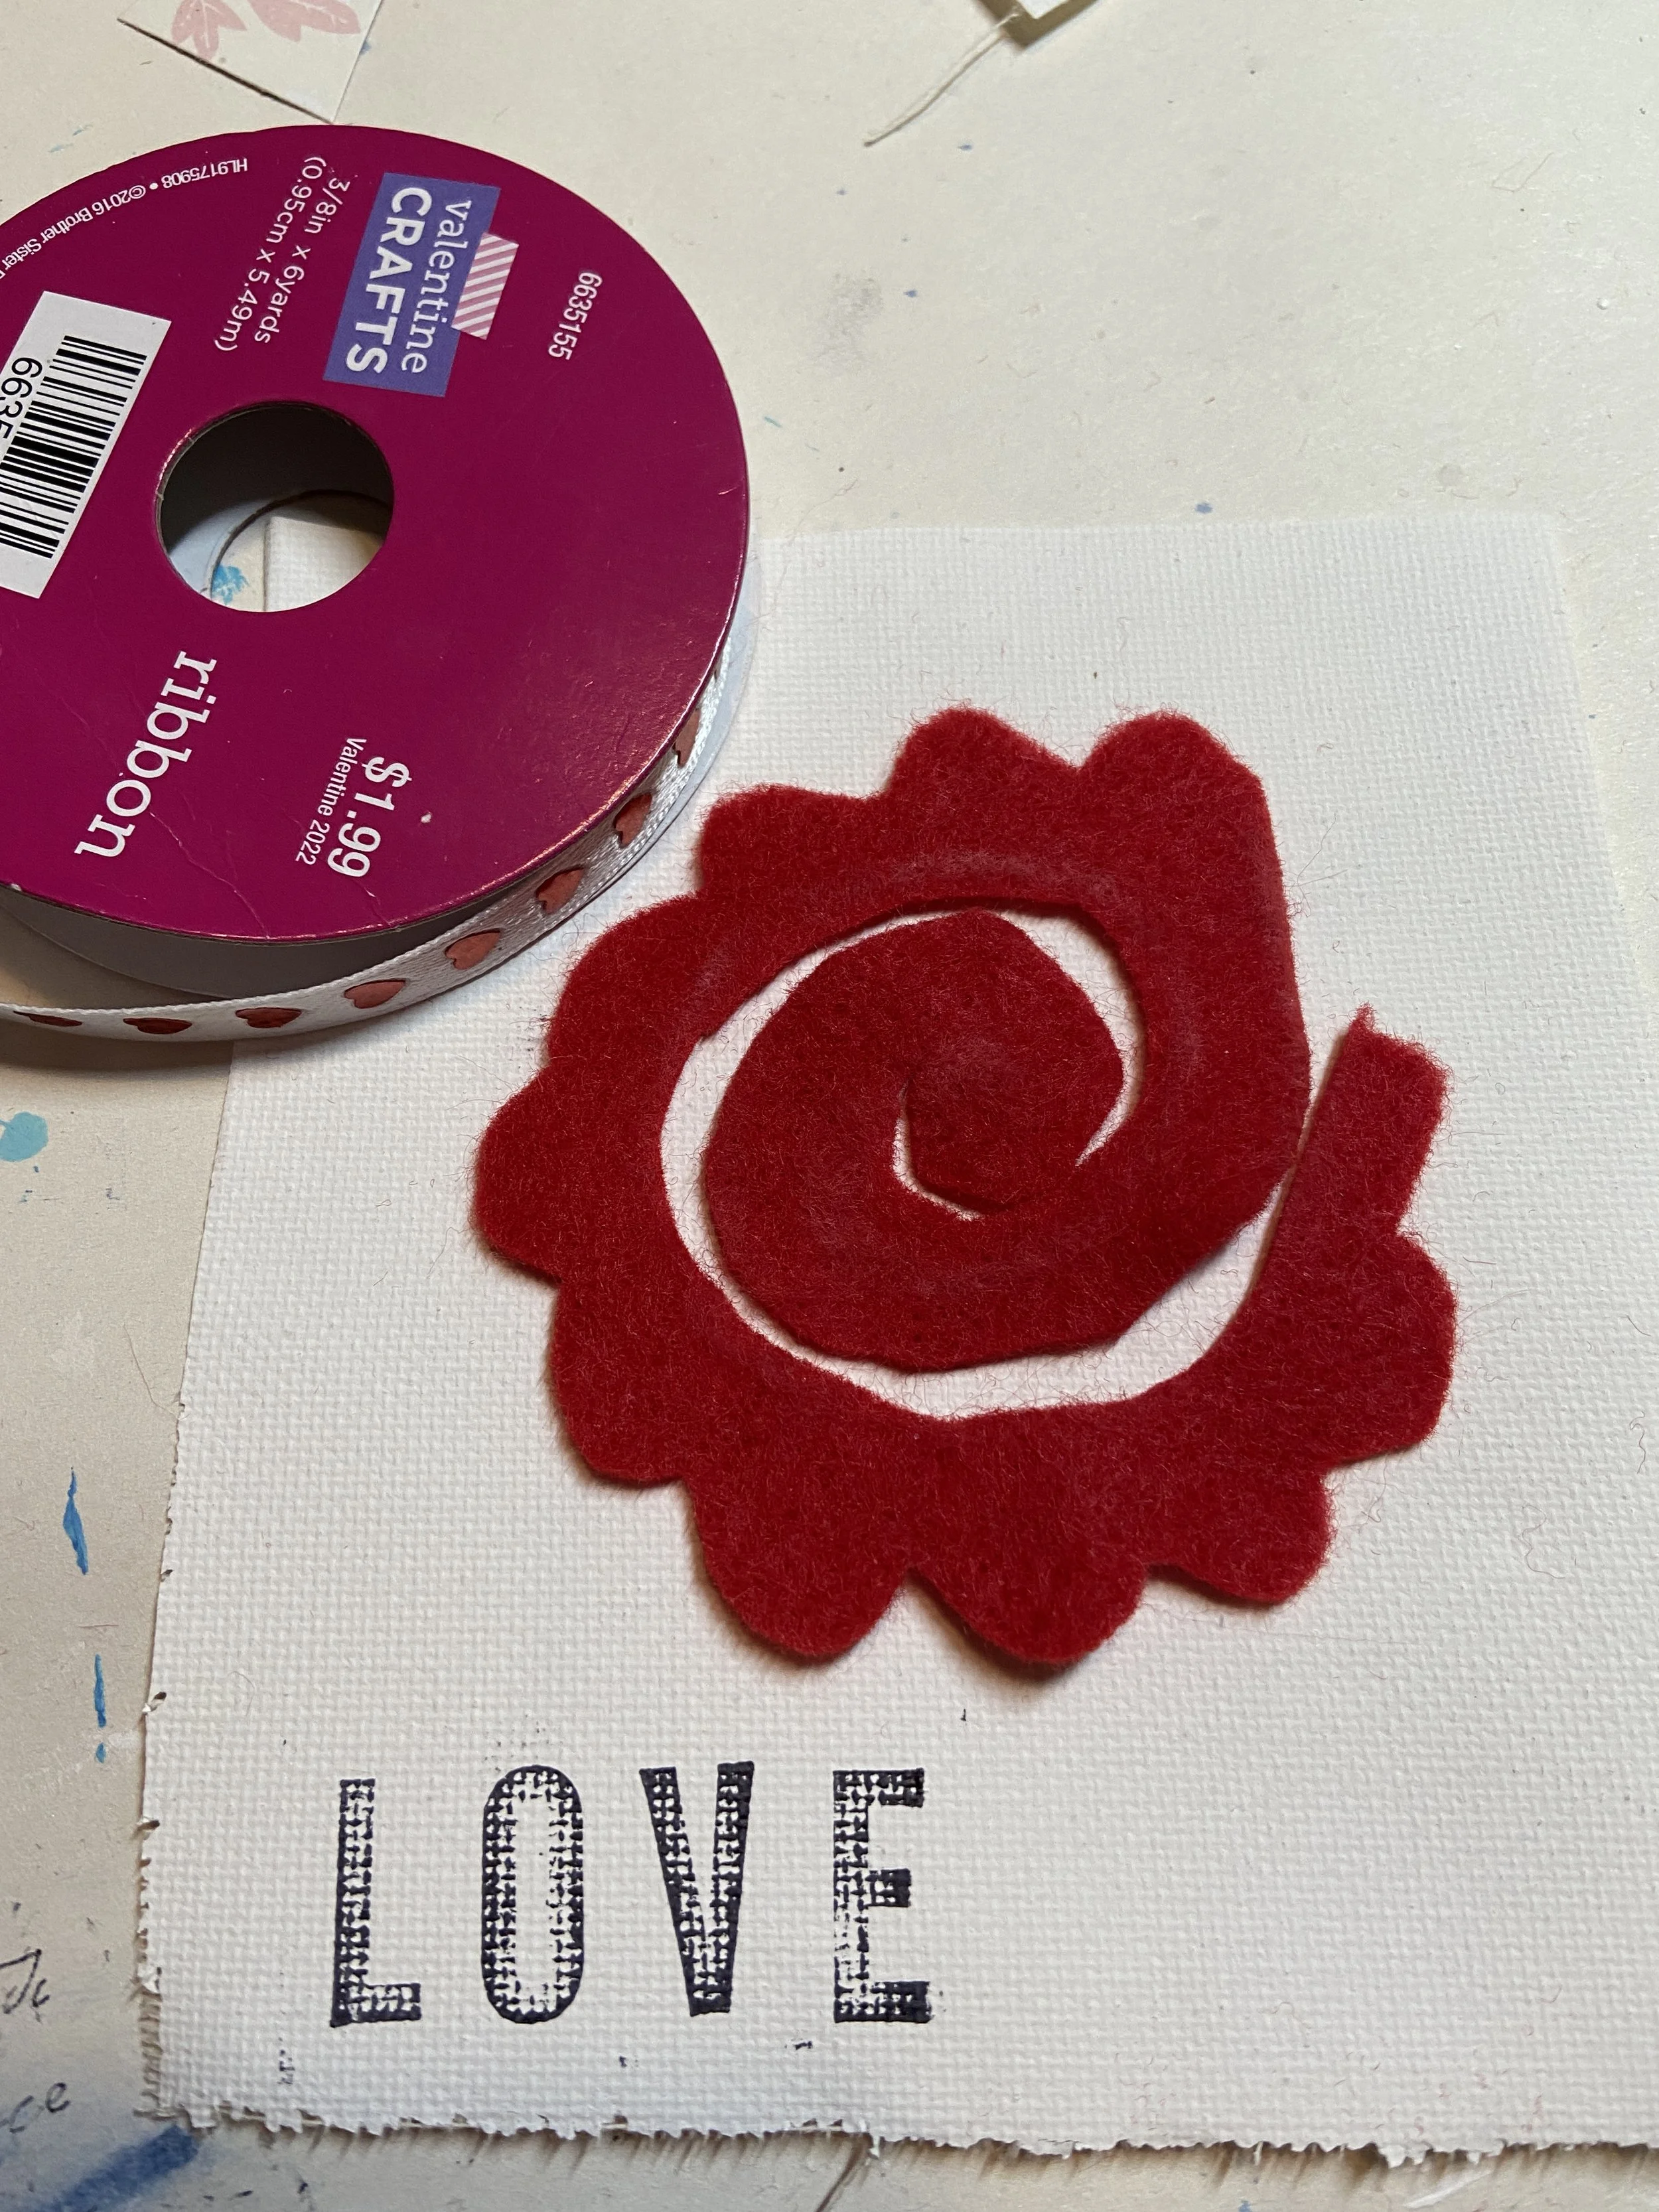
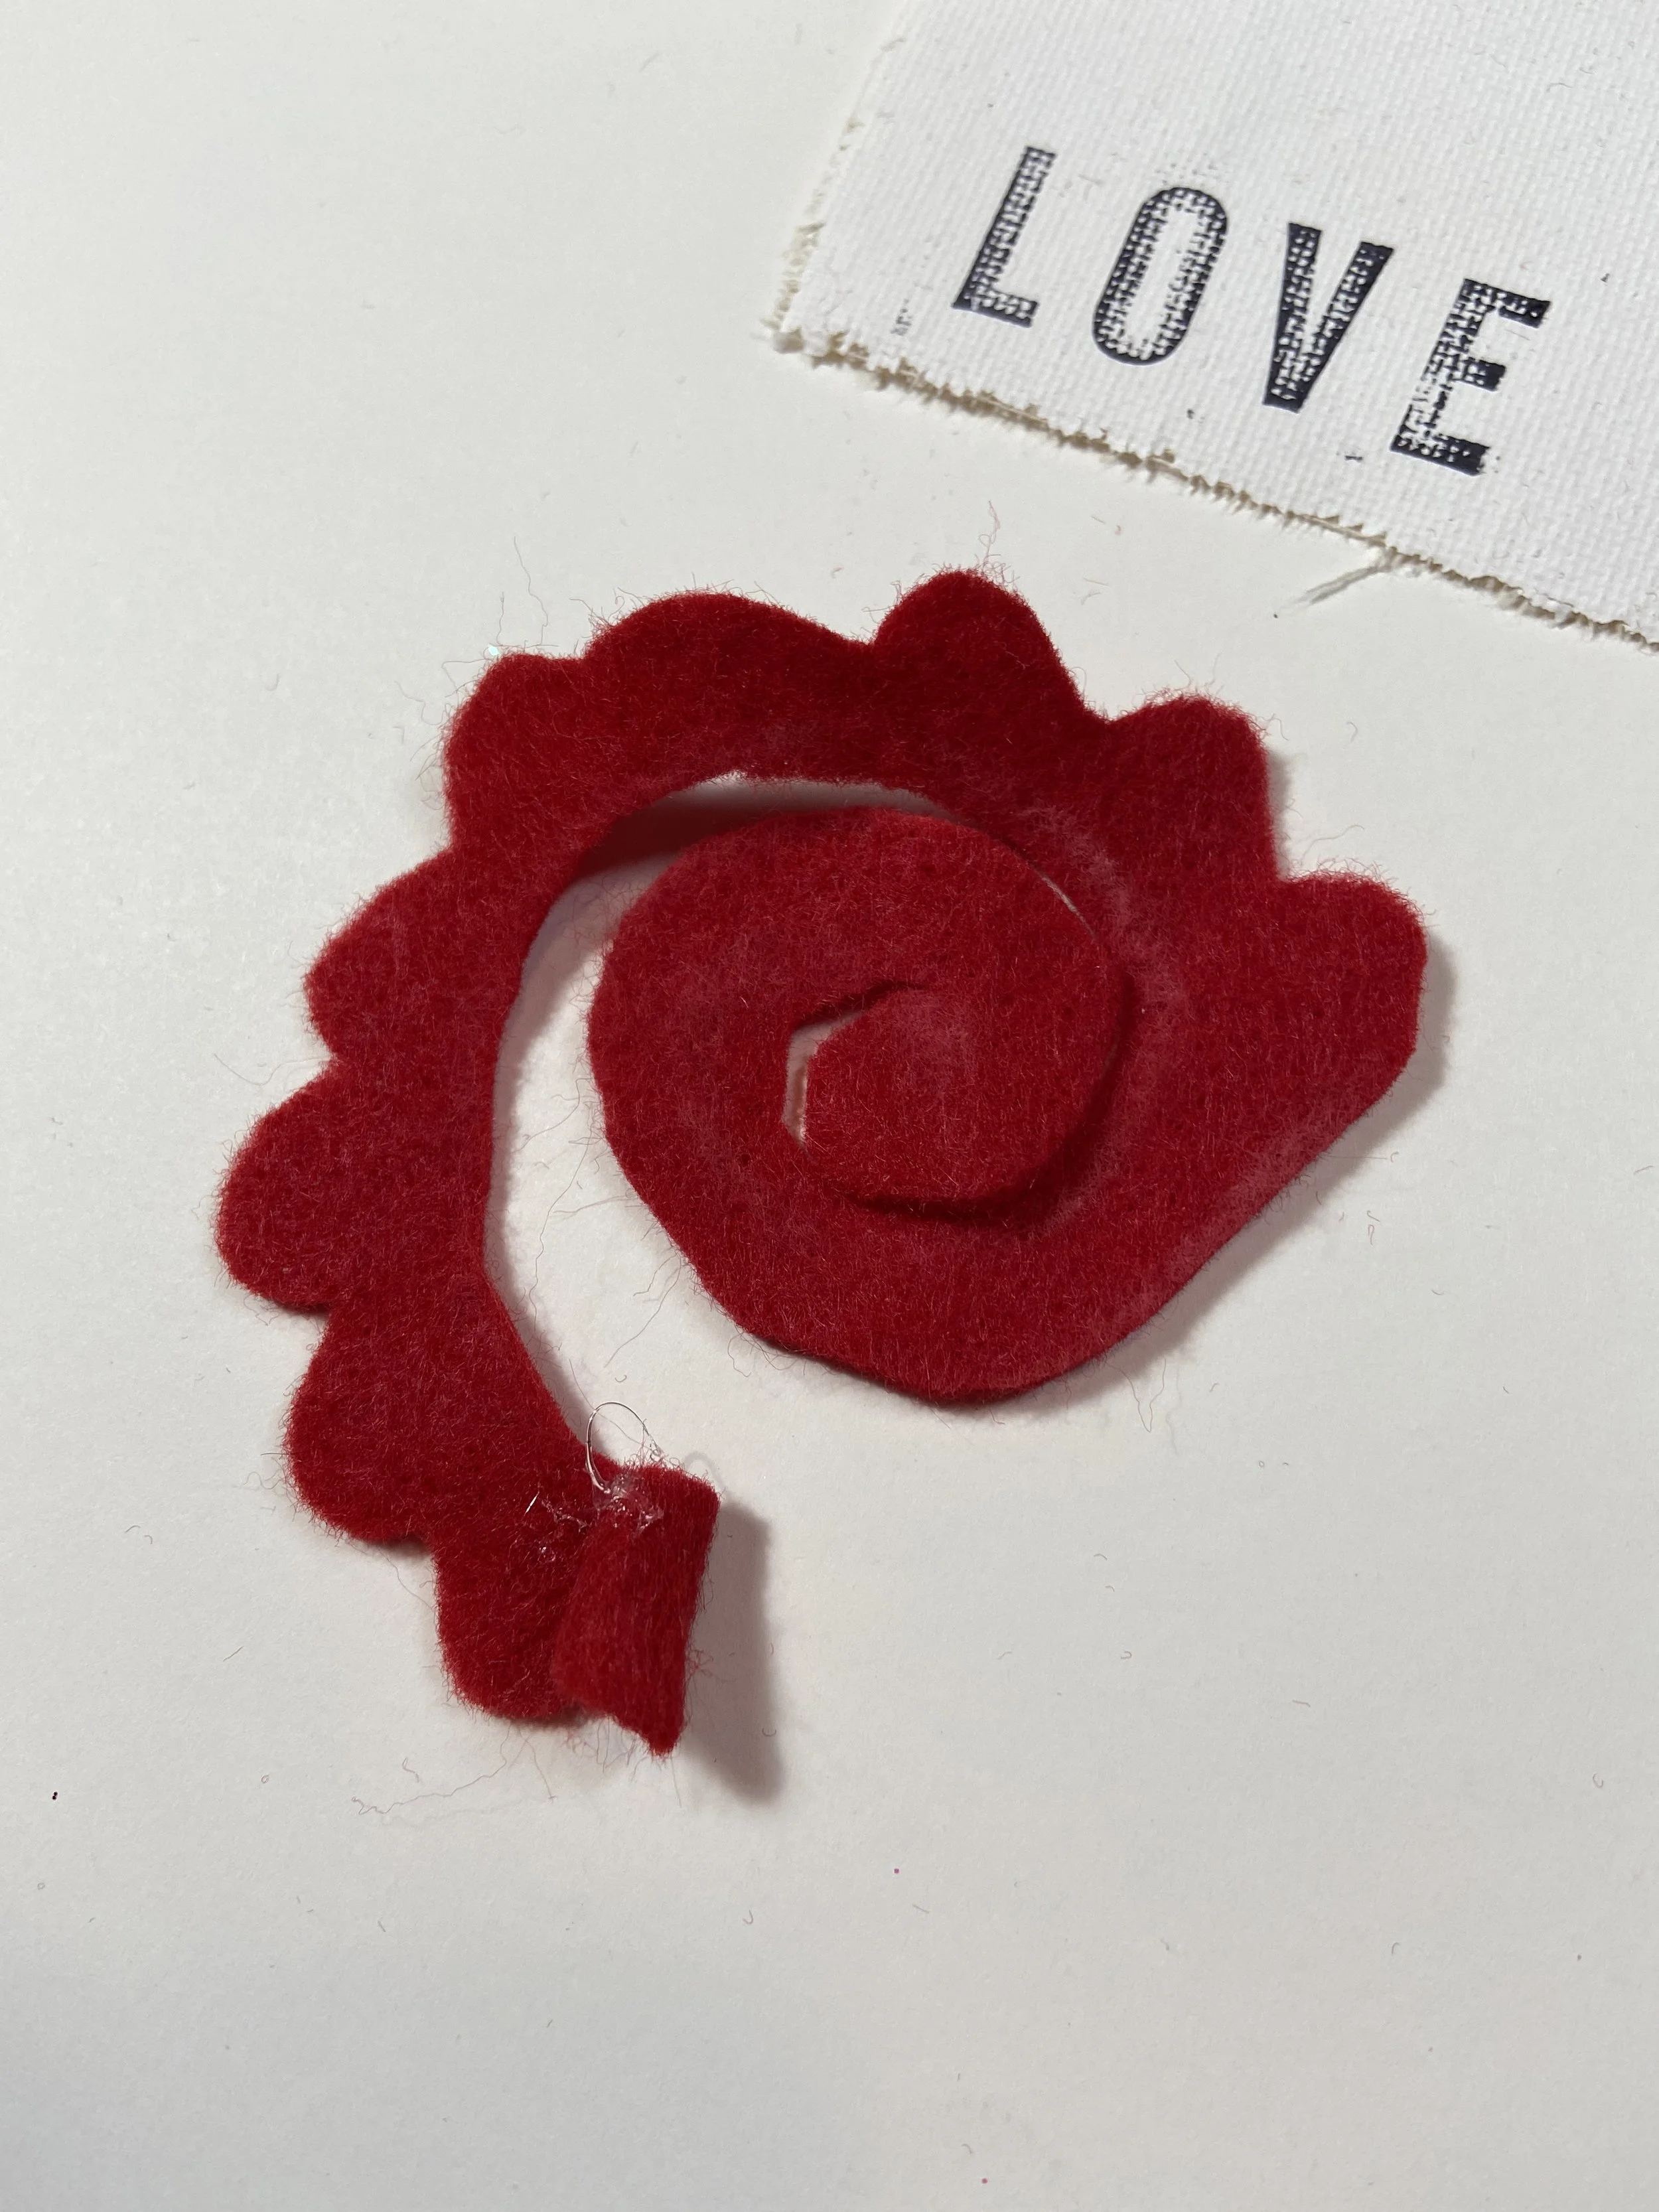
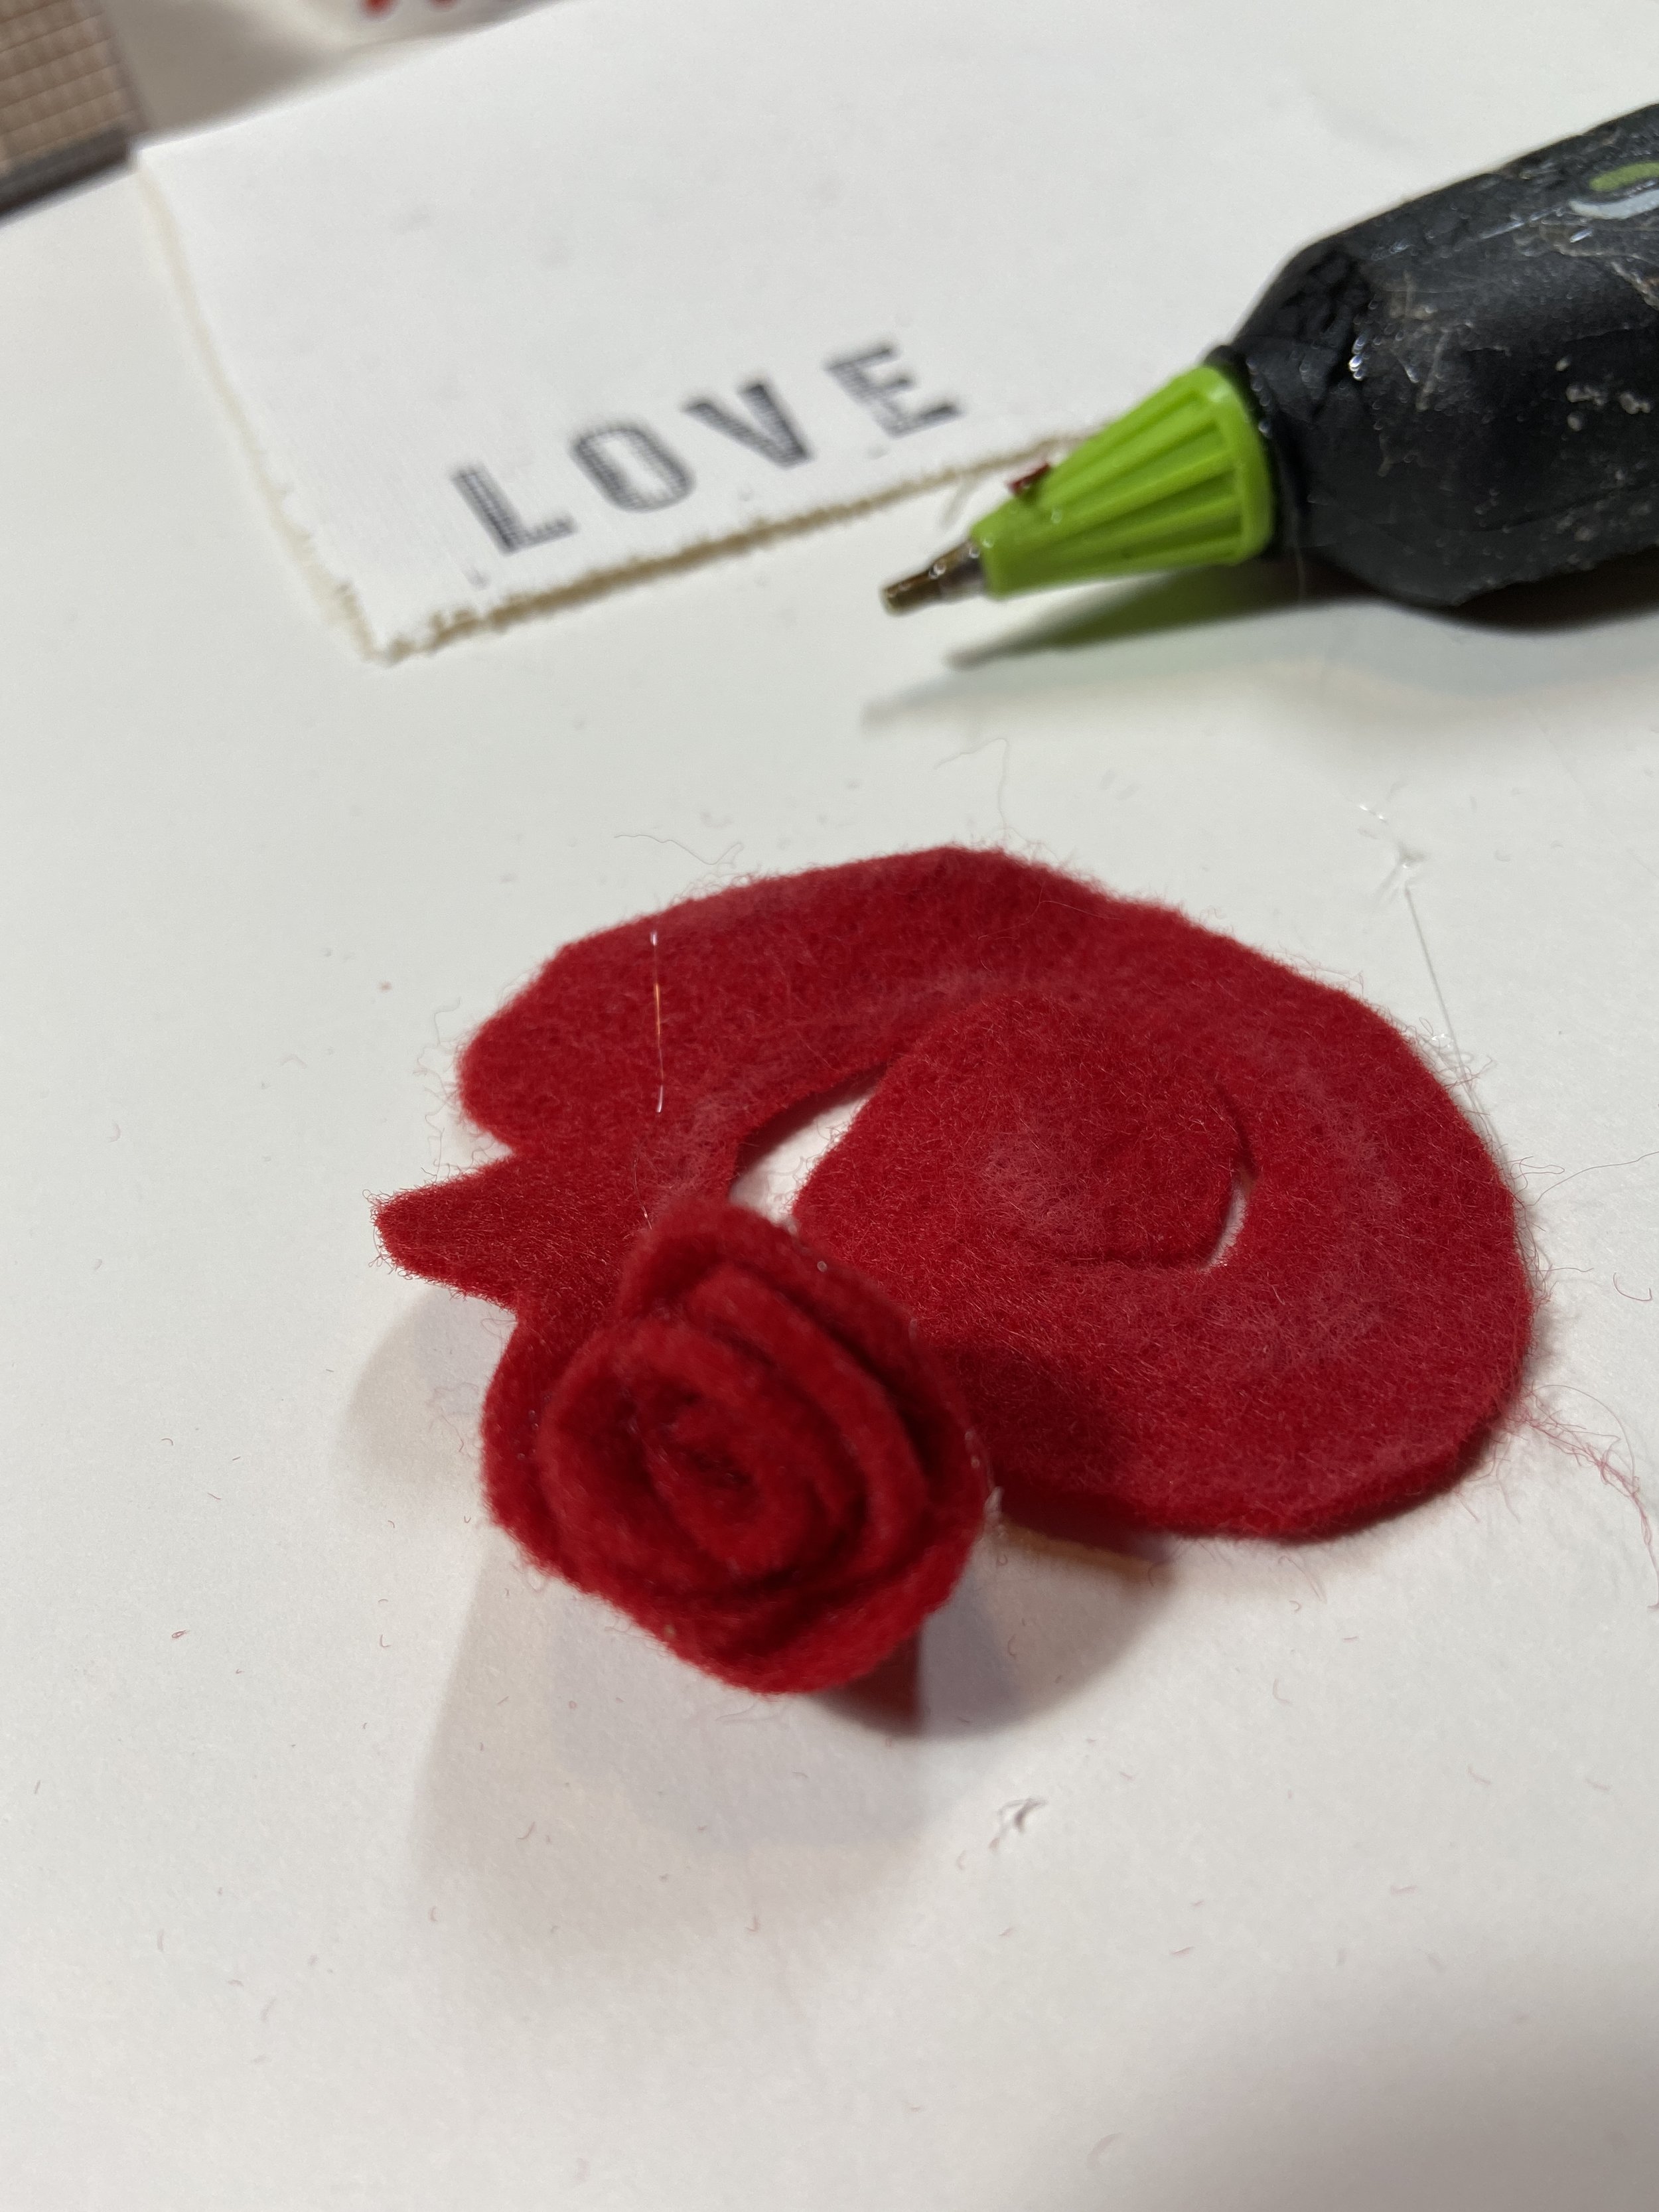
This may look complicated but once you get the hang of it…it’s really quite easy. I cut out a circle from felt and then scalloped the edges so that the rosettes wouldn’t have a straight edge. Then I cut the flower into a spiral. You start on the outside edge (not the middle) and begin to roll the flower towards the center. I used a dab of hot glue at the beginning and begin to roll my flower. You can add more hot glue during the rolling of the flower if you want but it’s not necessary with such a small flower.
Once you’ve reached the end, use the last part (the center) and glue to the bottom. This holds the flower together.

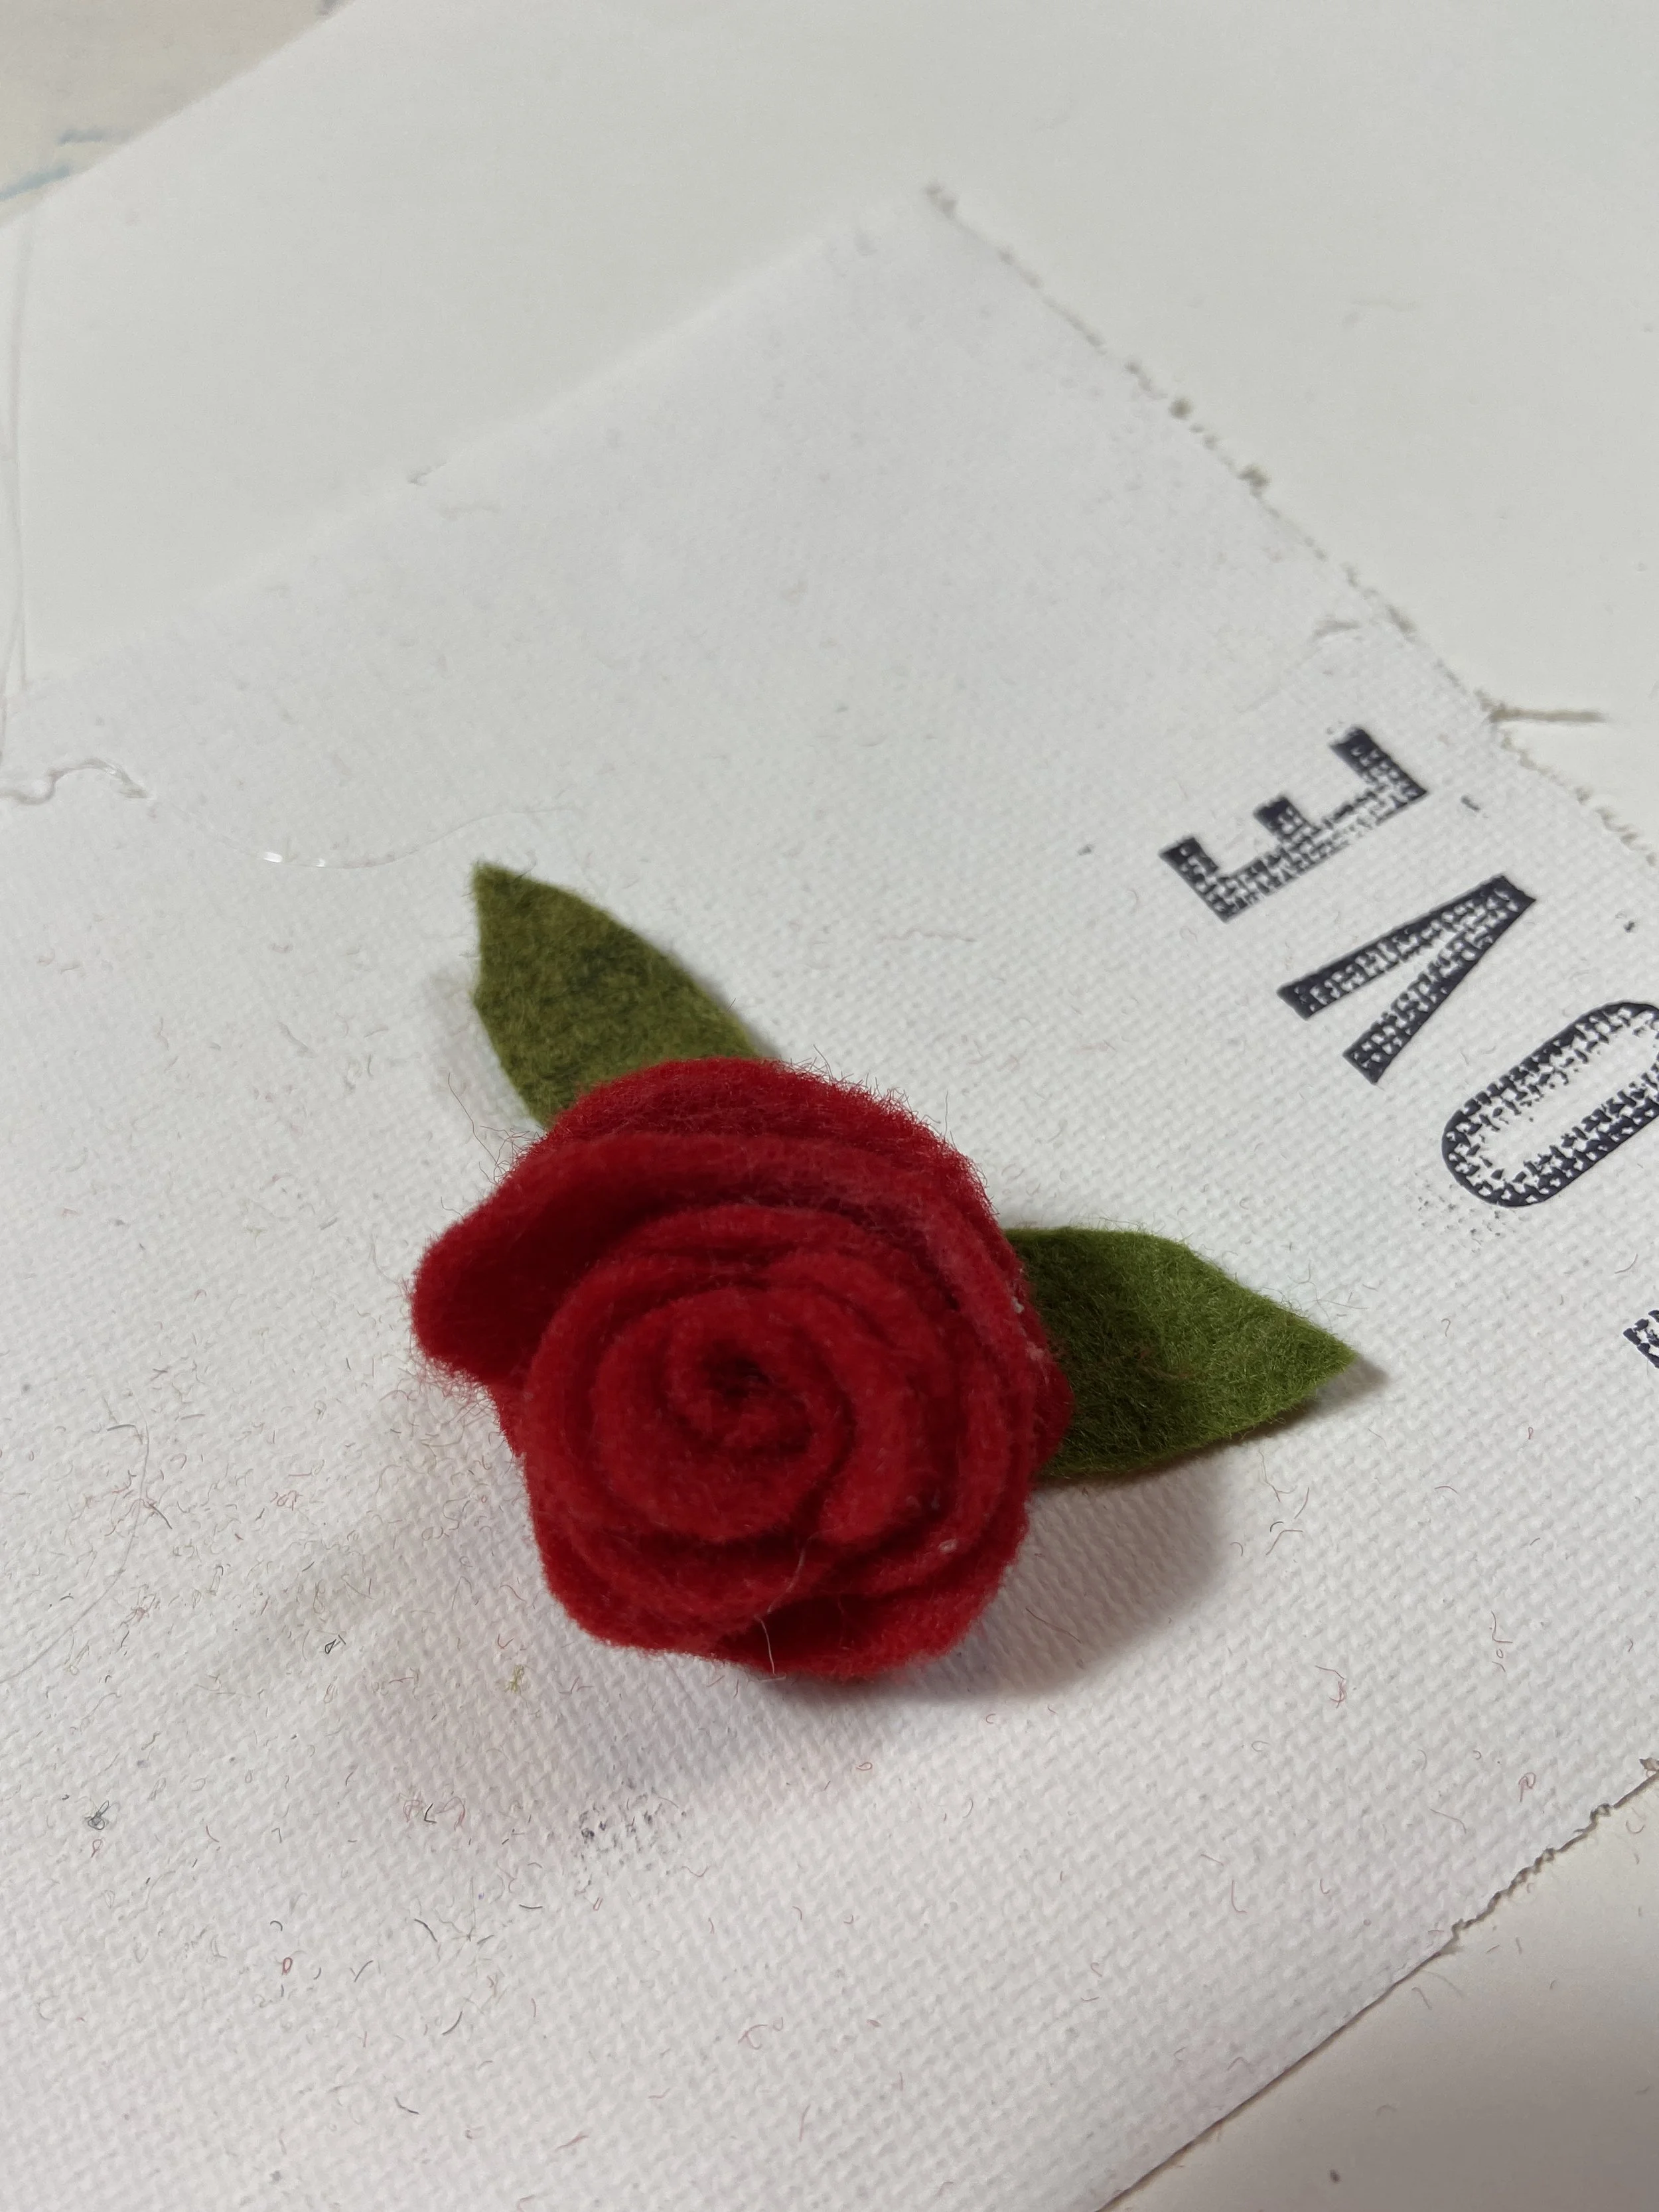
Next you just need to cut out a few leaves in green felt (or cardstock) and attach to the back of the rosette.
Putting everything together
When your mod podge heart is dry and you’ve trimmed the edges of the paper, it’s time to decorate. You can use anything that you want: ribbons, lace, bows, buttons, keys. The possibilities are endless. Go through your craft stash and you might be like me…I discovered things that I forgot that I had.

I made a pendant out of coordinating cardstock (about an 8” square). Fold the cardstock in half and cut a long triangle on the fold of the cardstock. You should have what looks like two triangles connected together.

Before I attached my pendants to the baker’s twine, I stamped the word L O V E. I folded the pendants in half and traced along the edges with a black sharpie pen.
Using hot glue I attached the pendants to the baker’s twine. To make sure that you have enough room, set your twine where you want it to go on your heart and then attach the first (L) and last (E) pendant to the twine. Then add the middle two pendants (O & V). This way you will be assured that you have enough room because you don’t want the pendants to overlap. Otherwise, they won’t lay flat.
We’re almost finished!!!
Cut two pieces of ribbon and one piece of lace. Hot glue or use clear glue to attach. I placed my ribbon at an angle.

Glue on your banner and snip the extra baker’s twine. I made two bows from the baker’s twine and attached to each end of the LOVE banner pendant.
After I glued the rosettes onto my heart, all that was left was punching holes and adding a hanger. Because the cardboard was so thick, I used a Crop-A-Dile Eyelet and Snap Punch by We R Memory Keepers.
These hearts are going to look great on my Valentine’s tree. As soon as I get the tree decorated, I’ll post a few pictures!
You can find the pattern here and step-by-step instructions on my Facebook Live.
If you have any questions, please let me know. Be sure and send me pictures of your hearts!