Craft a Charming Witch Bookmark for A Halloween Junk Journal
I’m putting together a Halloween Junk Journal and wanted to add a few special touches, like pockets, ephemera, and a Witch bookmark—just like a paper doll!
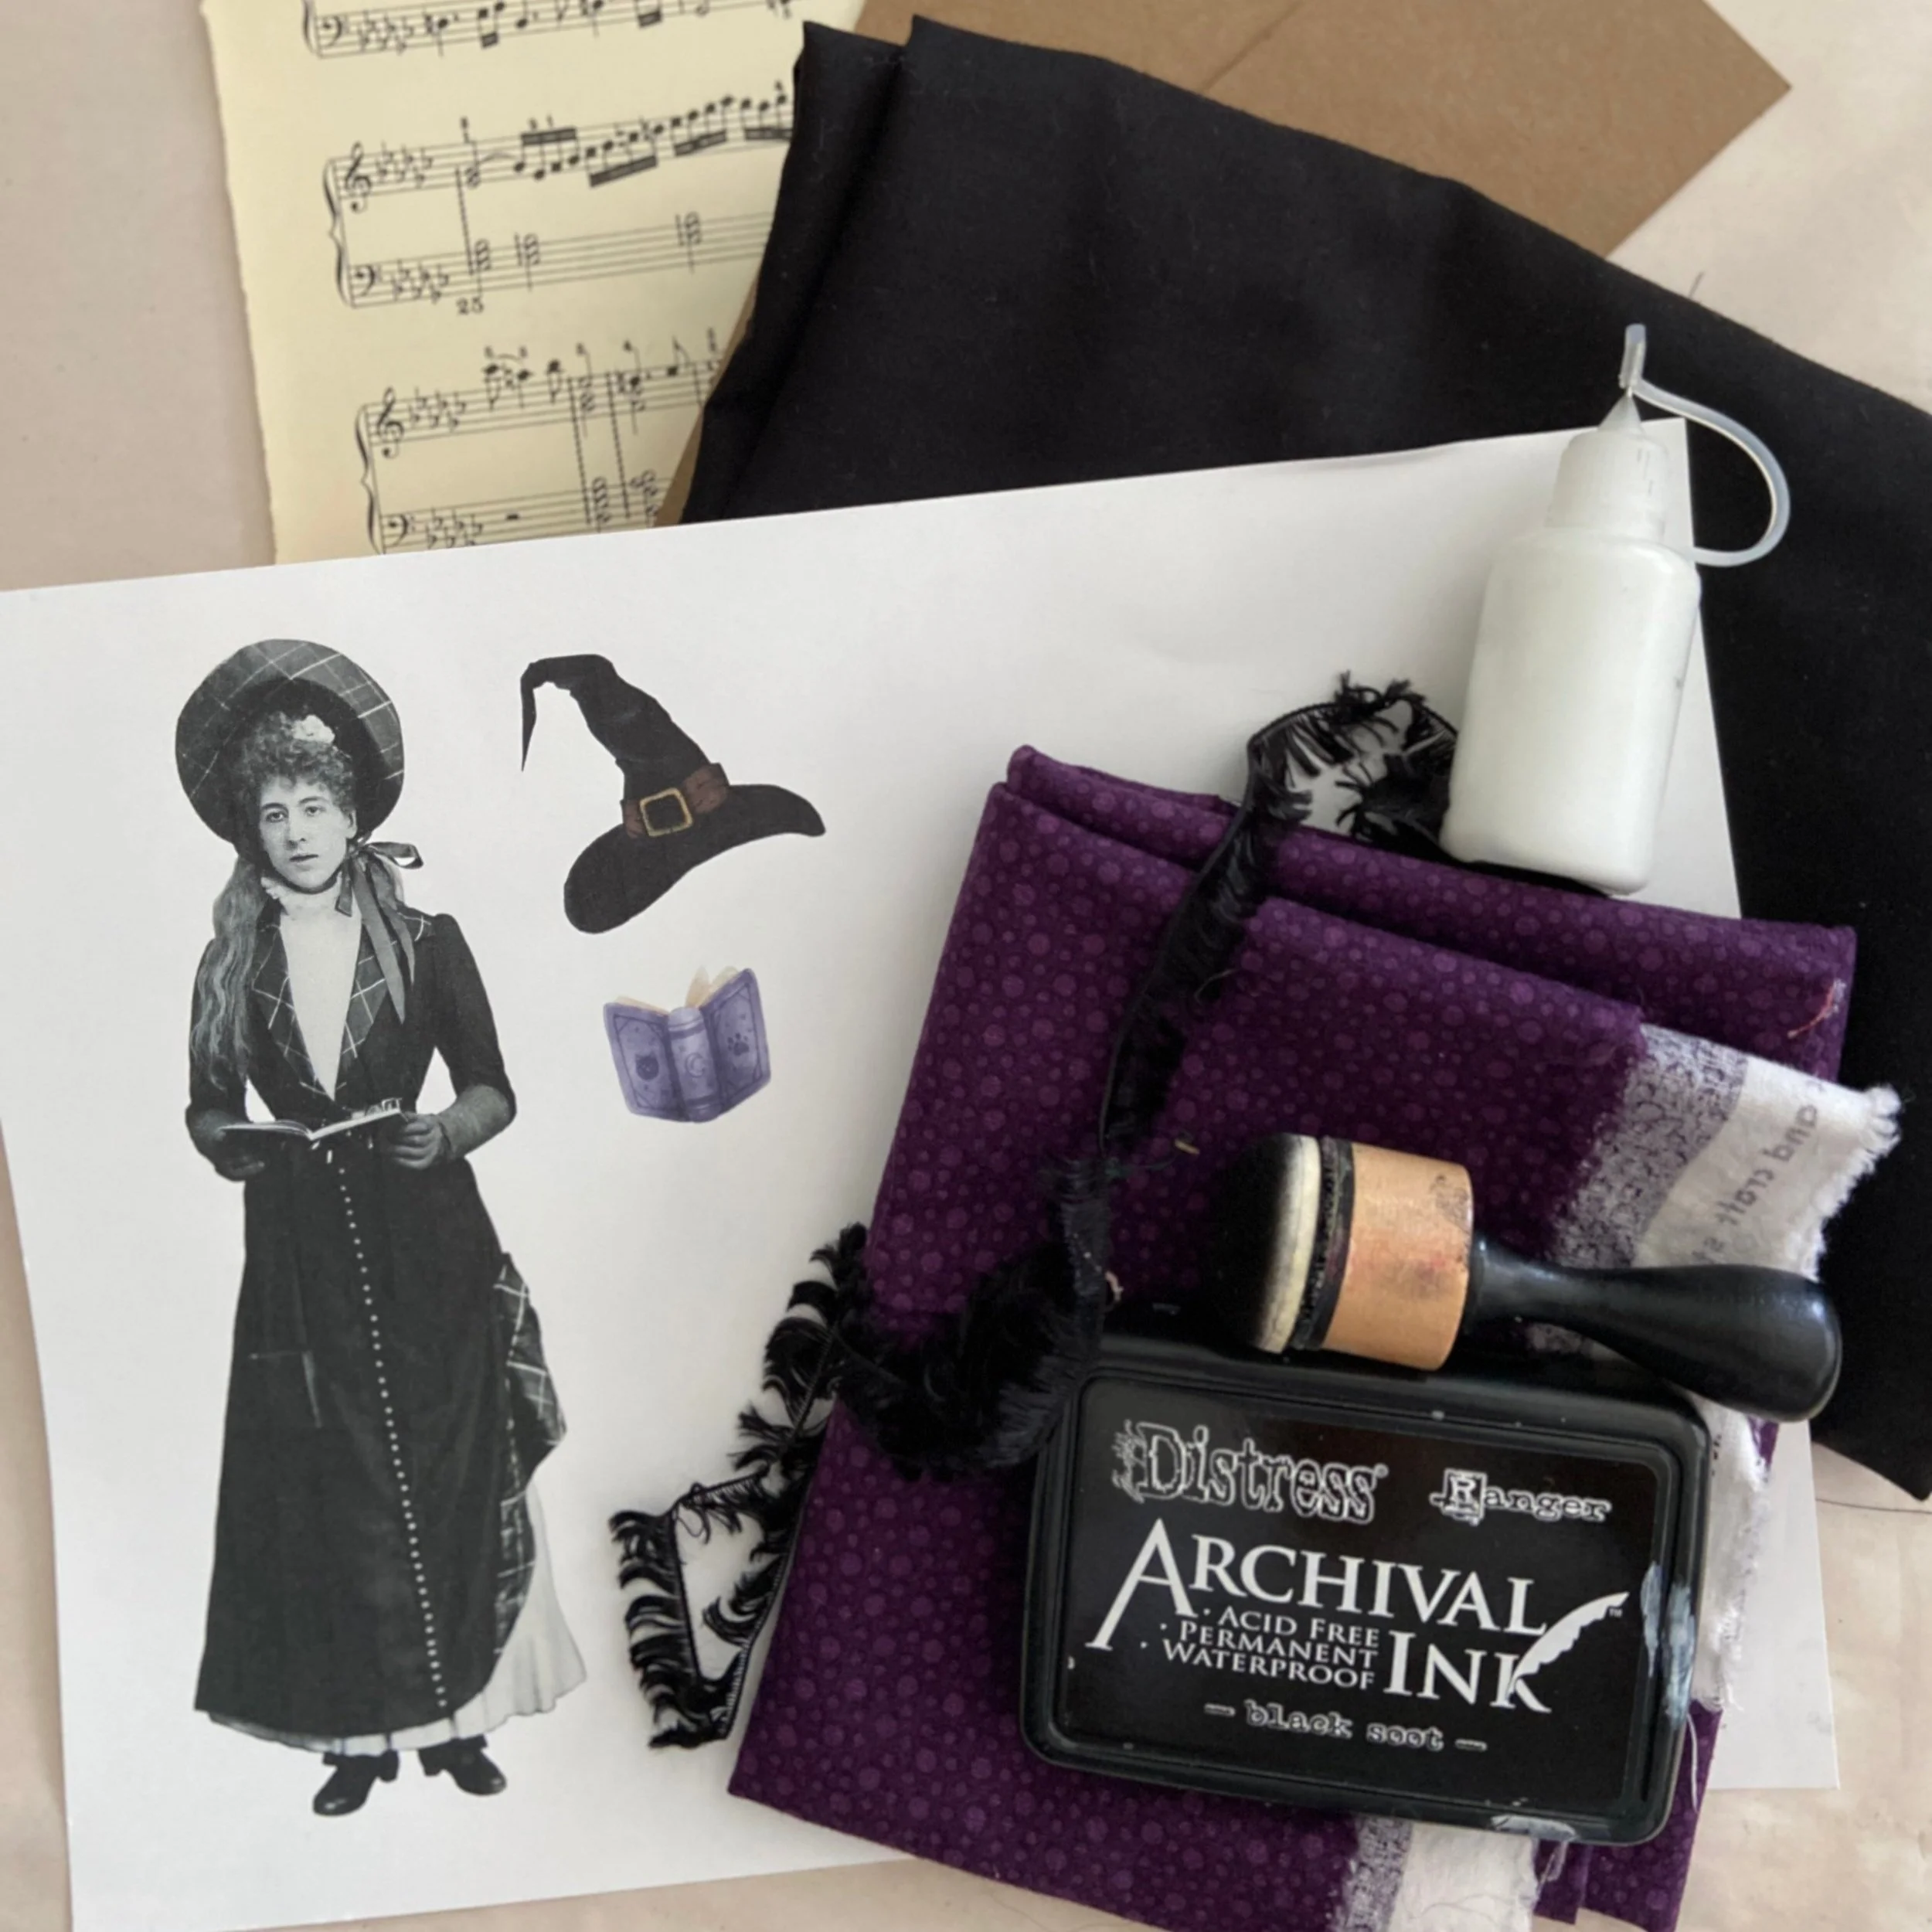
Supplies Needed For The Witch Paper Doll:
Images (female figure, witch hat, and spellbook). If you don’t have access to an image, you can always use Tim Holtz vintage people figures.
Cardboard (cereal or cracker box)
Adhesive
Fabric (I used black and purple)
Lace or ribbon
Black cardstock
Black marker
Vintage paper (for the back of the Witch bookmark
Step-by-Step Instructions with Tips
Finding the Right Image
I searched on Canva, The Graphics Fairy, and Creative Fabrica websites for witch images, but none were quite what I had in mind. Most were too scary, too creepy, or only showed the back of the witch.
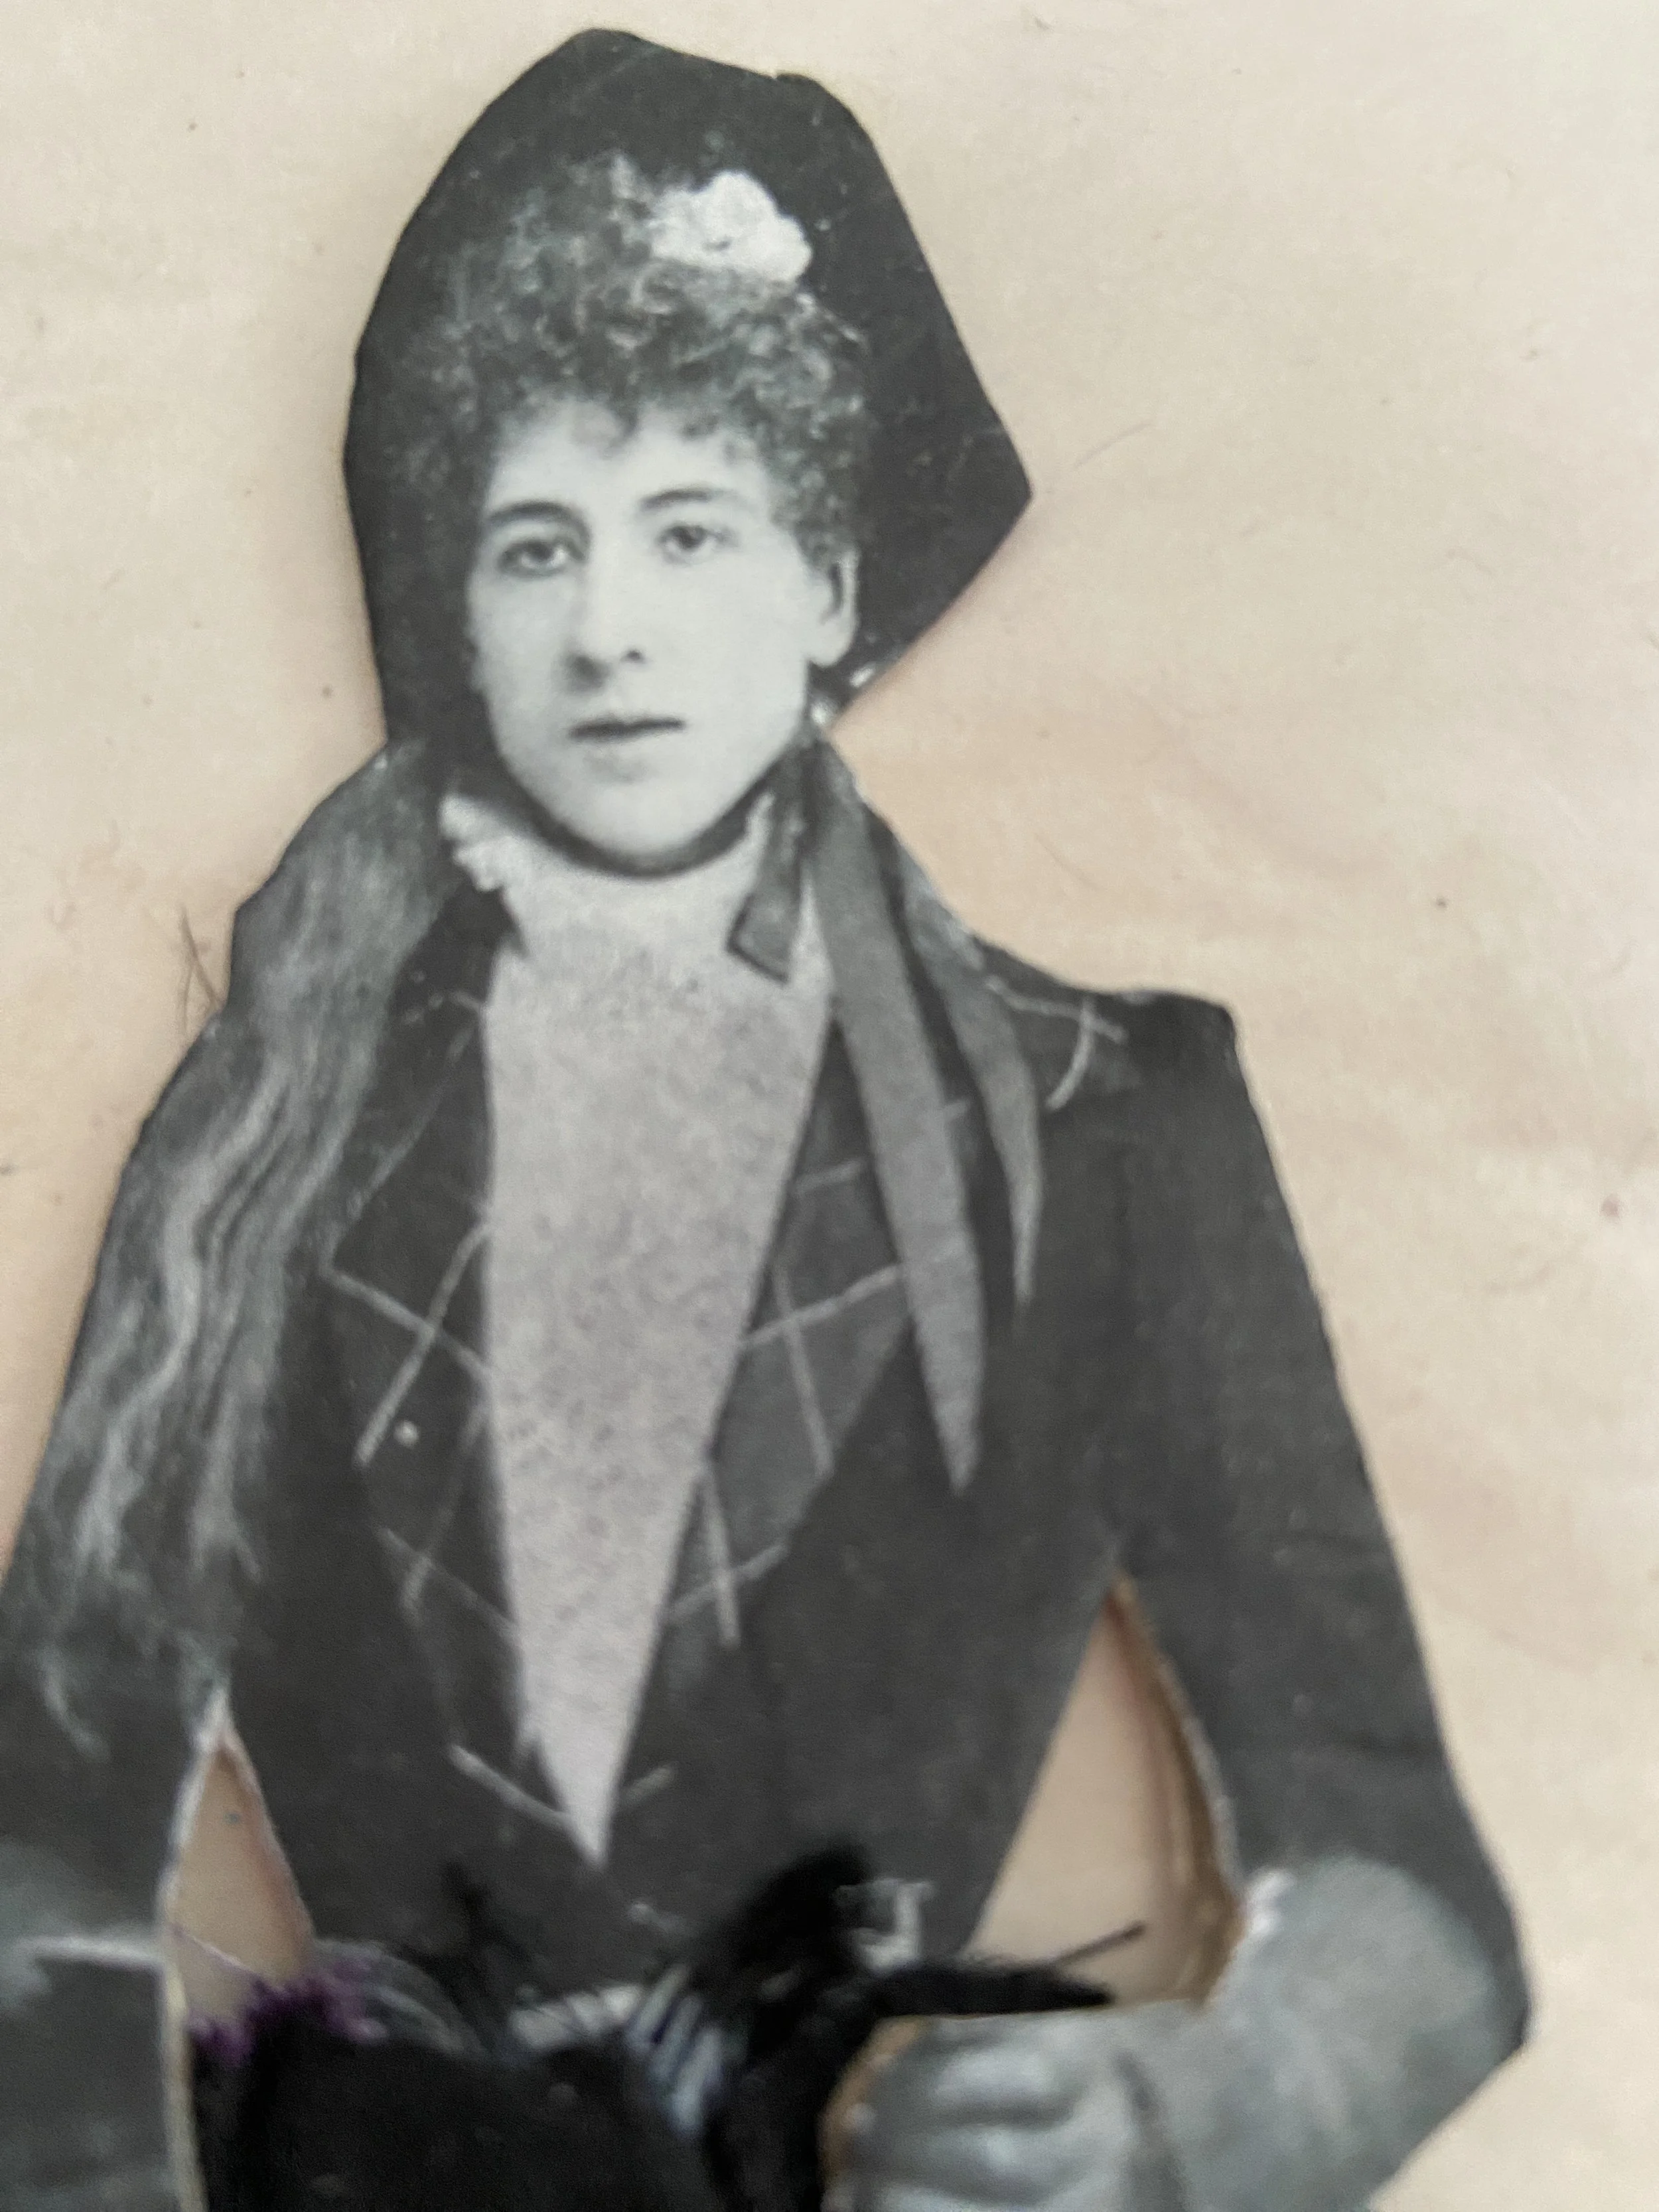
Finally, I found a vintage person on The Graphics Fairy website. She wasn’t a witch, but her look perfectly suited the style I envisioned for my Witch paper doll.
If you don’t have access to images, you can use a magazine cutout, draw and paint your own image, or use a Tim Holtz paper doll image.
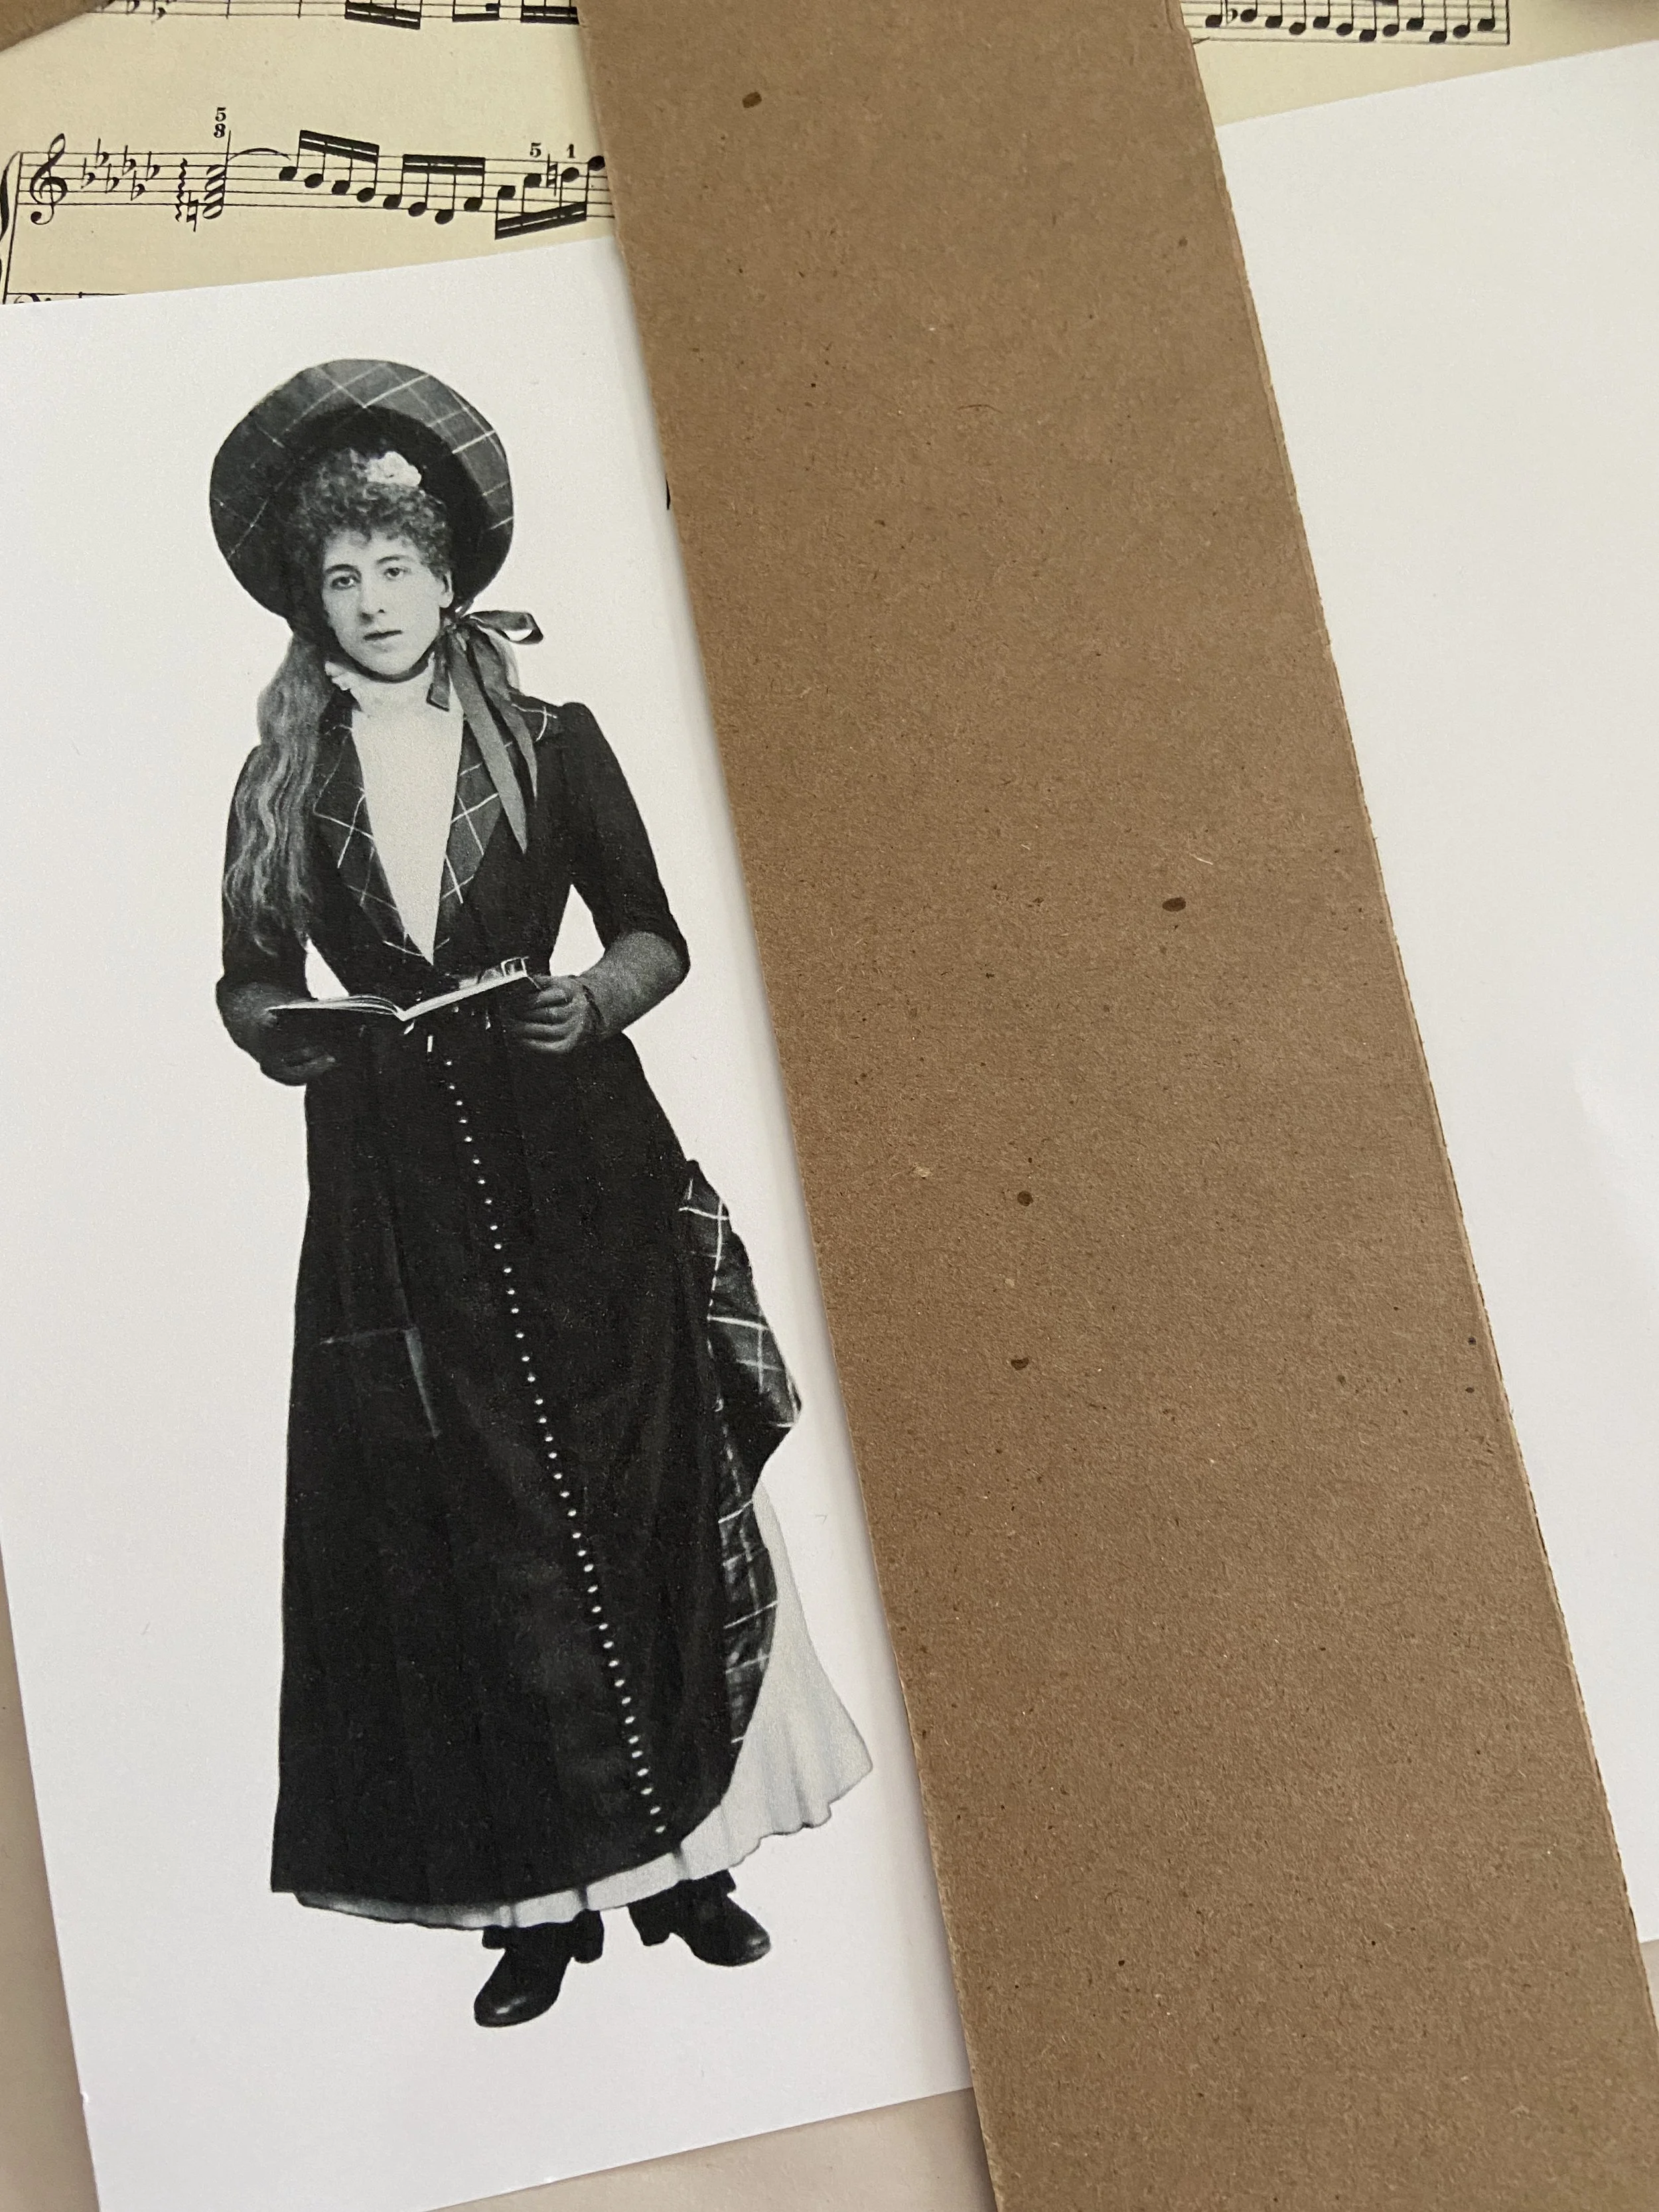
Printing and Prepping
Before printing, I opened an 8 ½” x 11” template on Canva to ensure she was the right height, the witch hat fit her head, and the spell book was proportionate.
I printed the images on white cardstock and then glued them onto light cardboard—recycling a cereal or cracker box, as that fits perfectly with the spirit of a junk journal!
I also glued vintage music paper to the back of the paper doll before cutting it out, so it looks finished on both sides.
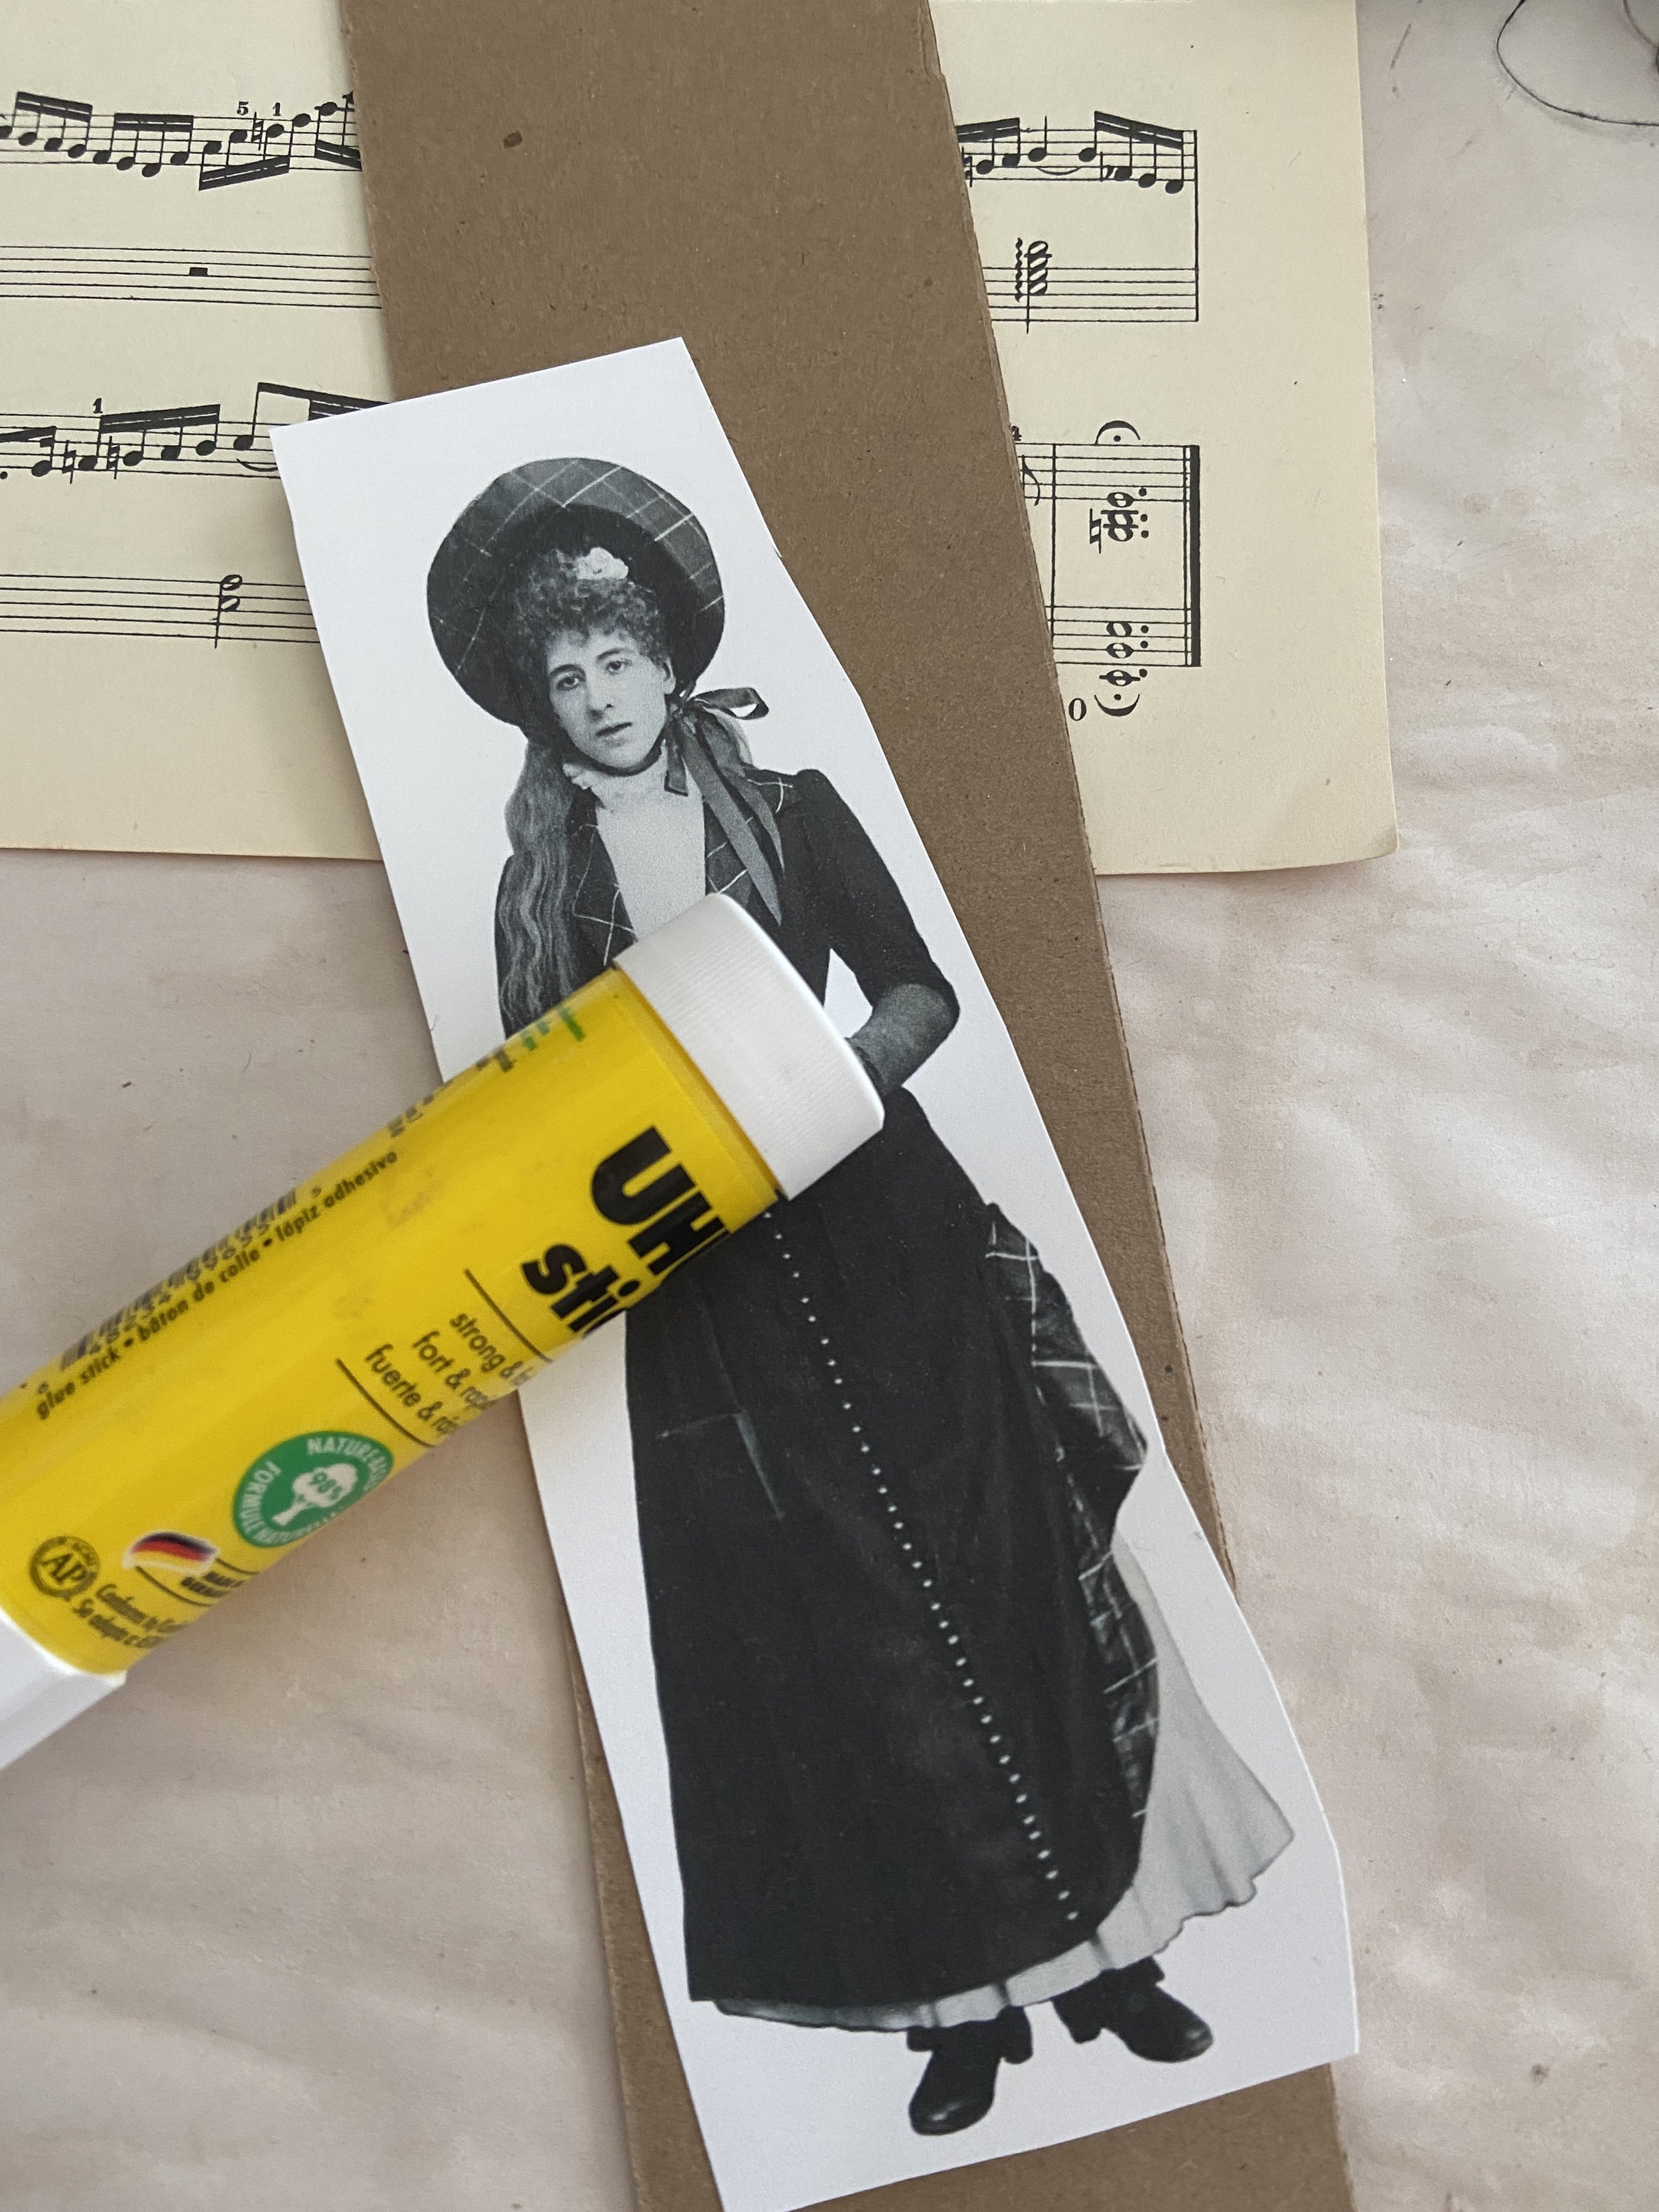


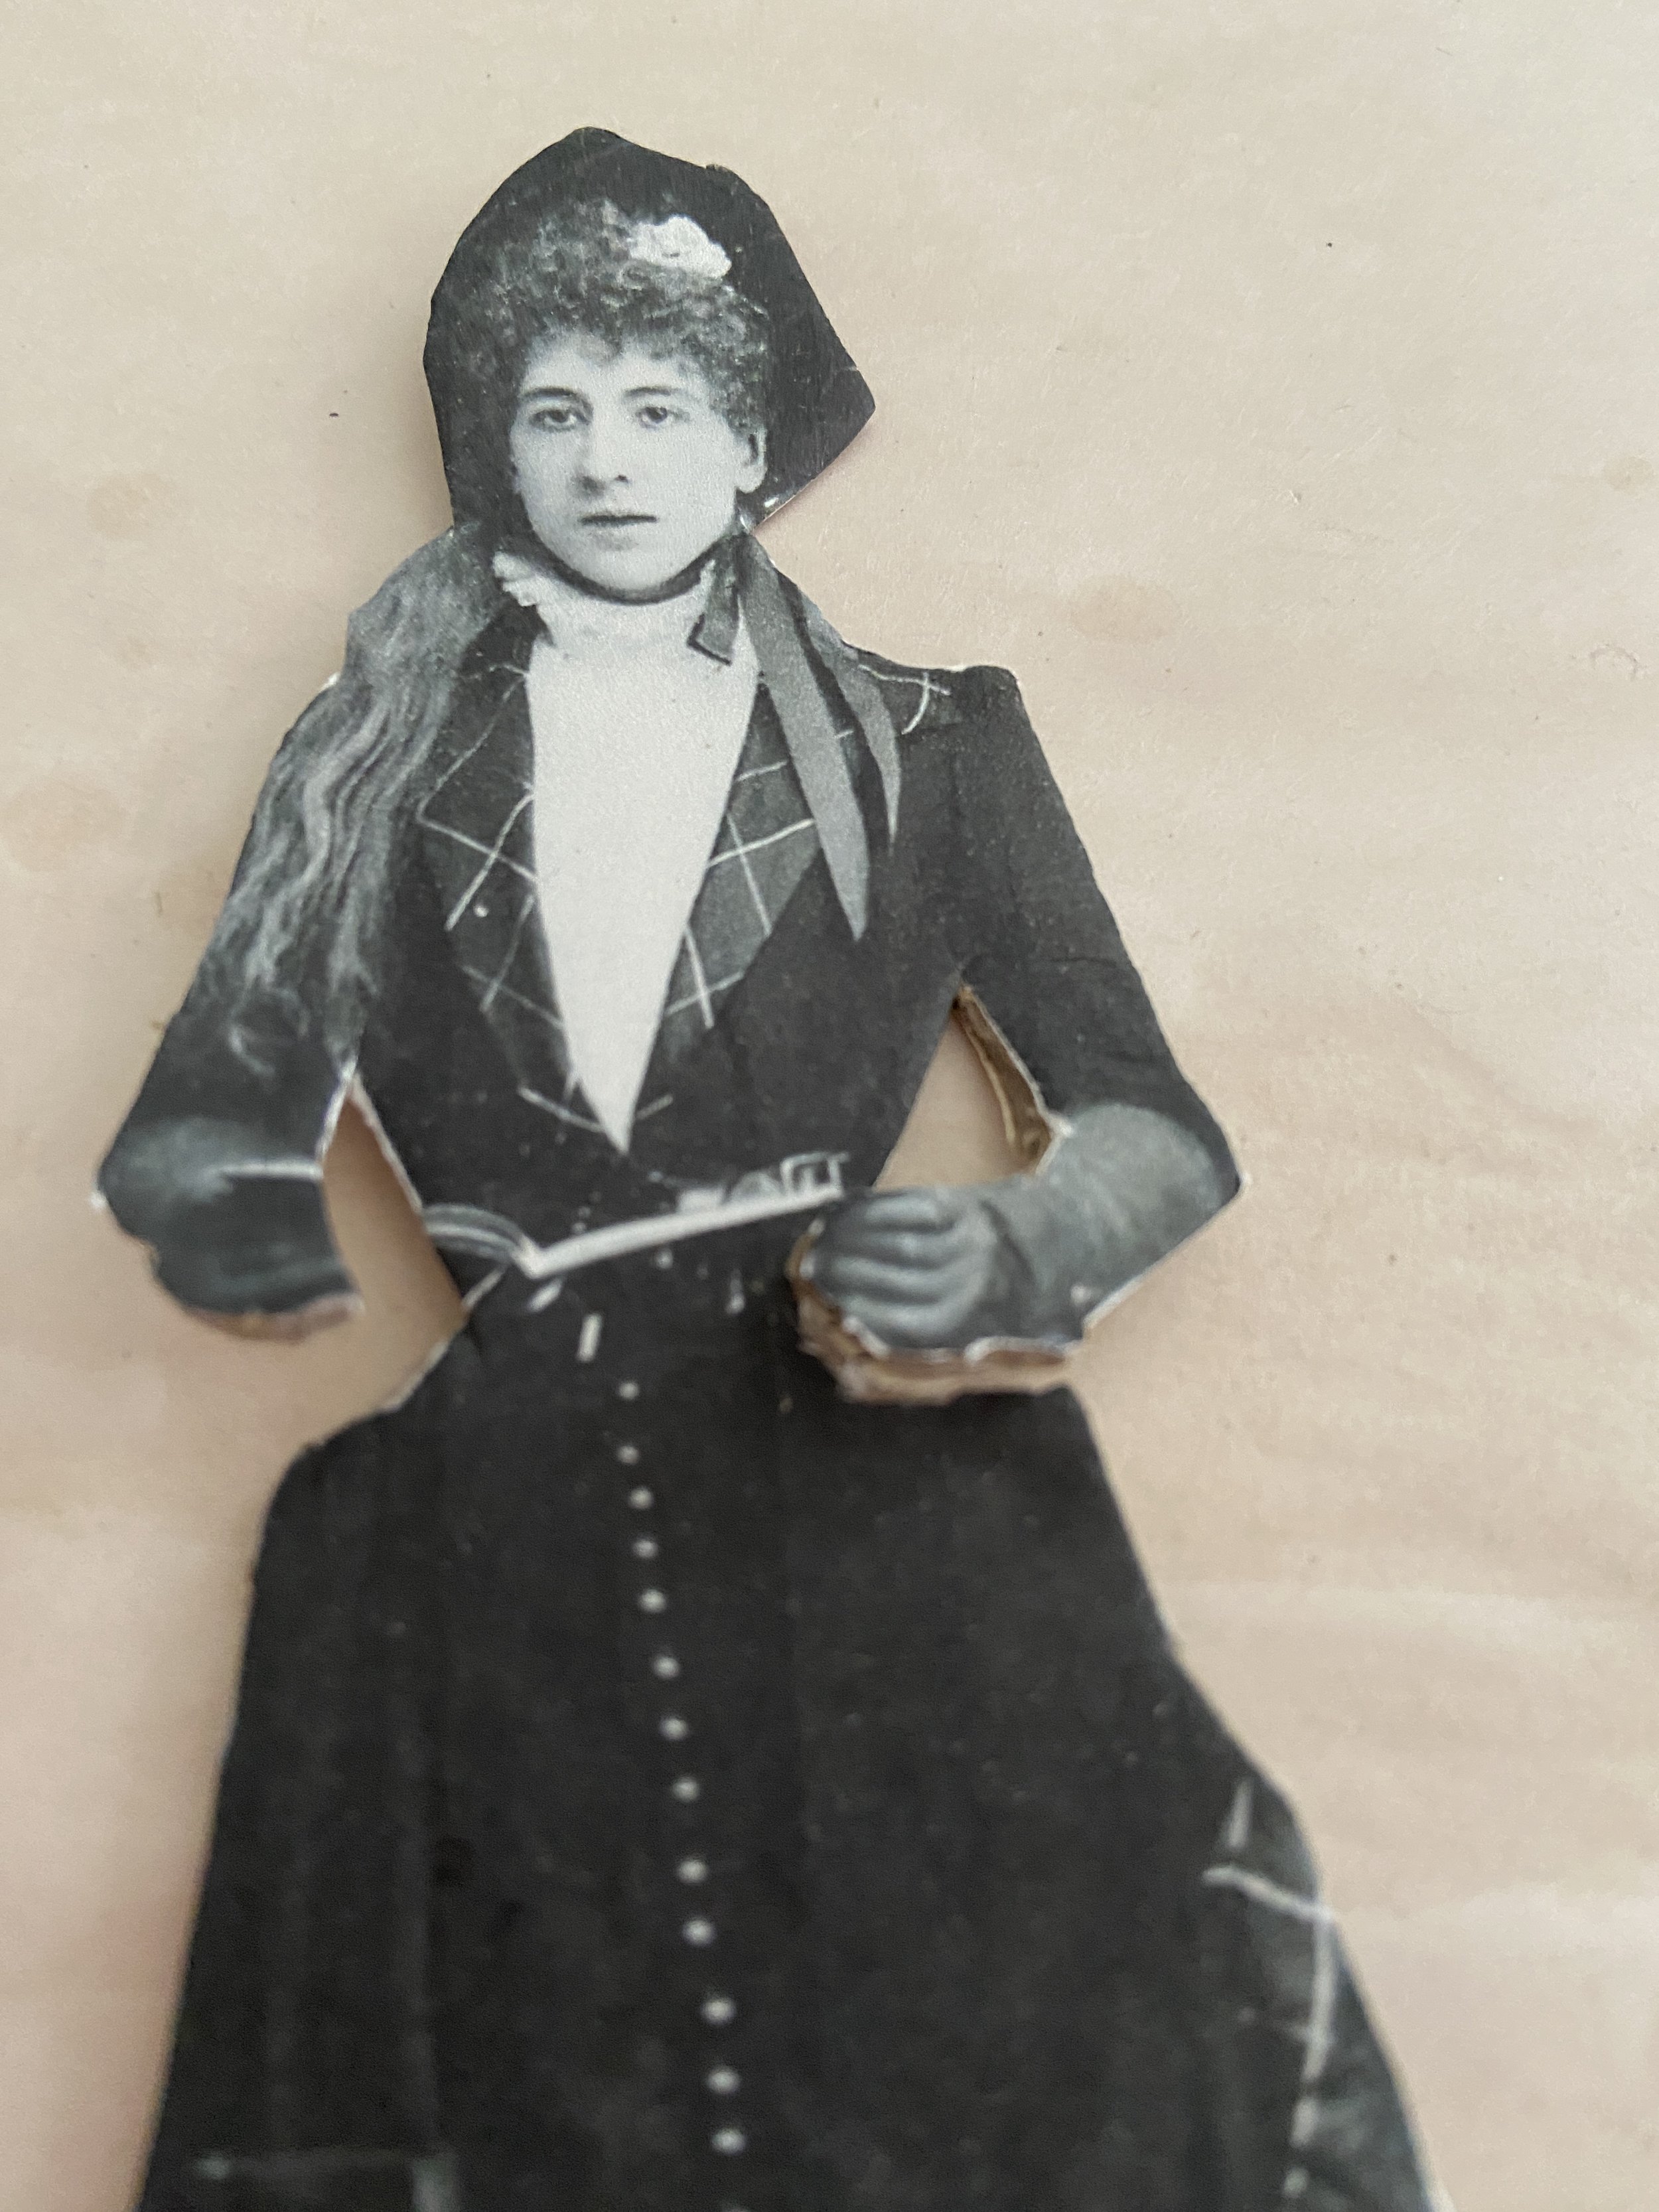
Cutting and Gluing
Using either sharp scissors or a craft knife, cut out the paper doll, witch hat, and spellbook.
I wanted my witch’s skirt to go under her hands, so I carefully cut around her hands, planning to glue the spellbook on top to make it look like she’s holding it.


Before I added the strips of fabric and ribbon to the Witch Bookmark, I cut out a skirt from black cardstock. It was about the same length but I made the waistband about 1/2” wider than my paper doll.
I also used a black marker and covered the white part of her dress at the bottom as well as the plaid fabric.


Adding the Skirt
In my Halloween Junk Journal, I’m using a color scheme of black, orange, and purple, so I incorporated those colors (except for the orange) into the skirt.
I tore strips of black and purple fabric about ½” to ¾” wide and cut them about 6” long. I began layering them on top of the black cardstock in this order: black fabric strips, purple fabric strips, black yarn or ribbon, and then black fabric strips again.


Scrunch the fabric to create a pleated look at the top of the skirt. No need to worry about a waistband—the spellbook will cover that part!
You can experiment with different fabrics, lace, and ribbons to achieve the look you’re going for.


Creating the Hat and Spell Book
If you can’t find a witch hat or spellbook online, you can always paint your own, which allows you to tailor them to your color palette.
Final Assembly
Glue the skirt onto the paper doll and trim the fabric strips to your desired length.
My paper doll had a white blouse, but I wanted it darker. I tried distress ink, but it made her look like she had a hairy chest, so I switched to a black paint marker instead! I completely covered up the front of her dress and ribbon.
Personalizing the Witch Bookmark
Feel free to add sequins, glitter, or Stickles to the witch’s hat for some extra sparkle.
I considered making a broom from a dowel rod and raffia but decided to keep her plain and simple!

This Witch bookmark paper doll turned out perfect, and she’s going to look great in my Halloween Junk Journal.
If Halloween isn’t your thing, you could always find a Victorian-style lady and make a paper doll in the same way. Experiment with different images and styles to create something uniquely yours.
This was a quick, easy, and fun project, and it was wonderful to add my own personality into my Witch Paper Doll. I hope you give it a try! Be sure to comment and share a picture of your creation.
Be sure and PIN for later!
