DIY Fall Scarecrow Decoration: Step by Step Guide

As the crisp air of fall begins to settle in, it's time to add a touch of whimsy to your home decor with a DIY scarecrow decoration. Picture this: a charming scarecrow standing proudly on your front porch, welcoming visitors with its quirky charm. In this step-by-step guide, we will show you how to gather supplies, construct the scarecrow frame, add personality with paint, and finish off with final touches and embellishments. So grab your materials and let's get crafting - your fall decor is about to get a playful upgrade!
Supplies Needed:
1” x 6” wood board, cut to 30”
21” Paint Stick
1 ½” x 12” wood board, paint stick, or ruler
Birch Wood Piece
Acrylic Paint
Fabric (burlap or plaid)
Hot Glue
E6000 Adhesive
Buttons
Raffia
Fall-themed Embellishments (e.g., leaves, flowers)
Instructions:
1. Prepare the Board:
- My husband cut a 6-foot board from Home Depot down to 30 inches. Home Depot offers cutting services if you need specific sizes.
2. Prime and Paint:
I started by spraying both sides of the board with Rustoleum White Spray Primer.
For the hat and pants, I painted the top and bottom sections black. In hindsight, navy blue might have been a better choice for the pants to mimic blue jeans.
I didn’t paint the Scarecrow’s middle section because it’s going to be covered up by the shirt.


3. Assemble the Scarecrow’s Body:
Paint the face with a tan, cream, or flesh tone. I used FolkArt Natural Buff.
Attach the 21” paint stick about 11 inches from the top of the board using E6000 adhesive and hot glue for extra stability.
Bundle raffia into two sections, tie them off, and glue them to each end of the paint stick for the scarecrow's arms.
4. Create the Outfit:
Cut out a shirt shape from burlap or fabric, using the folded edge for the shirt's top. An old plaid kid’s shirt can also work for a rustic look.
Add patches and buttons to the shirt for a touch of personality.
Cut a slit for the neckline (about 8 inches wide) and slide it over the top of the scarecrow’s arms. Secure the sides with hot glue or Fabri-Tak.
For additional detail, I stitched the side seams, but this is optional.


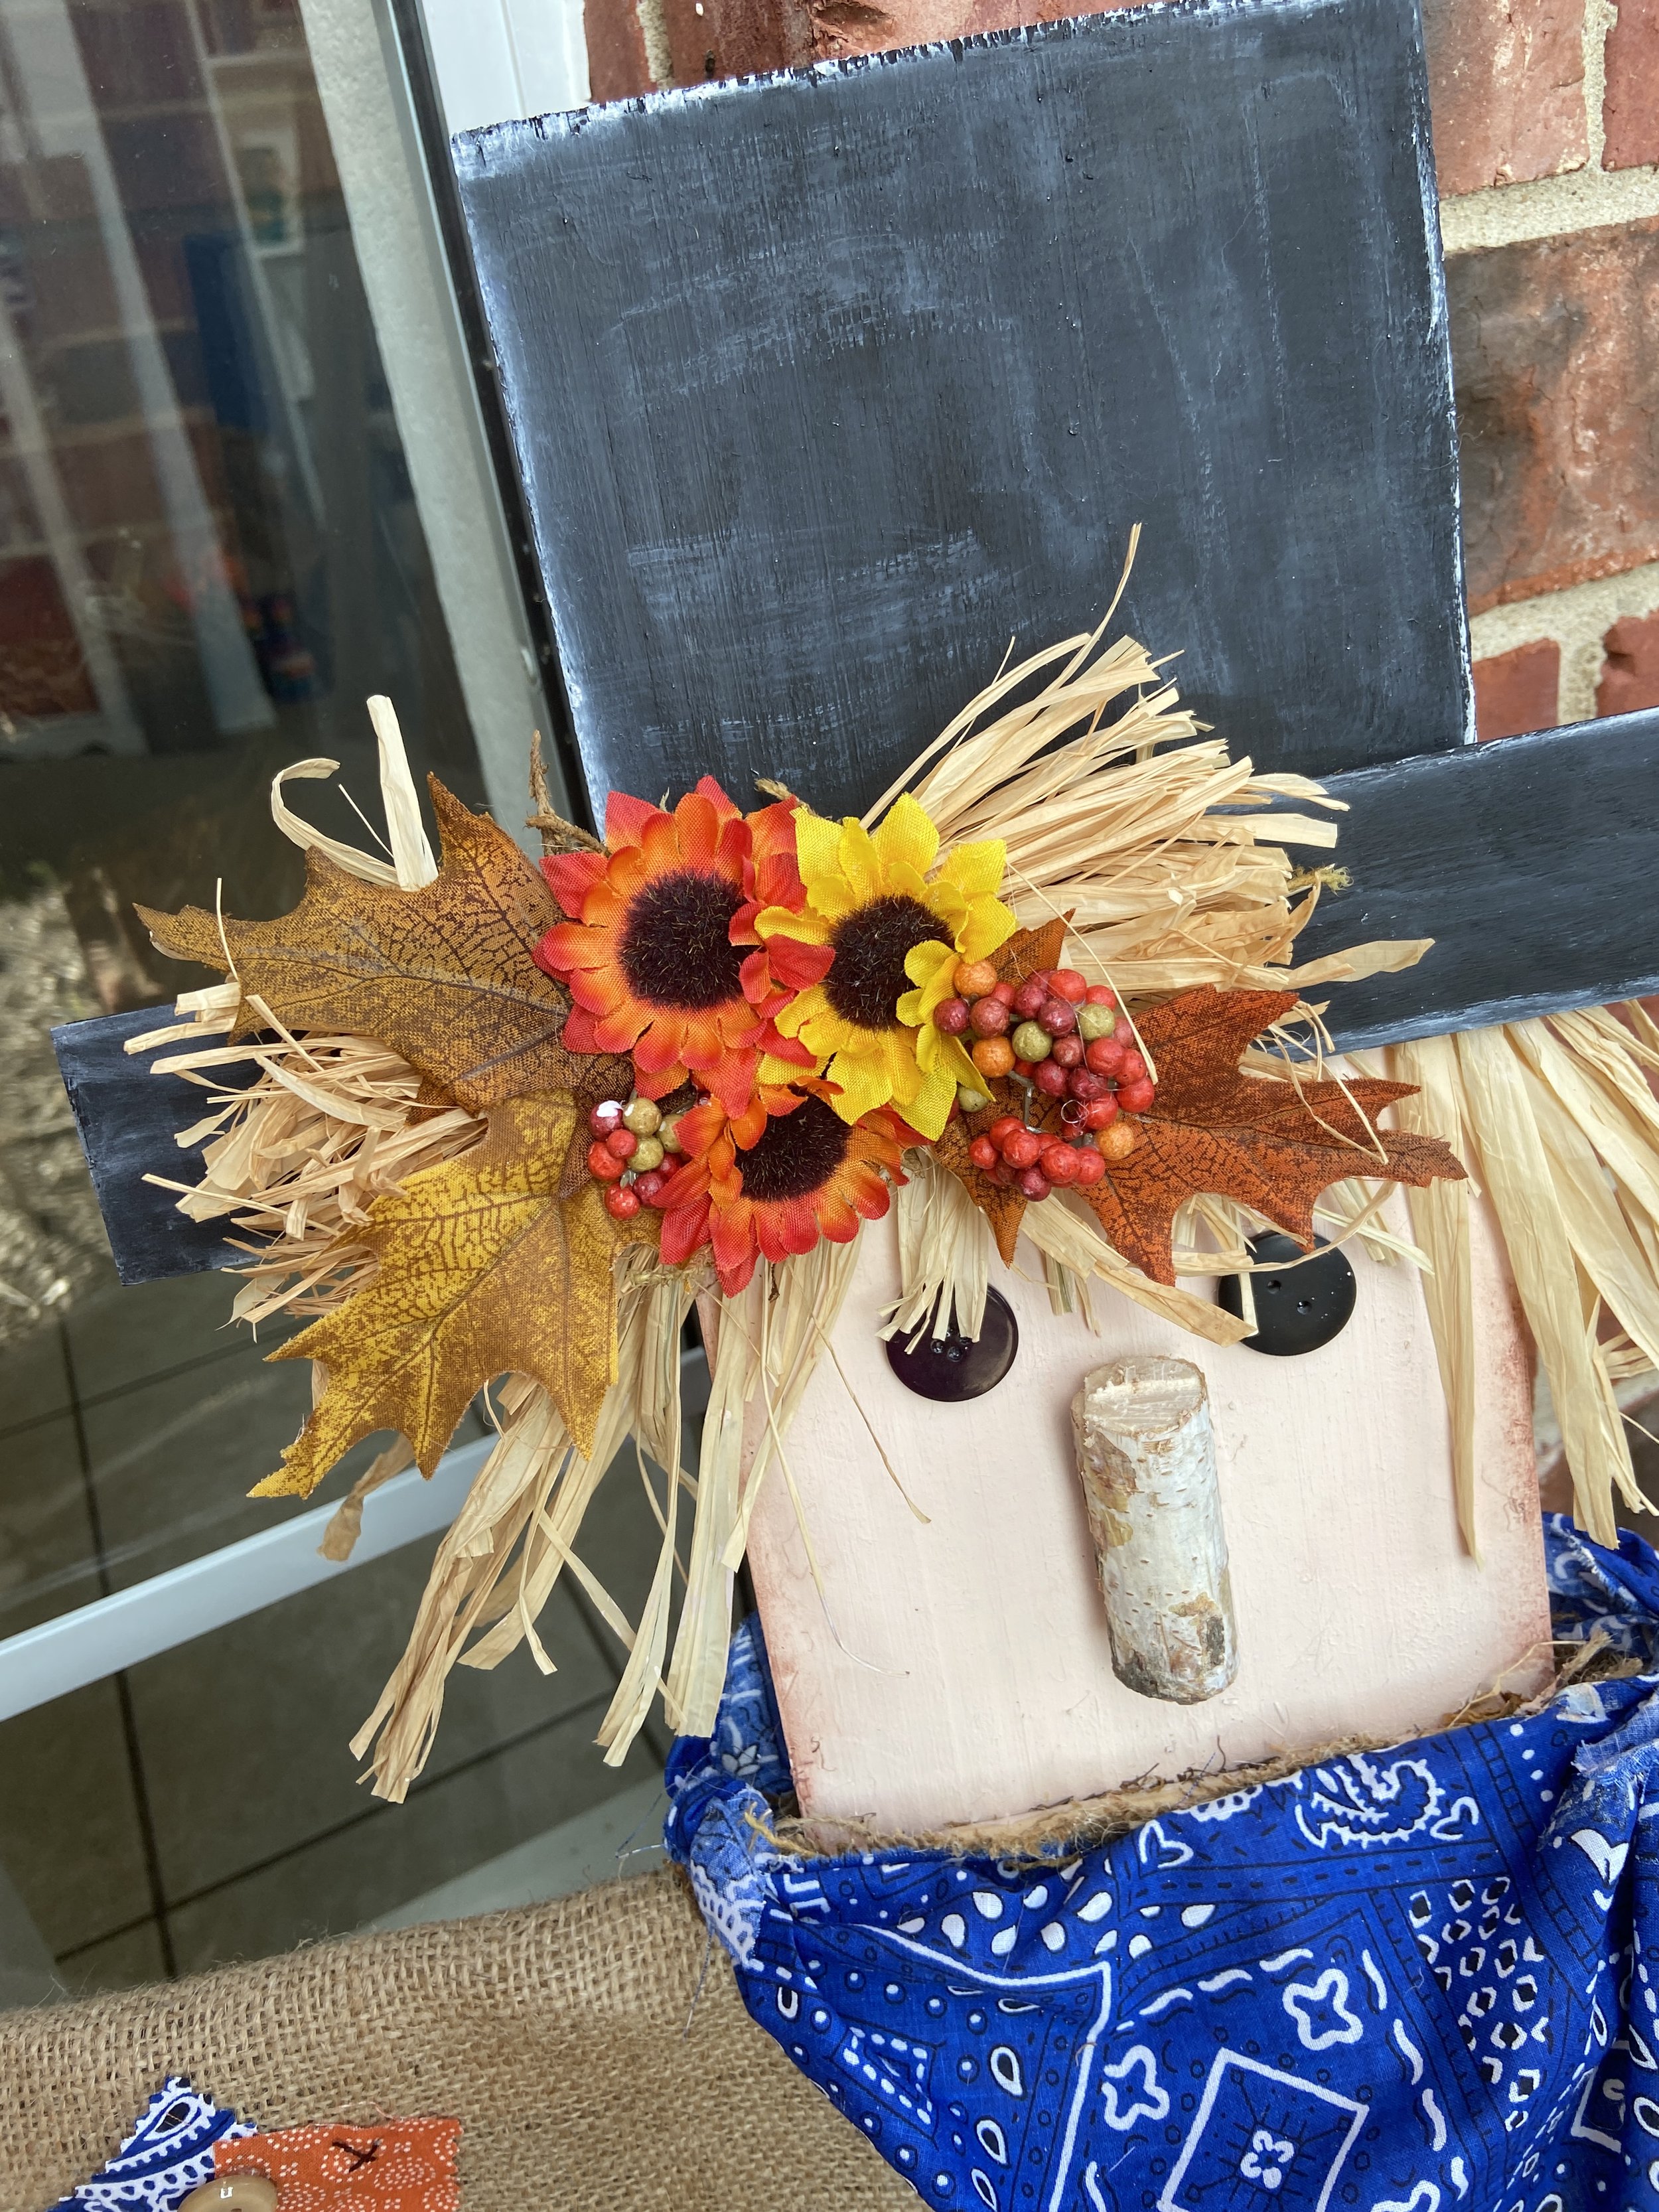
5. Facial Features:
Add two buttons for eyes and a piece of wood for the nose.
Optional: Instead of two buttons and a piece of wood, you can always paint a Scarecrow face. I wanted to keep this project simple.

6. Finalize the Hat:
Before adding the brim of the hat, add raffia pieces to create hair.
Attach the 12” strip of wood to the top of the hat as a brim with E6000 and hot glue.
Embellish with fall leaves, flowers, and additional raffia. I also added moss, but it wasn't very visible in the end.
7. Final Touches:
Add shading around the face, hat, and pants to enhance the scarecrow’s features.
Attach a stake to the back of the scarecrow for easy placement if you are wanting to add it to your flower bed. Otherwise, just use this cute Scarecrow as a Fall Home Decor Piece.


So, grab your supplies, let your creativity flow, and bring your scarecrow to life! Remember, the possibilities are endless when it comes to adding a personal touch to your fall decor. Happy crafting!
If you would like more detailed instructions, be sure and check out my YouTube channel:
DIY Primitive Scarecrow: Easy & Adorable Wooden Fall Decor
