Let's make a pine cone Ornament with music paper
Did your mom ever make sequin Christmas ornaments using a styrofoam ball, sequins and pins? I remember seeing them but I can’t remember if my mom ever made any. She was a great seamstress but didn’t think that she was very crafty.


I saw the cutest pine cone idea on Pinterest and I just knew that I had to give it a try. Here’s a list of all the supplies that I used:
Hymnal Paper
Scissors
Christmas Greenery & Jute Twine for a hanger
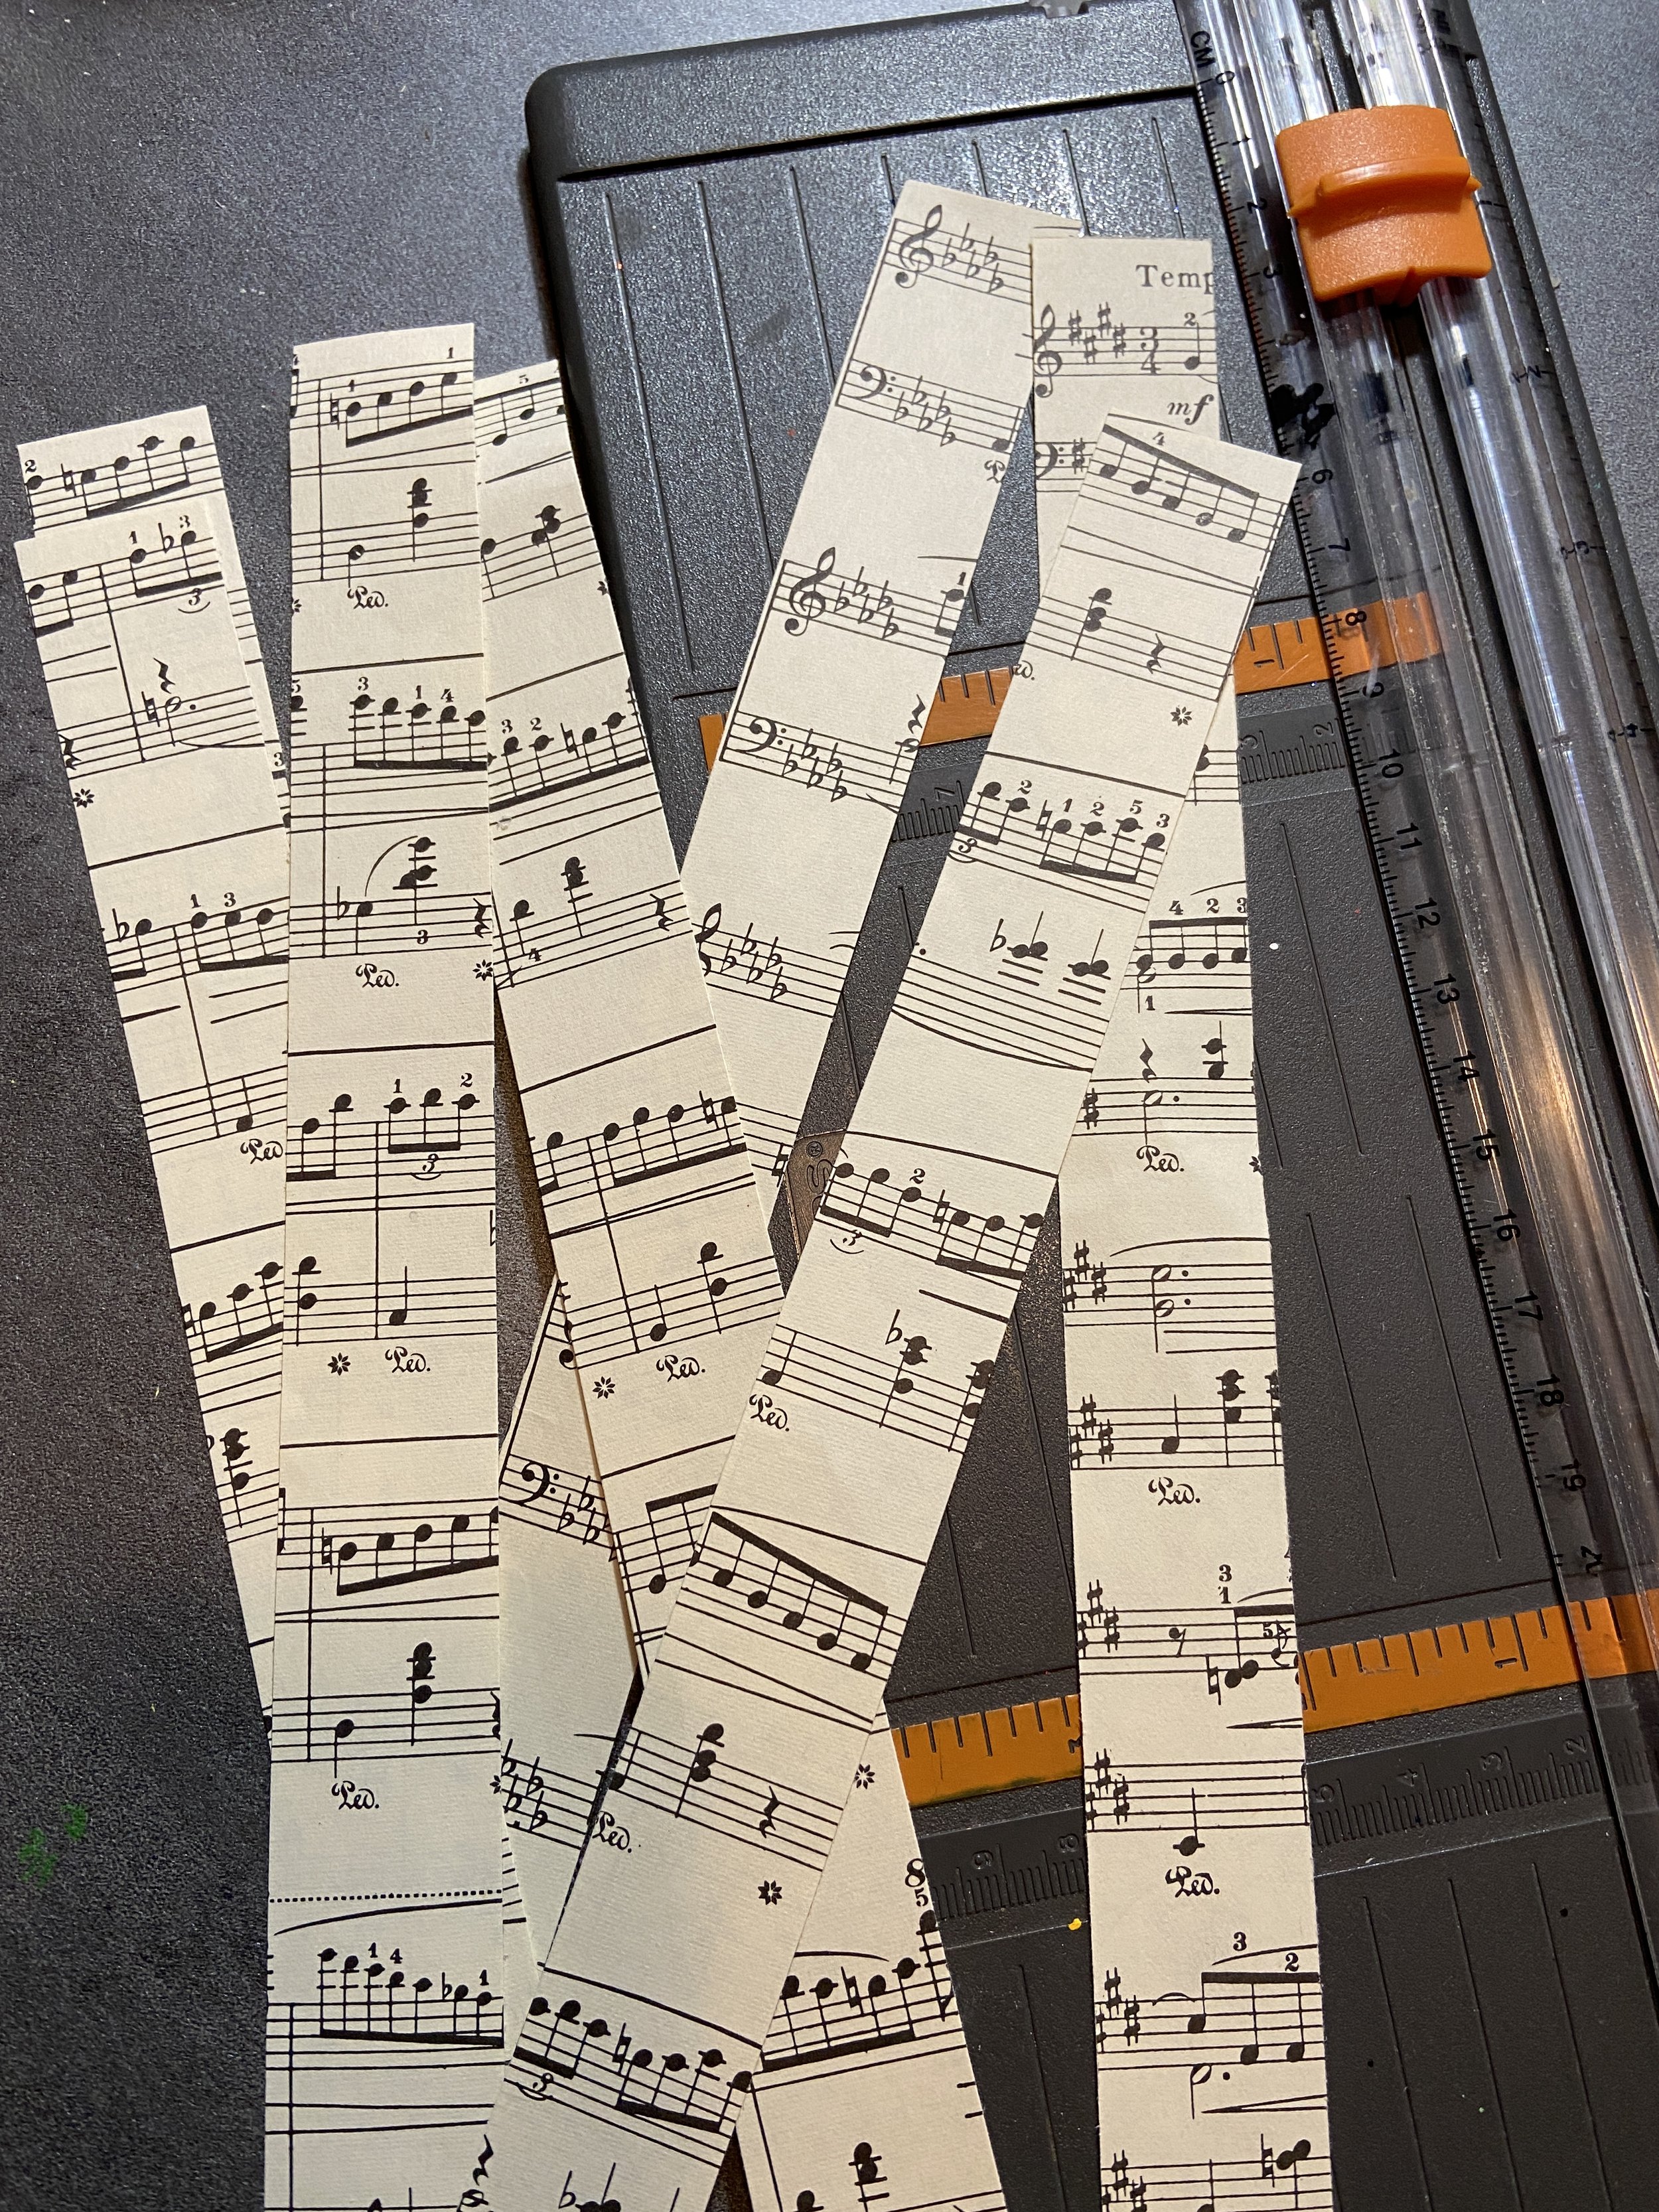
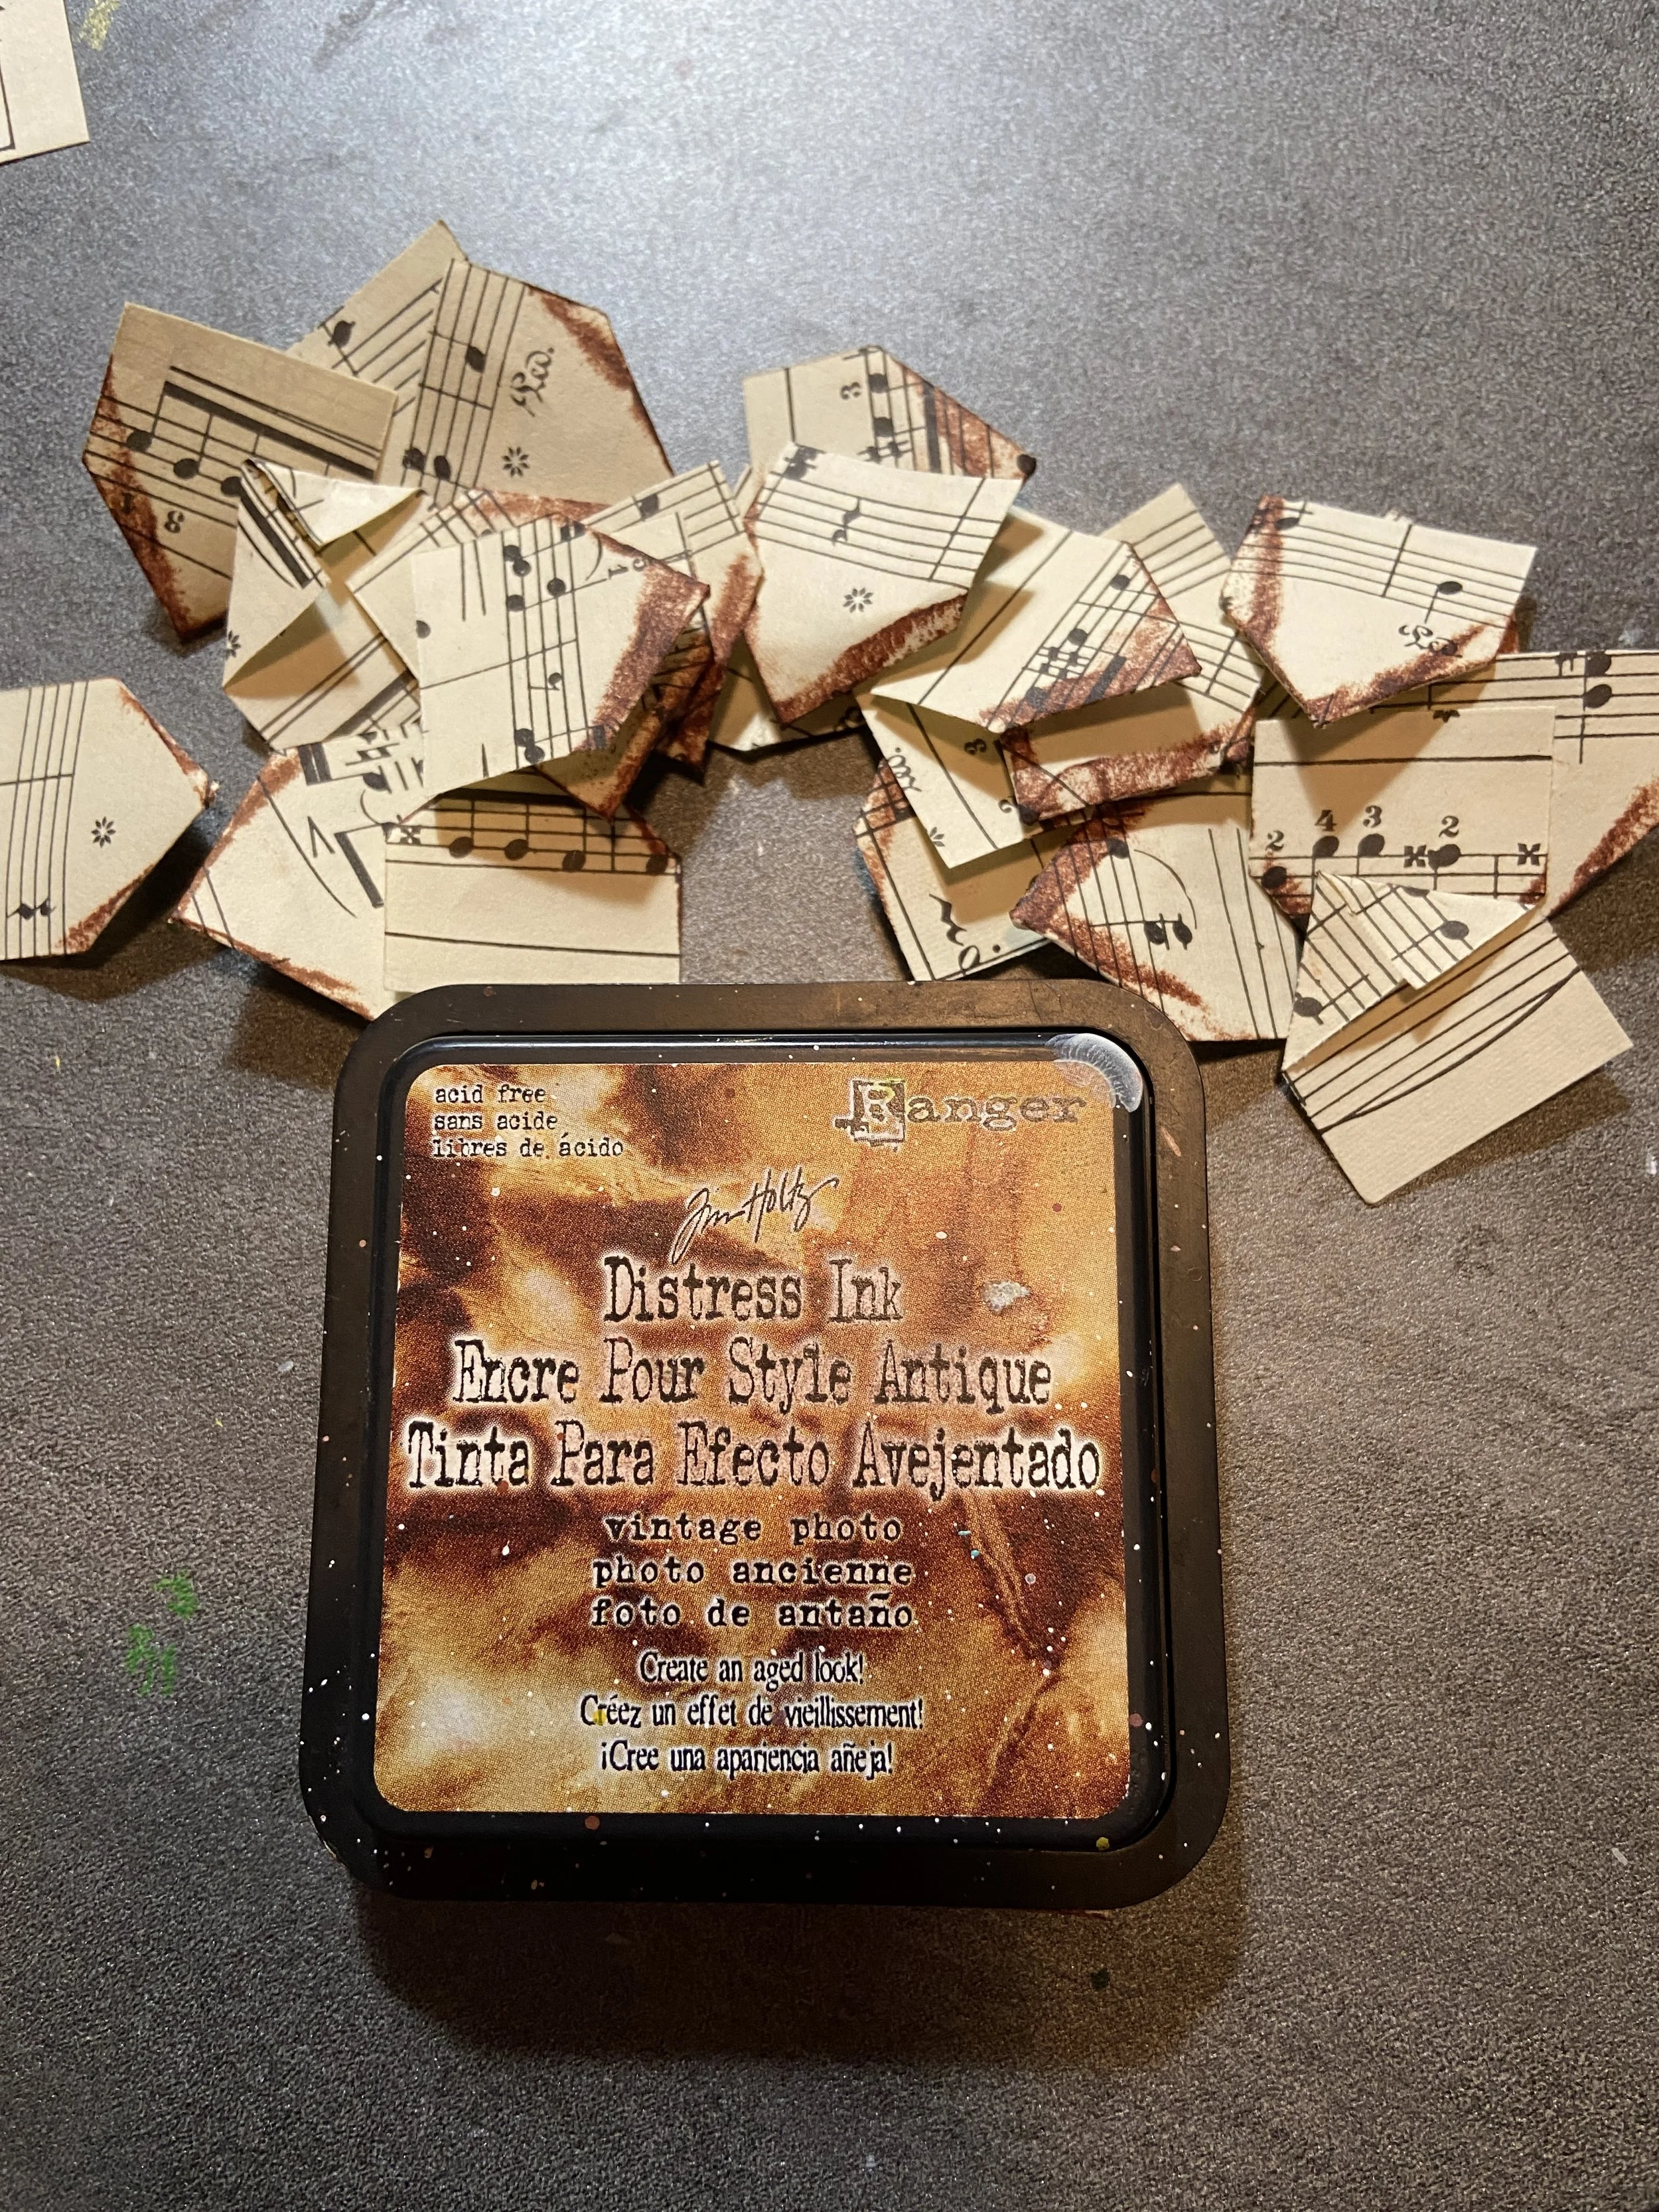
First you have to cut 1” strips and then 1” squares from whatever paper you want to use. After you have all your pieces cut (approximately 60 - 80 squares) you will fold down the top part of a square and you will have a house shape.
I used Tim Holtz Distress Ink in Vintage Photo to the triangle part of the square.


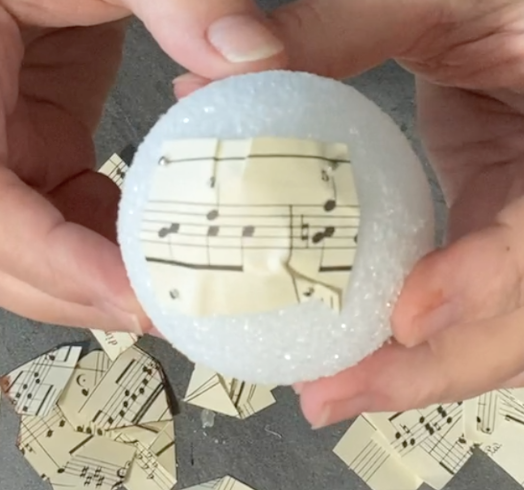
At the top of the egg (the smallest part), I added a whole square to cover it up. Then I just started added my pieces to the pinecone. Make sure that you are alternating your pieces like you would if you were laying bricks….not in a straight row. The directions that I found said to put two pins in each house shape but I started using one pin and then adding my next paper piece then adding the pins. This definitely saved on pins because I used about 150-200 pins just for this one pine cone.


When I got to the top of the pine cone, I made a hole in the top so that I could hot glue my jute twine hanger (this was about 8” long). I finished with the paper pieces to completely cover the top. Then I added some greenery and red berries to cover the pins that showed on the top.
Here is a process video that I made….hope you enjoy!