DIY Honey Bee Wall Art
I am so excited to share this simple and easy DIY Honey Bee Wall Art project. I believe that this is one of my favorite projects that I have made this year.
Supplies needed:
Board (any size board will work)
2 Paint Sticks or large popsicle sticks
Wood Glue
Burlap
Hot Glue
Scissors
Floral Picks
Ribbon
Embroidery Floss and Needle
Floral Foam
Directions:
Size of the board - I cut 2 fence picket to 18” length and then glued them together. The total size of the board was approximately 10 ½” x 18”. You can use any size board that you want or that you have in your stash.
If you are gluing two boards together, you will need to cut paint sticks to about 6” to 8” lengths. These will be used to attach to the back to give the glued boards more support. I used wood glue and hot glue to attach the paint sticks to the back of the fence pieces.

After I let the glue dry for about an hour, I attached my polka-dot Burlap that I purchased from Dollar Tree.
Fold down the burlap about 1 ½” on the top and then fold again. Glue with hot glue or craft glue.
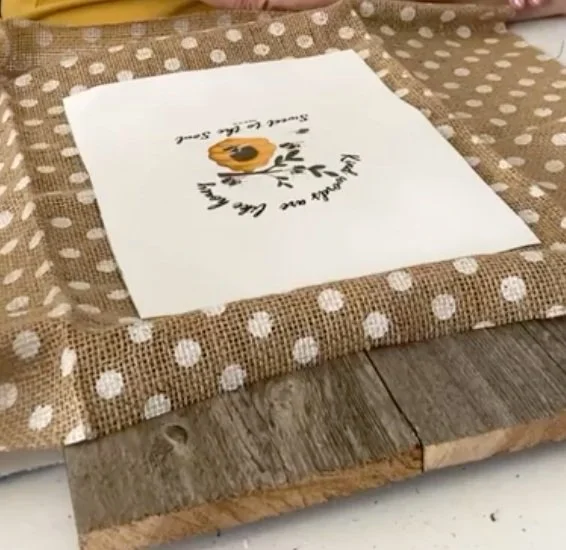


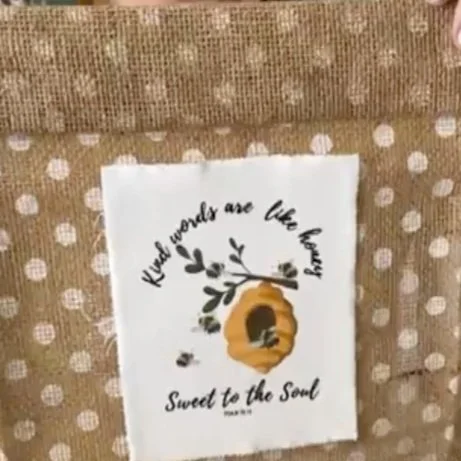
Print the “Honey To The Soul” design on the Canvas. (I just ran this through my printer and made sure to wait a few minutes before touching the canvas to allow the ink to dry.)
I tore the canvas to approximately 5” x 5 ½”.
If you want, add decorative stitching with embroidery floss and then glue the canvas to the burlap. (It’s much easier to stitch only to the canvas and not try to attach to the canvas directly to the burlap)
To attach the burlap to the board, center the canvas and glue the bottom of the burlap to the back of the board.
To attach the top of the burlap, make sure that you have a gap at the top to make a pocket for the flowers and greenery.
At the bottom of the board, I folded the bottom edge of the burlap like a package. This will make it easier to glue on the back.
After the burlap is glued to the back, attach upholstery tacks to the front of the board.
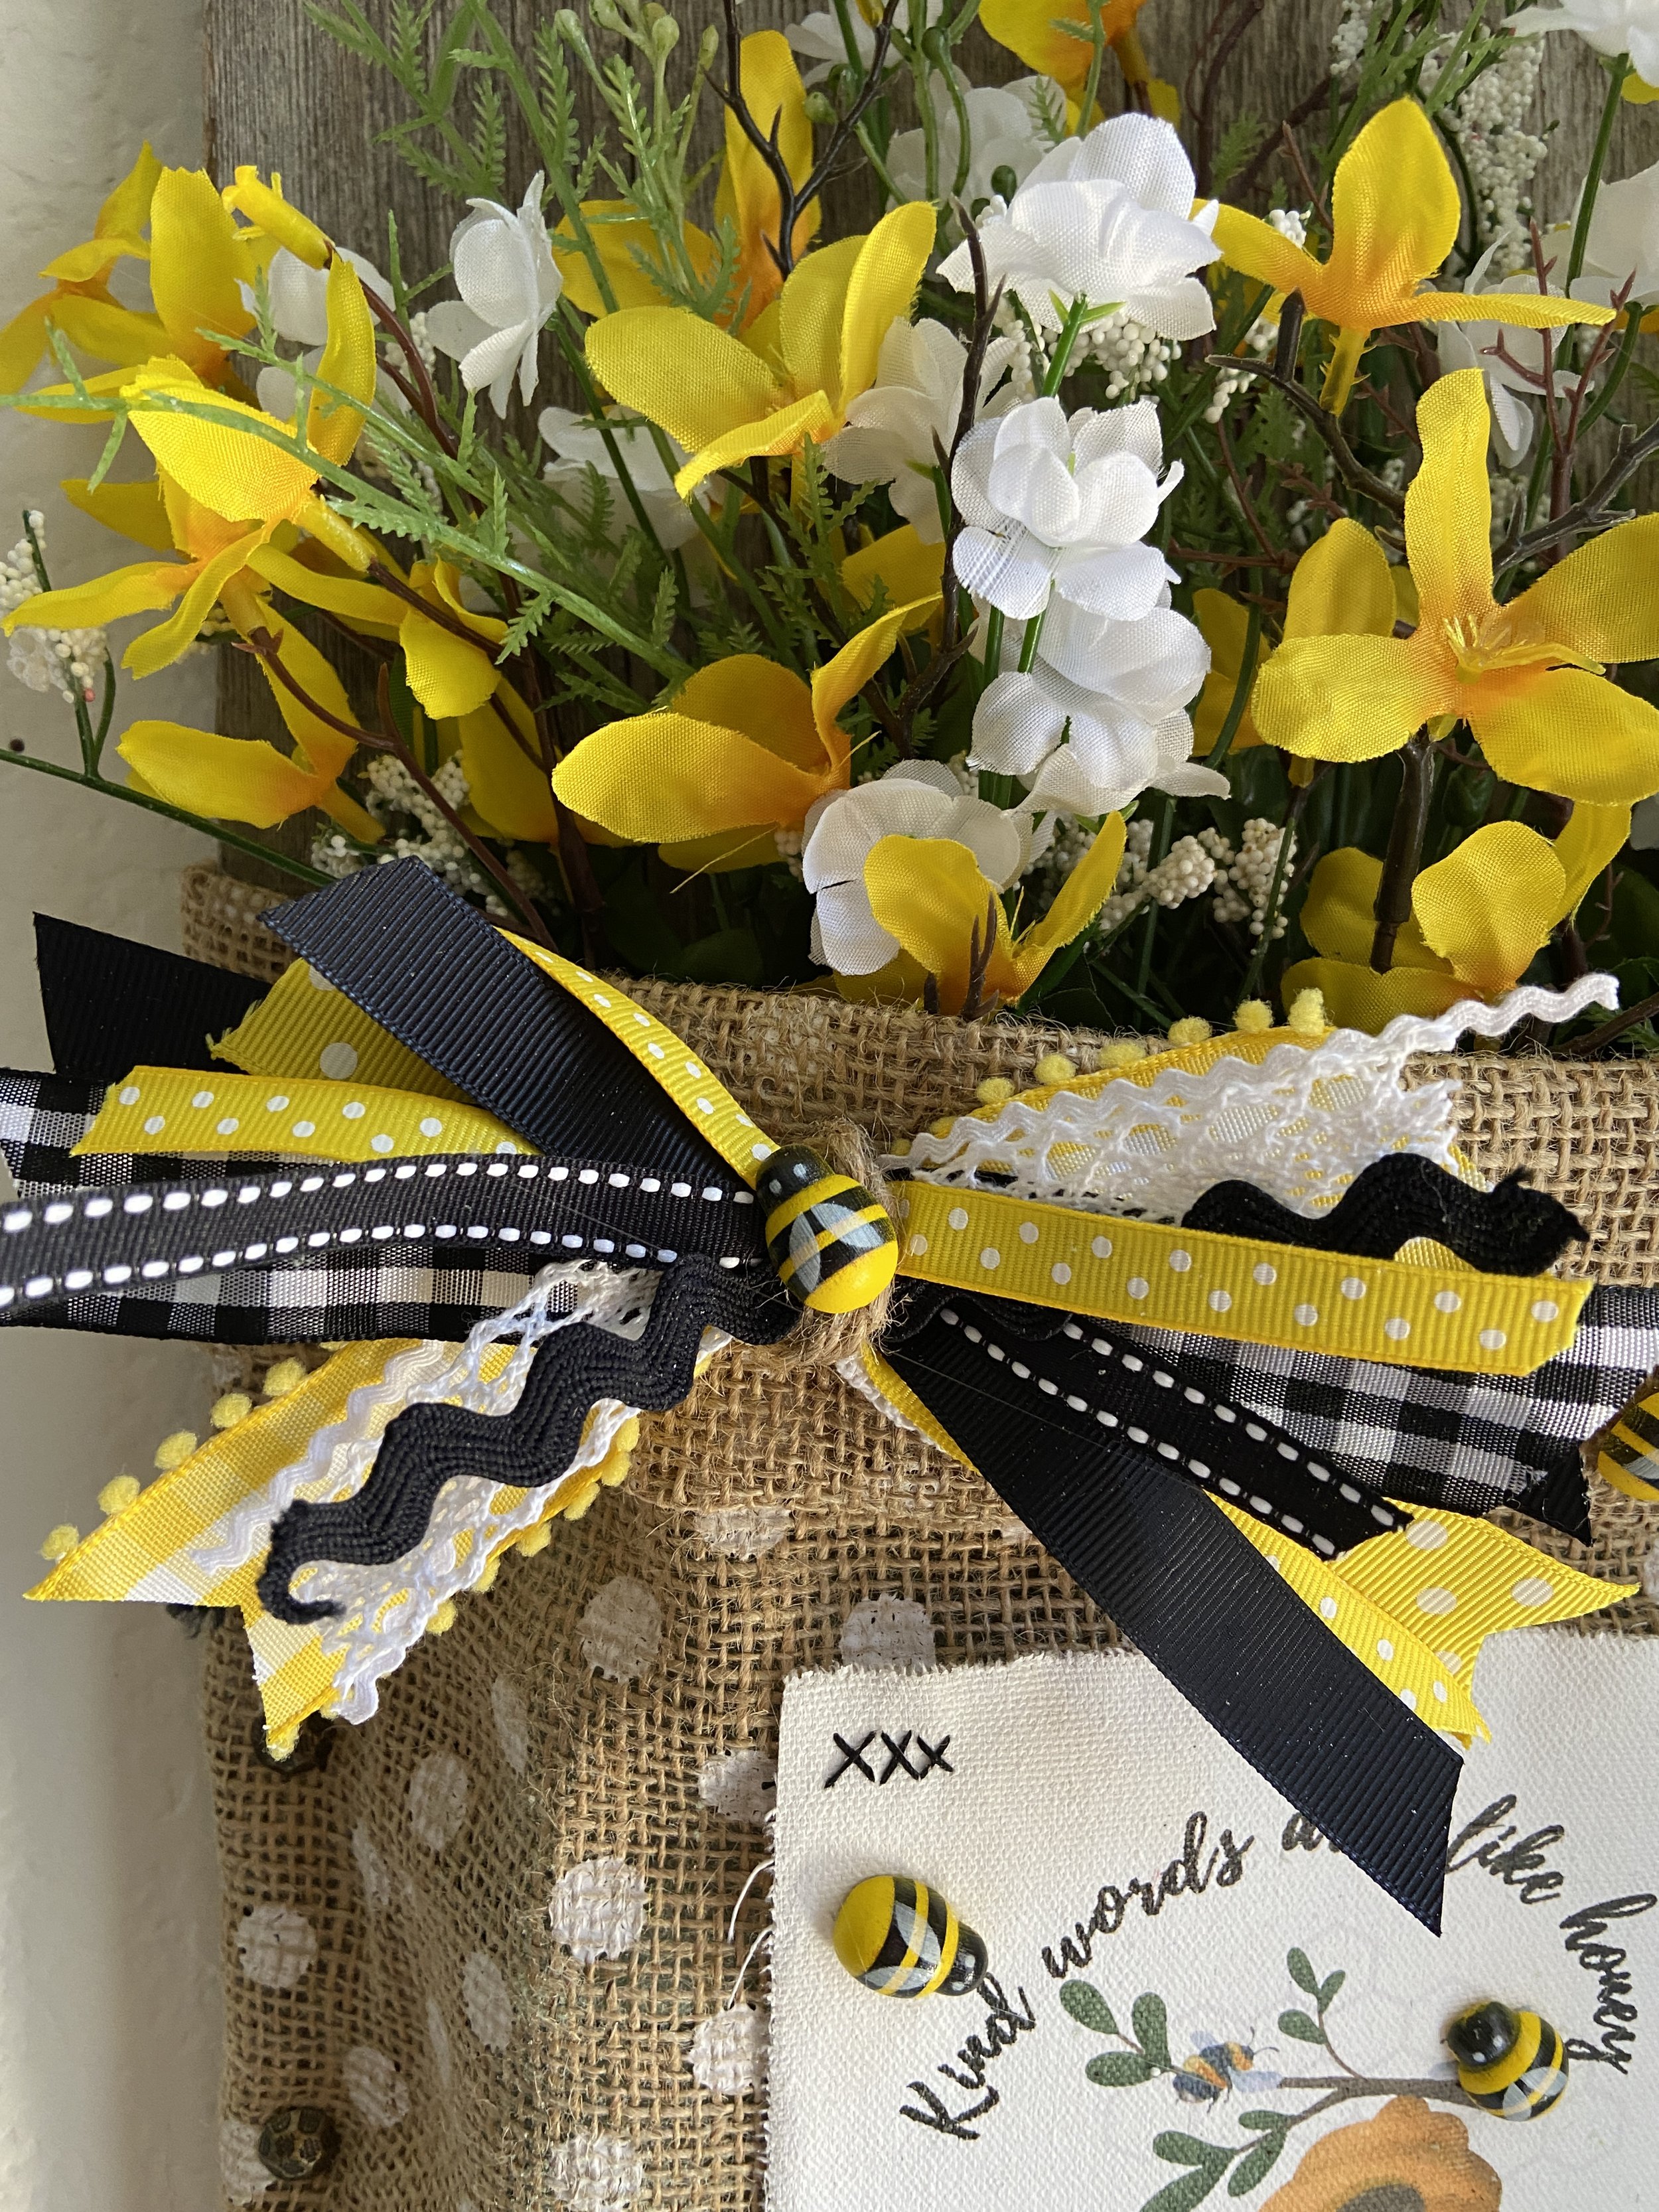
Make a junk bow to attach to the front of the pocket.
Glue a few bumblebees to the canvas and the pocket.


You can just place the floral stems into the pocket but I decided to add floral foam. I cut a block of foam in half long ways. I then shaved off a portion of the bottom in an angle so that it would fit at the bottom of the pocket. I had to add the rest of the foam on top of the angled floral foam because my floral stems weren’t long enough.
To add a little color, I made a junk bow using yellow, white and black ribbon. I wrapped a small piece of jute around the bow and then added a honey bee embellishment. Just hot glue the ribbon bow onto the burlap wherever you think it looks good.
I hot glued a 6” piece of jute rope to the top paint stick on the back of the board. I then glued another piece of paint stick to sandwich the jute rope between the two paint sticks. This just helps the jute rope to stay in place.
This DIY Honey Bee Wall Art looks fabulous by my front door and it will greet everyone who comes into my house.