Quick and easy Party Table decor using Dollar Tree Picture Frames


I have been wanting to make this Quick and Easy Dollar Tree Picture Frame Lantern for the past year and I’ve finally found the perfect time to make one. I just love the way that this lantern turned out and I can’t wait to give it to my son’s fiancee for a (late) Mother’s Day Gift. This is a quick, easy, and simple craft project that will make the perfect table centerpiece for many different holiday occasions.
Mother’s Day or Father’s Day
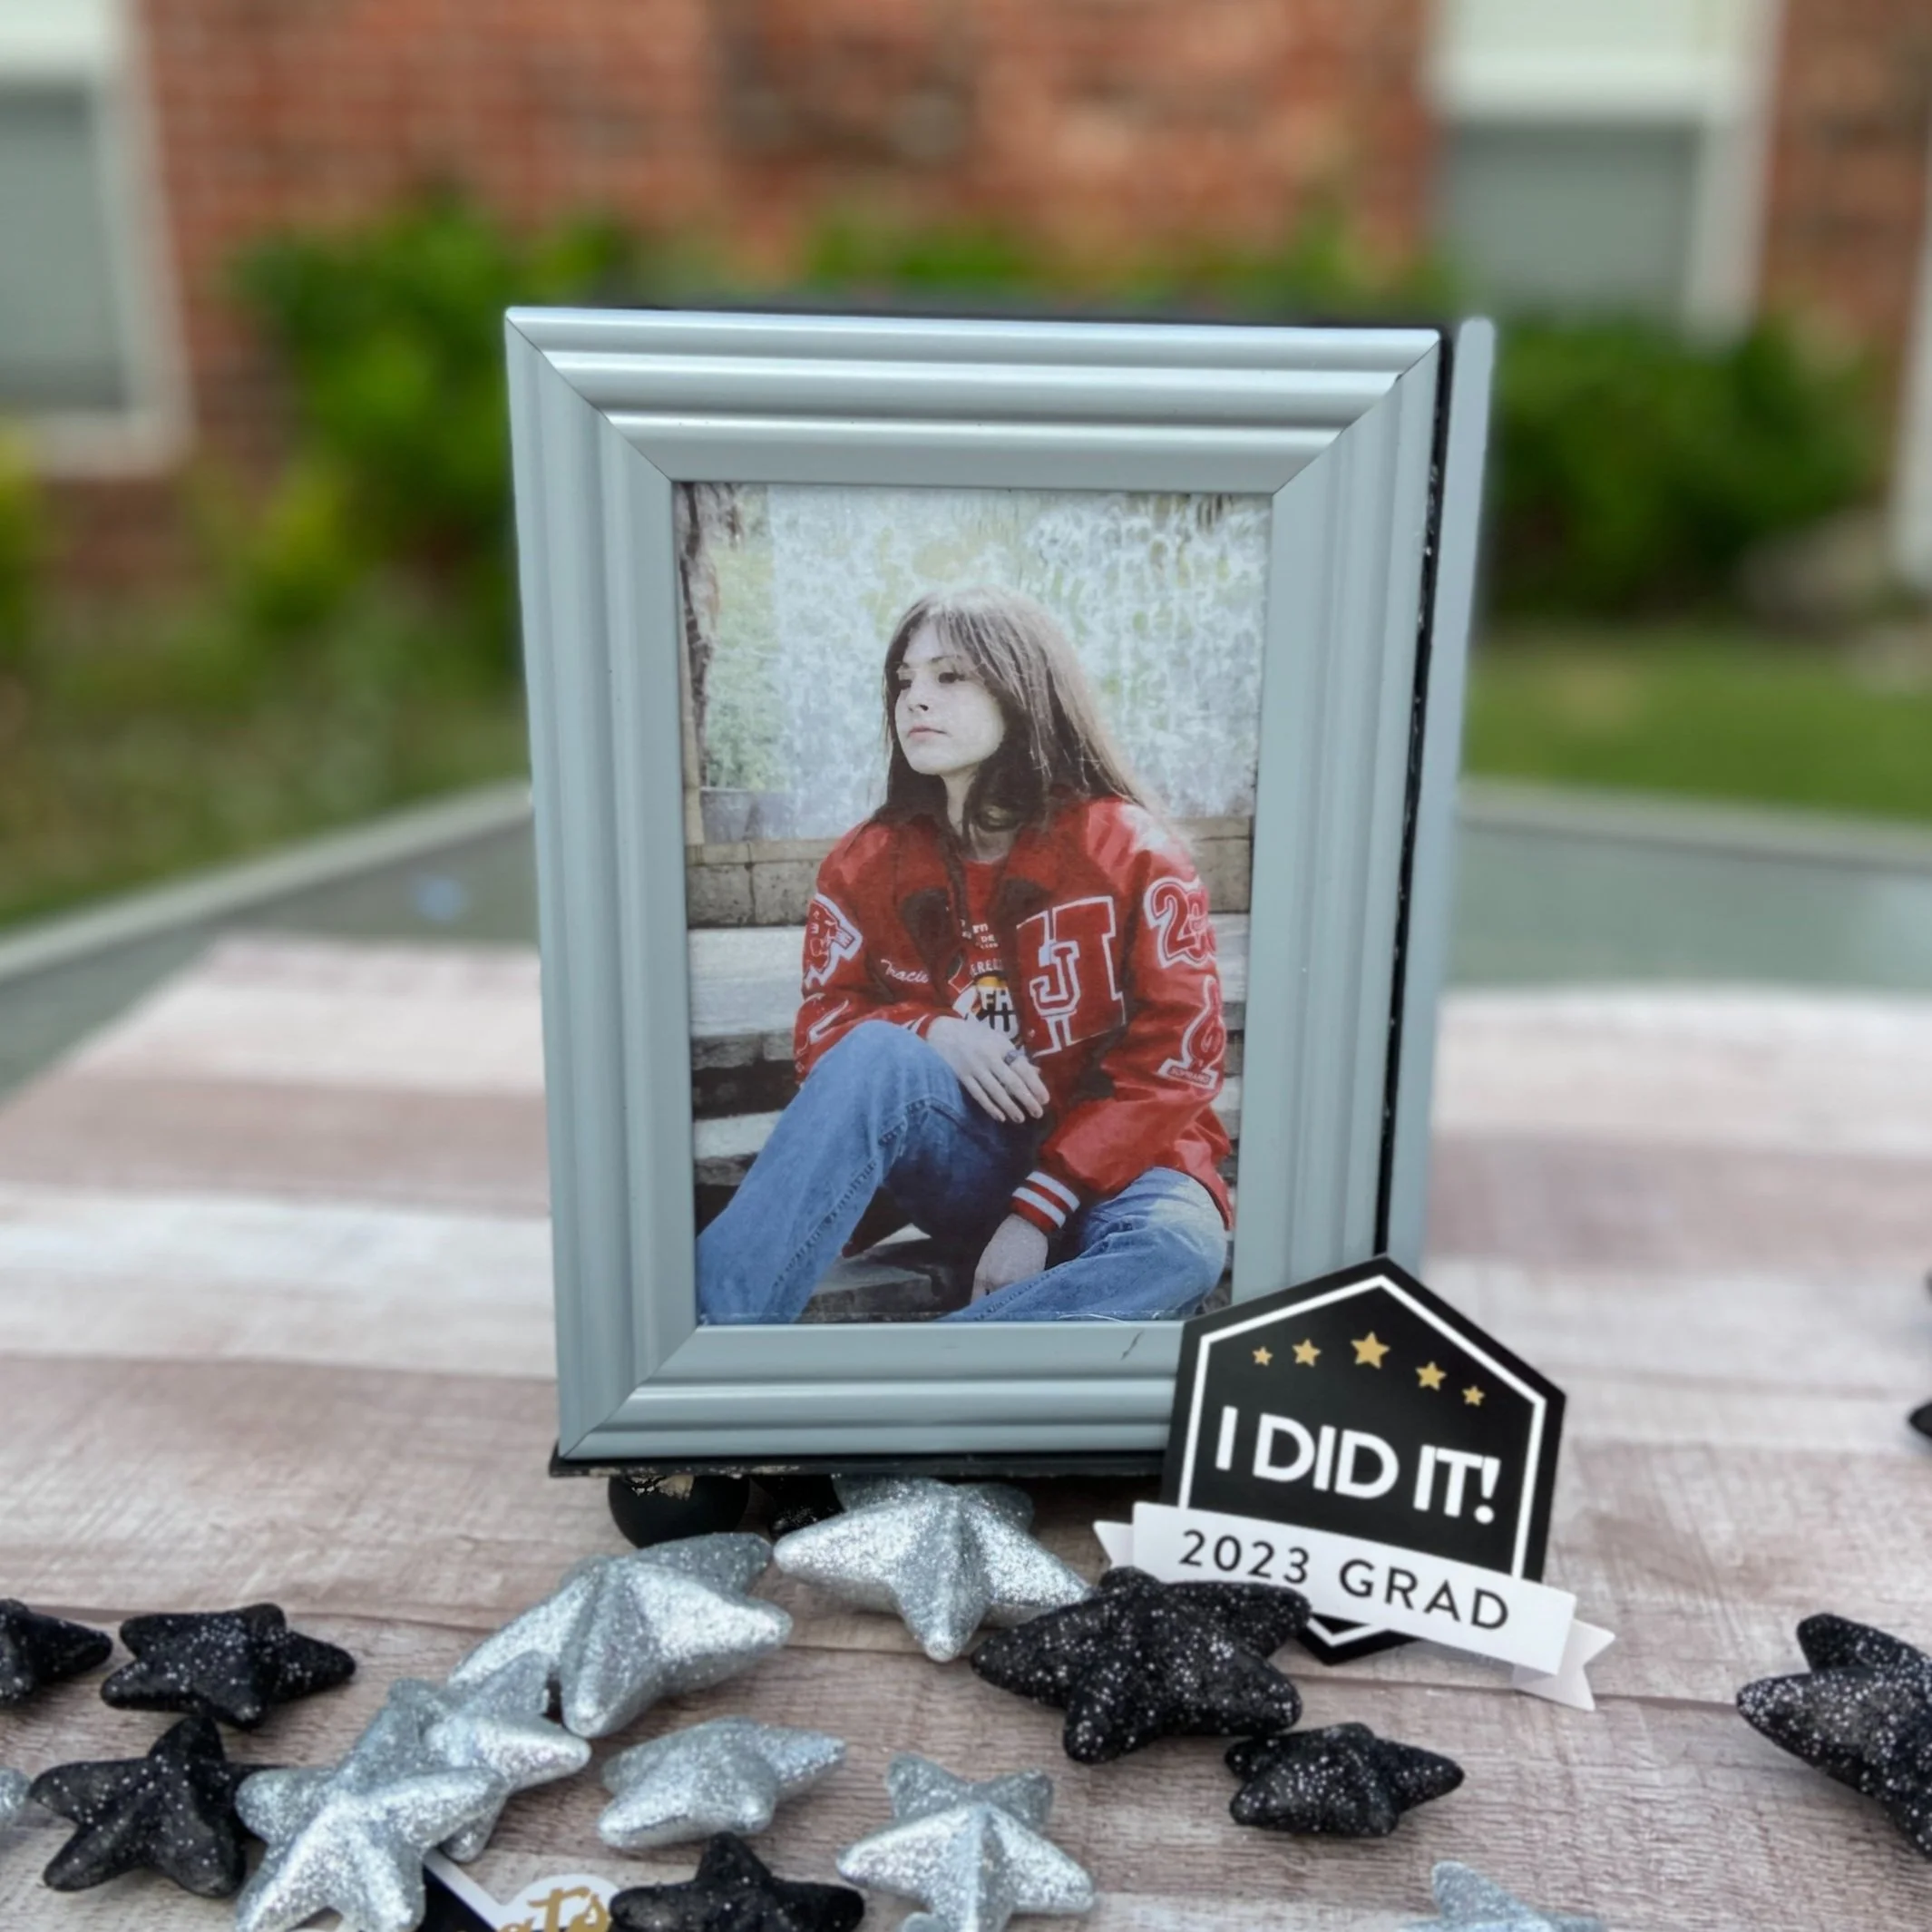
Graduation
Wedding Table Centerpiece (show pictures of the newlyweds now and when they were babies)
Baby Shower (show pictures of mom and dad)
Any Holiday Celebration with the family
Family Reunions
Supply List:
4 Dollar Tree Picture Frames
Printer
Paper Trimmer or Scissors
E6000
Hot Glue
Candle
Dollar Tree Small Mirror
Disclosure: This blog post contains affiliate links. When you click on a link and make a purchase, I may receive a small commission for advertising the product (at no extra cost to you).
Just a few hints:
When you print your pictures on the vellum, don’t touch them! Be sure and wait until the ink has dried or your pictures may smear.
Purchase picture frames with square edges (not rounded) - otherwise it’s difficult to glue together
When you glue the frames together, be sure and have all the pictures going the same direction! (I may have made this mistake!!)
The vellum goes on the outside - not the inside. (I also made this mistake!!)
You will not use the backing of the picture frame. This way the candlelight will shine through.
You can don’t have to use the glass but it does help to keep the vellum picture in place.
Apply the double-sided tape to the vellum picture not the frame. I discovered that when I attached to the frame it made it difficult (at least for me) to remove the backing from the tape.
This is such an easy project - if you follow the helpful hints above! The first time I made my lantern, I glued a picture upside down. I discovered that my frames were difficult to glue together because they were rounded on the edges. So this project is “do as I say not as I do”!!!
Quick and Easy Directions to Print Photos:
I found the easiest way to make sure that I had the right size pictures was to use www.canva.com.


Open an 8 1/2” x 11” design.
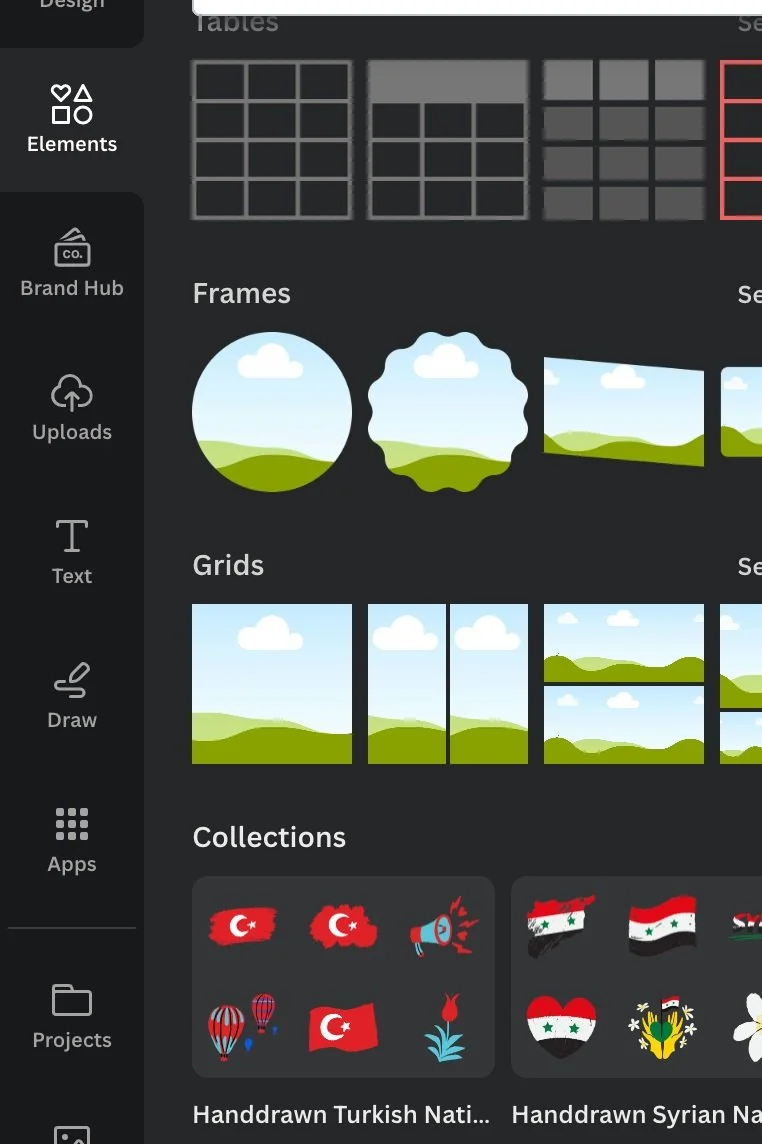
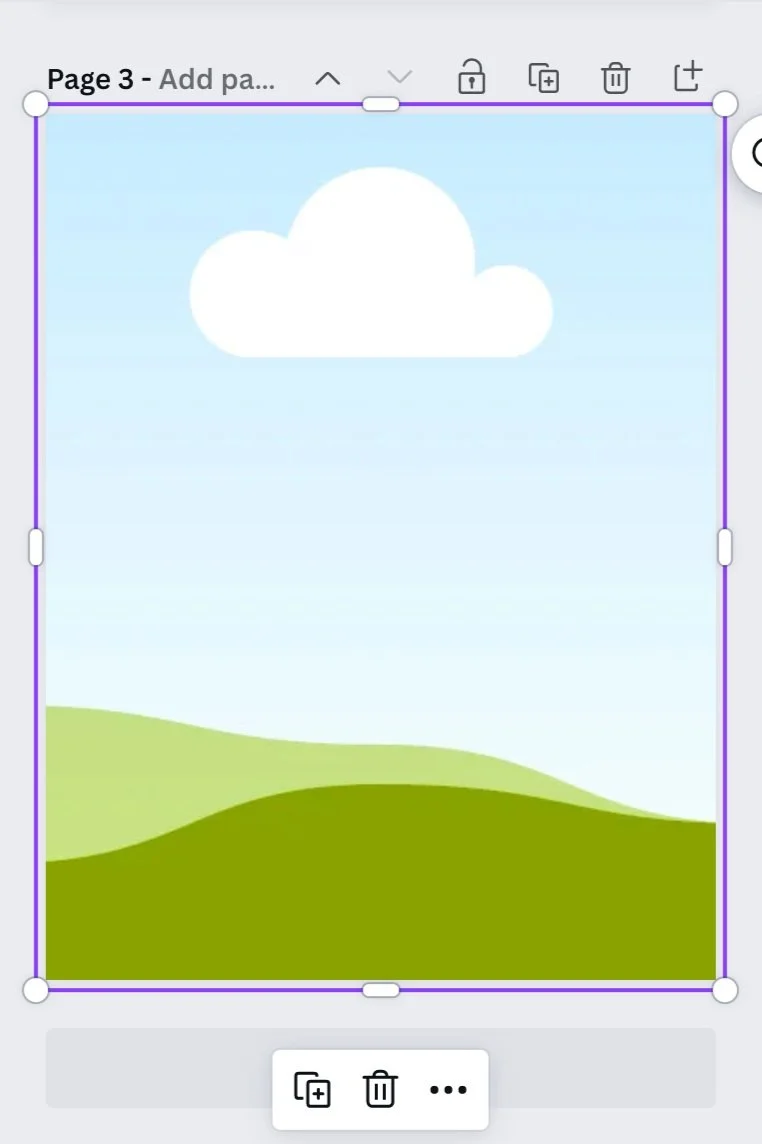
Go to Elements (on the left hand side) and grab the first GRID and drop it into your design. The will actually fill the entire page…but don’t panic because it’s okay!
Go to the one of the corners of the GRID and this will allow to size any way you want: 4” x 6”, 5” x 7”, etc.
Rotate your GRID, copy and duplicate.
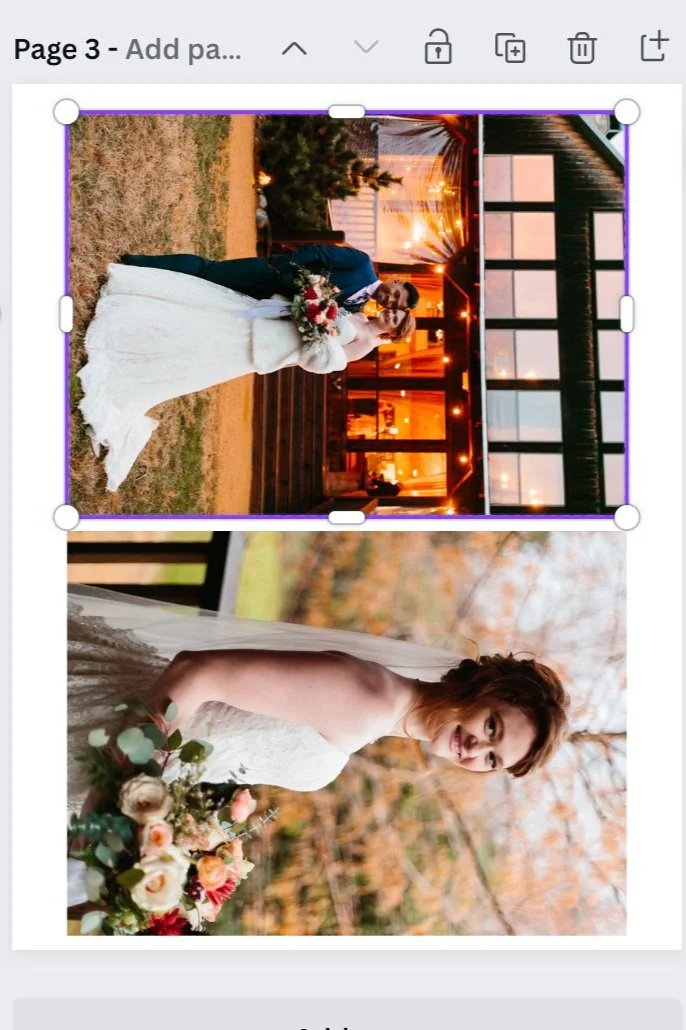
Upload your photos.
Hover over the uploaded photo and drag into the GRID frame.
Now you have the perfect size photo for each frame.
Let’s Put Everything Together!
Trim your vellum pictures to the size of your frame. I used the paper inside the frame for a template. I attached the double-sided tape to all four edges of the vellum picture and attached the vellum to the inside of the picture frame. I added the glass to the back of the vellum picture but you can leave this step off. I left the glass off of the wedding table centerpiece lantern and I really couldn’t tell a difference.
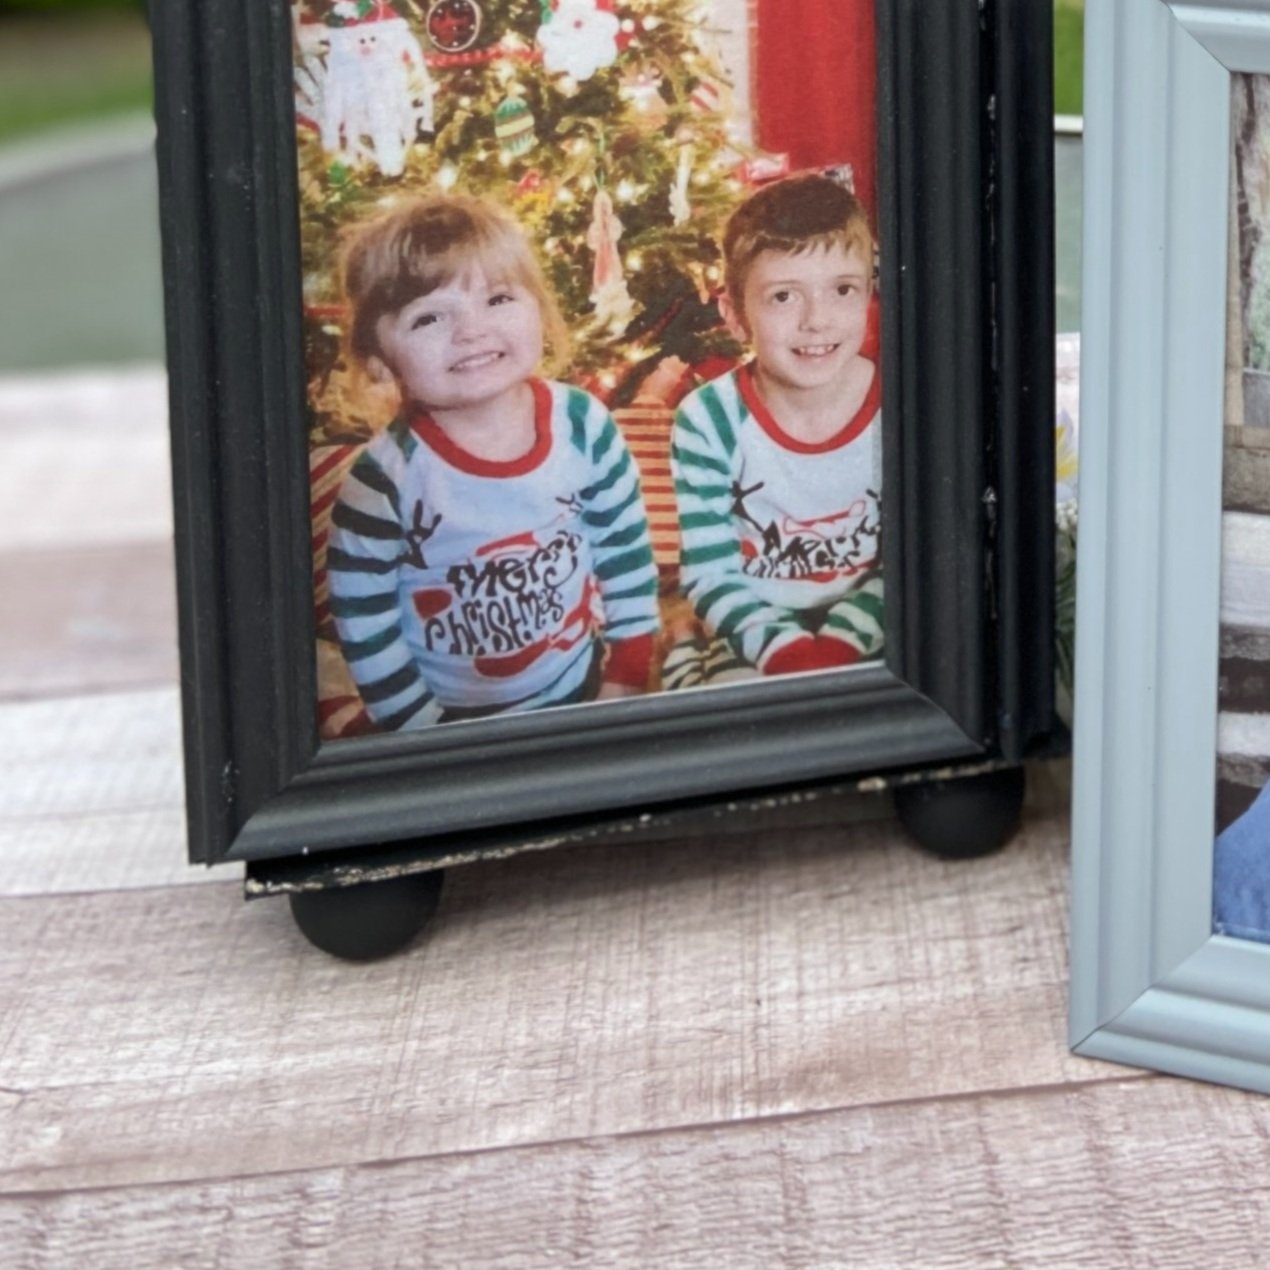
Once you have all the pictures glued into the frame, use E6000 and hot glue to attached them together in a square. I thought that this was the easy part but my first lantern….I didn’t put the pieces of the puzzle together! So I had to take it apart and start over.
Add any embellishments to the frame or leave it the way it is.


Extra Tips and Tricks!
You can paint the frames with either chalk paint or acrylic paint to match the color theme of the event. I painted my frames for the wedding lantern with Rustoleum White Primer and then painted with Rose Gold Acrylic paint.
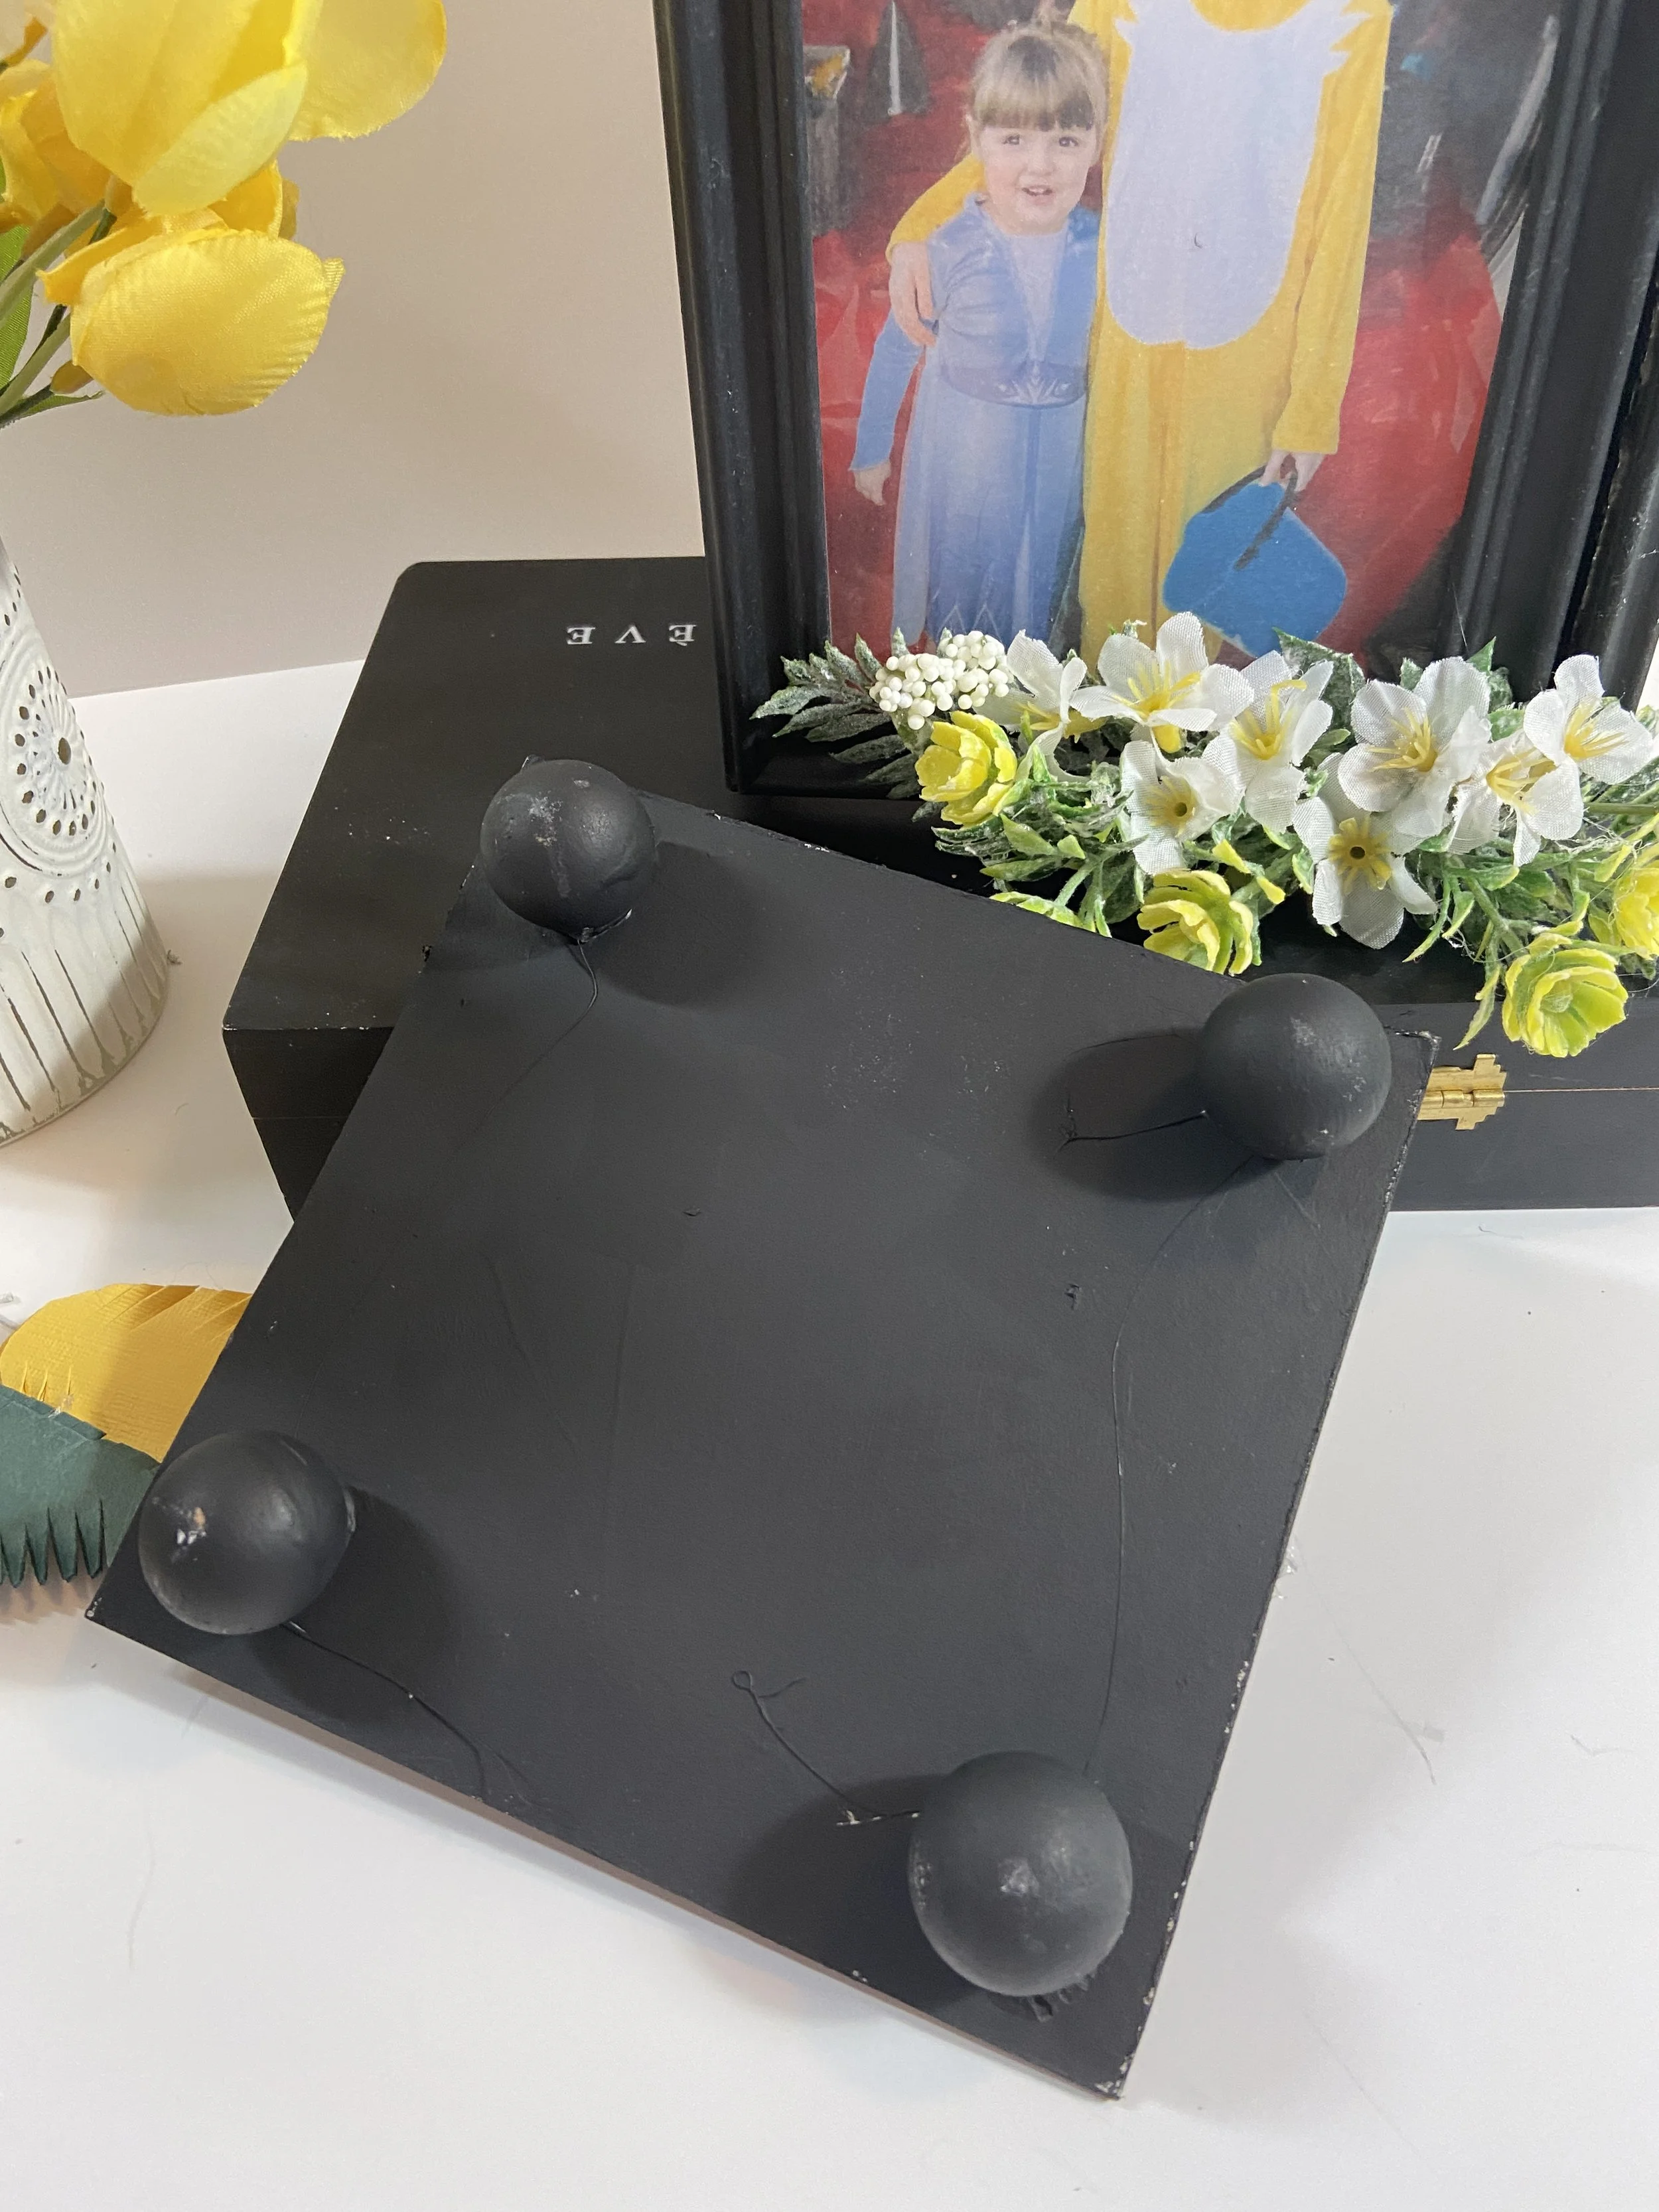
You can make a stand for your Lantern to stand on by cutting a piece of cardboard the size of the finished lantern.
I painted mine black and then added four wooden doll heads to the bottom of the cardboard. I laid the mirror down, adding my candle and place the lantern on top!

I wish that I had known about the Dollar Tree Picture Frame Lanterns when my daughter got married. I could have used baby pictures, preschool pictures and high school pictures of the bride and the groom. What a conversation piece on each table during the reception or possibly rehearsal dinner. You could also do the same thing for a graduation party.
How about a Family Reunion. Ask family members to send pictures of their family! Everyone will be looking for the lantern with their picture.
Be sure and PIN this idea to one of your boards so that you won’t forget how to make this “Quick and easy Party Table Centerpieces using Dollar Tree Picture Frames”.