How to make a Springtime Banner
I was so honored to be asked by the Fab 4: Miss Tracy Creates, Elizabeth Rhodes, Christie Daughtery and Ginger LaCour to be a presenter for the “TwosDay” Arts and Craft Facebook Event on 2-22-22.
I spent all day making sure that I’d gathered all my supplies and had everything in order. I watched all the other presenters during the day and got so inspired but…I had to wait until my turn at 3:30PM (CST). I don’t think that I’ve ever been so nervous in my life. I’ve play the piano and sung in front of lots of people, been a speaker for several church events but man….this one had my heart racing.
Of course, as much as I prepared myself when I went live, I was on the Presenters site and not the Attendees site. I thought I was doing so good, saying all the things that I needed to say and telling everyone what supplies they needed.
Then “thank goodness”, I looked at my phone and it said “You’re on the wrong site”! Swell…now I was late and would only have 20 minutes because I didn’t want to run into the next presenters time slot.
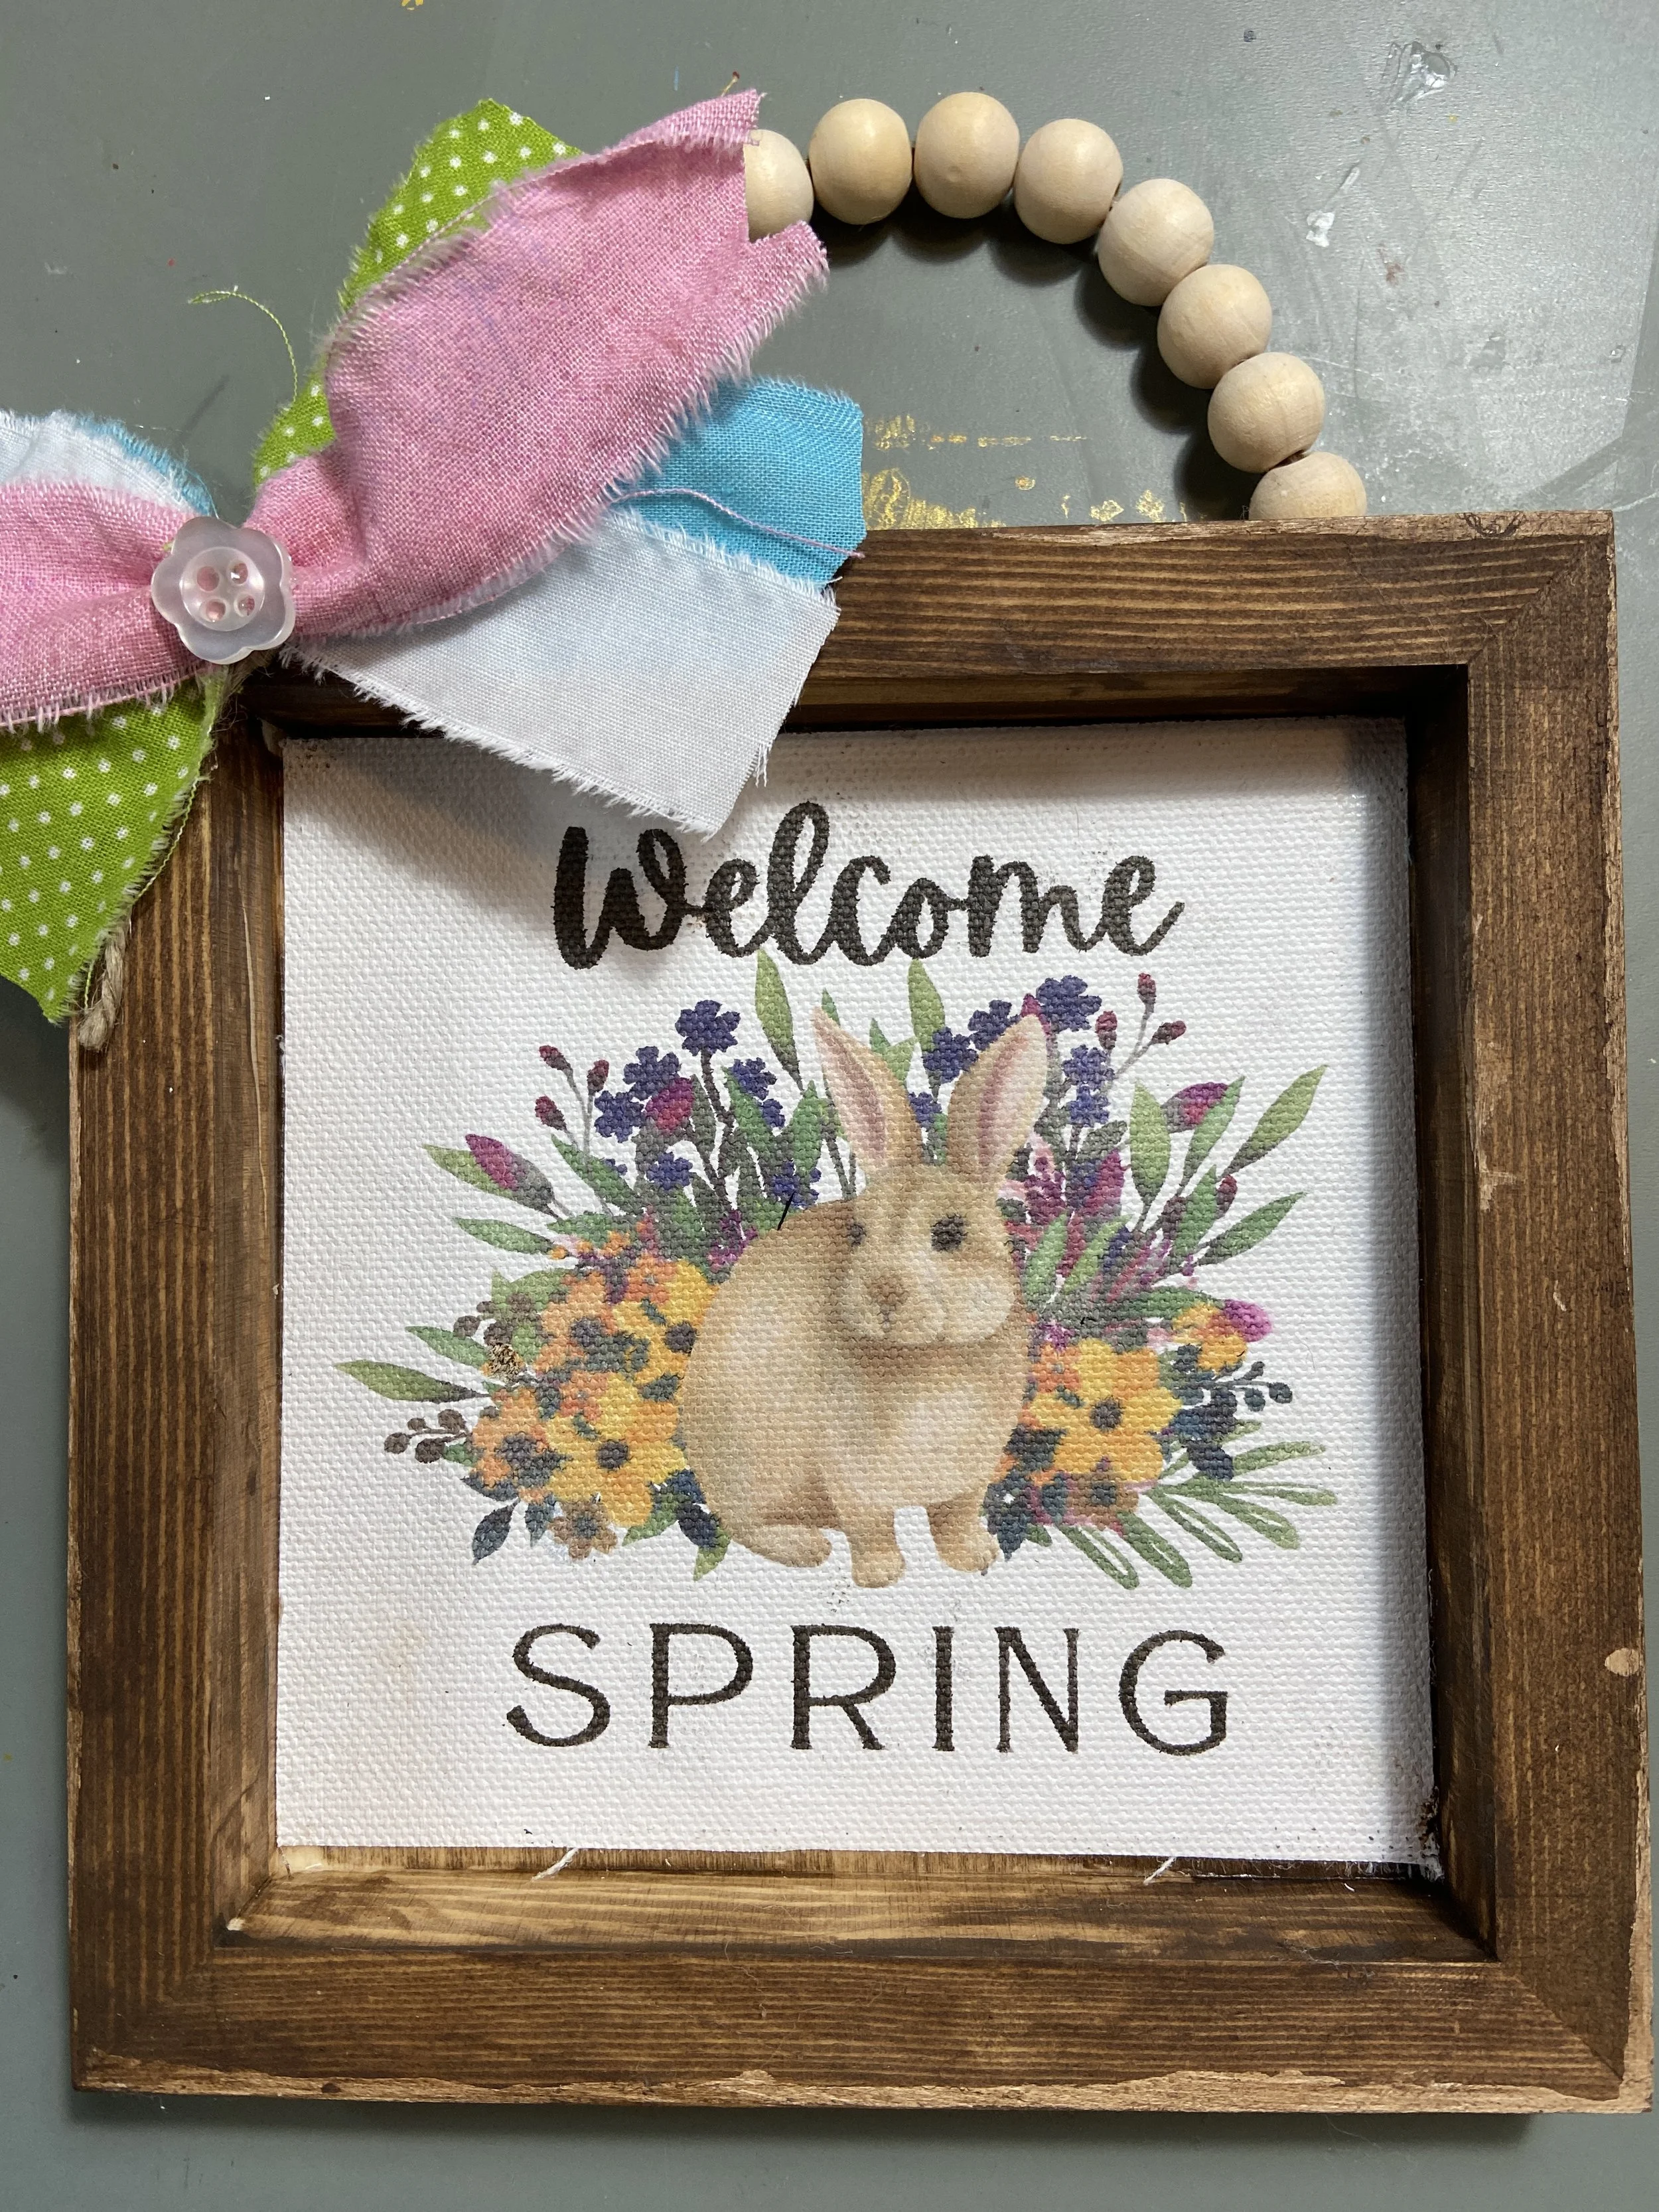
I talked so fast and was totally exhausted when I got through. I hope that everyone enjoyed my demonstration for this Welcome Spring Bunny Bunny. I had so much fun putting it together and sharing myself with lots of new people.
Print on Canvas! What?
Did you know that you could print on canvas from you home printer? I had no idea but thought ‘let’s give it a try” because I wanted something different that just cardstock!
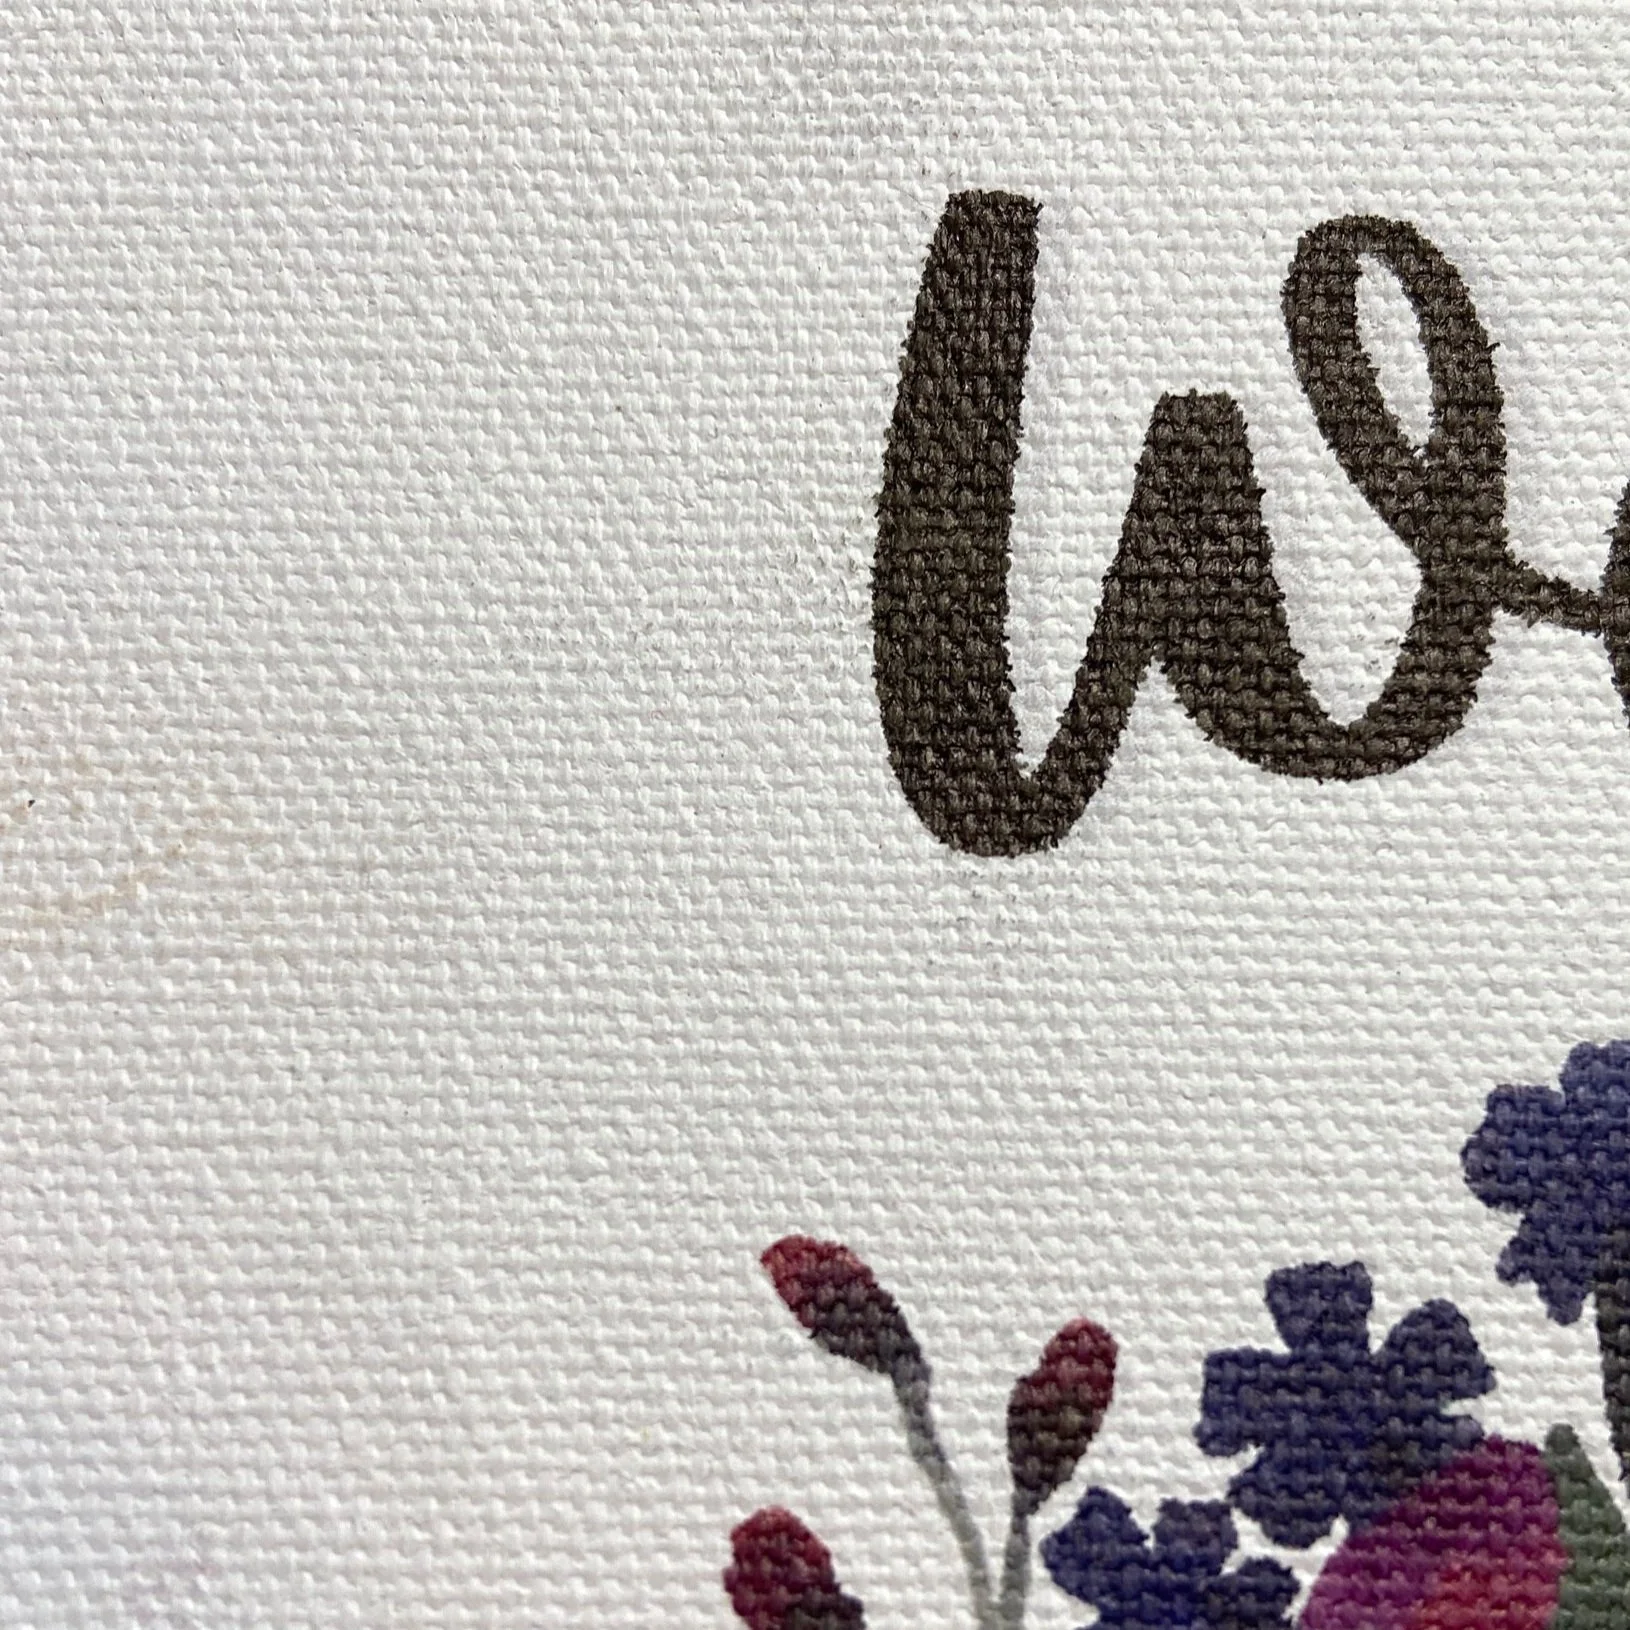
It worked perfectly. I used a pad of canvas paper by Strathmore. I actually used a larger pad of canvas for my demonstration on Facebook that I had purchased a few years ago at Michaels. I cut it to 8 ½” x 11”. I ran it through my Canon printer which is pretty old and it looked great! Easy Peasy! (If you don’t have canvas paper, you can always use white heavy cardstock). You can really see the texture of the canvas in the photo below.
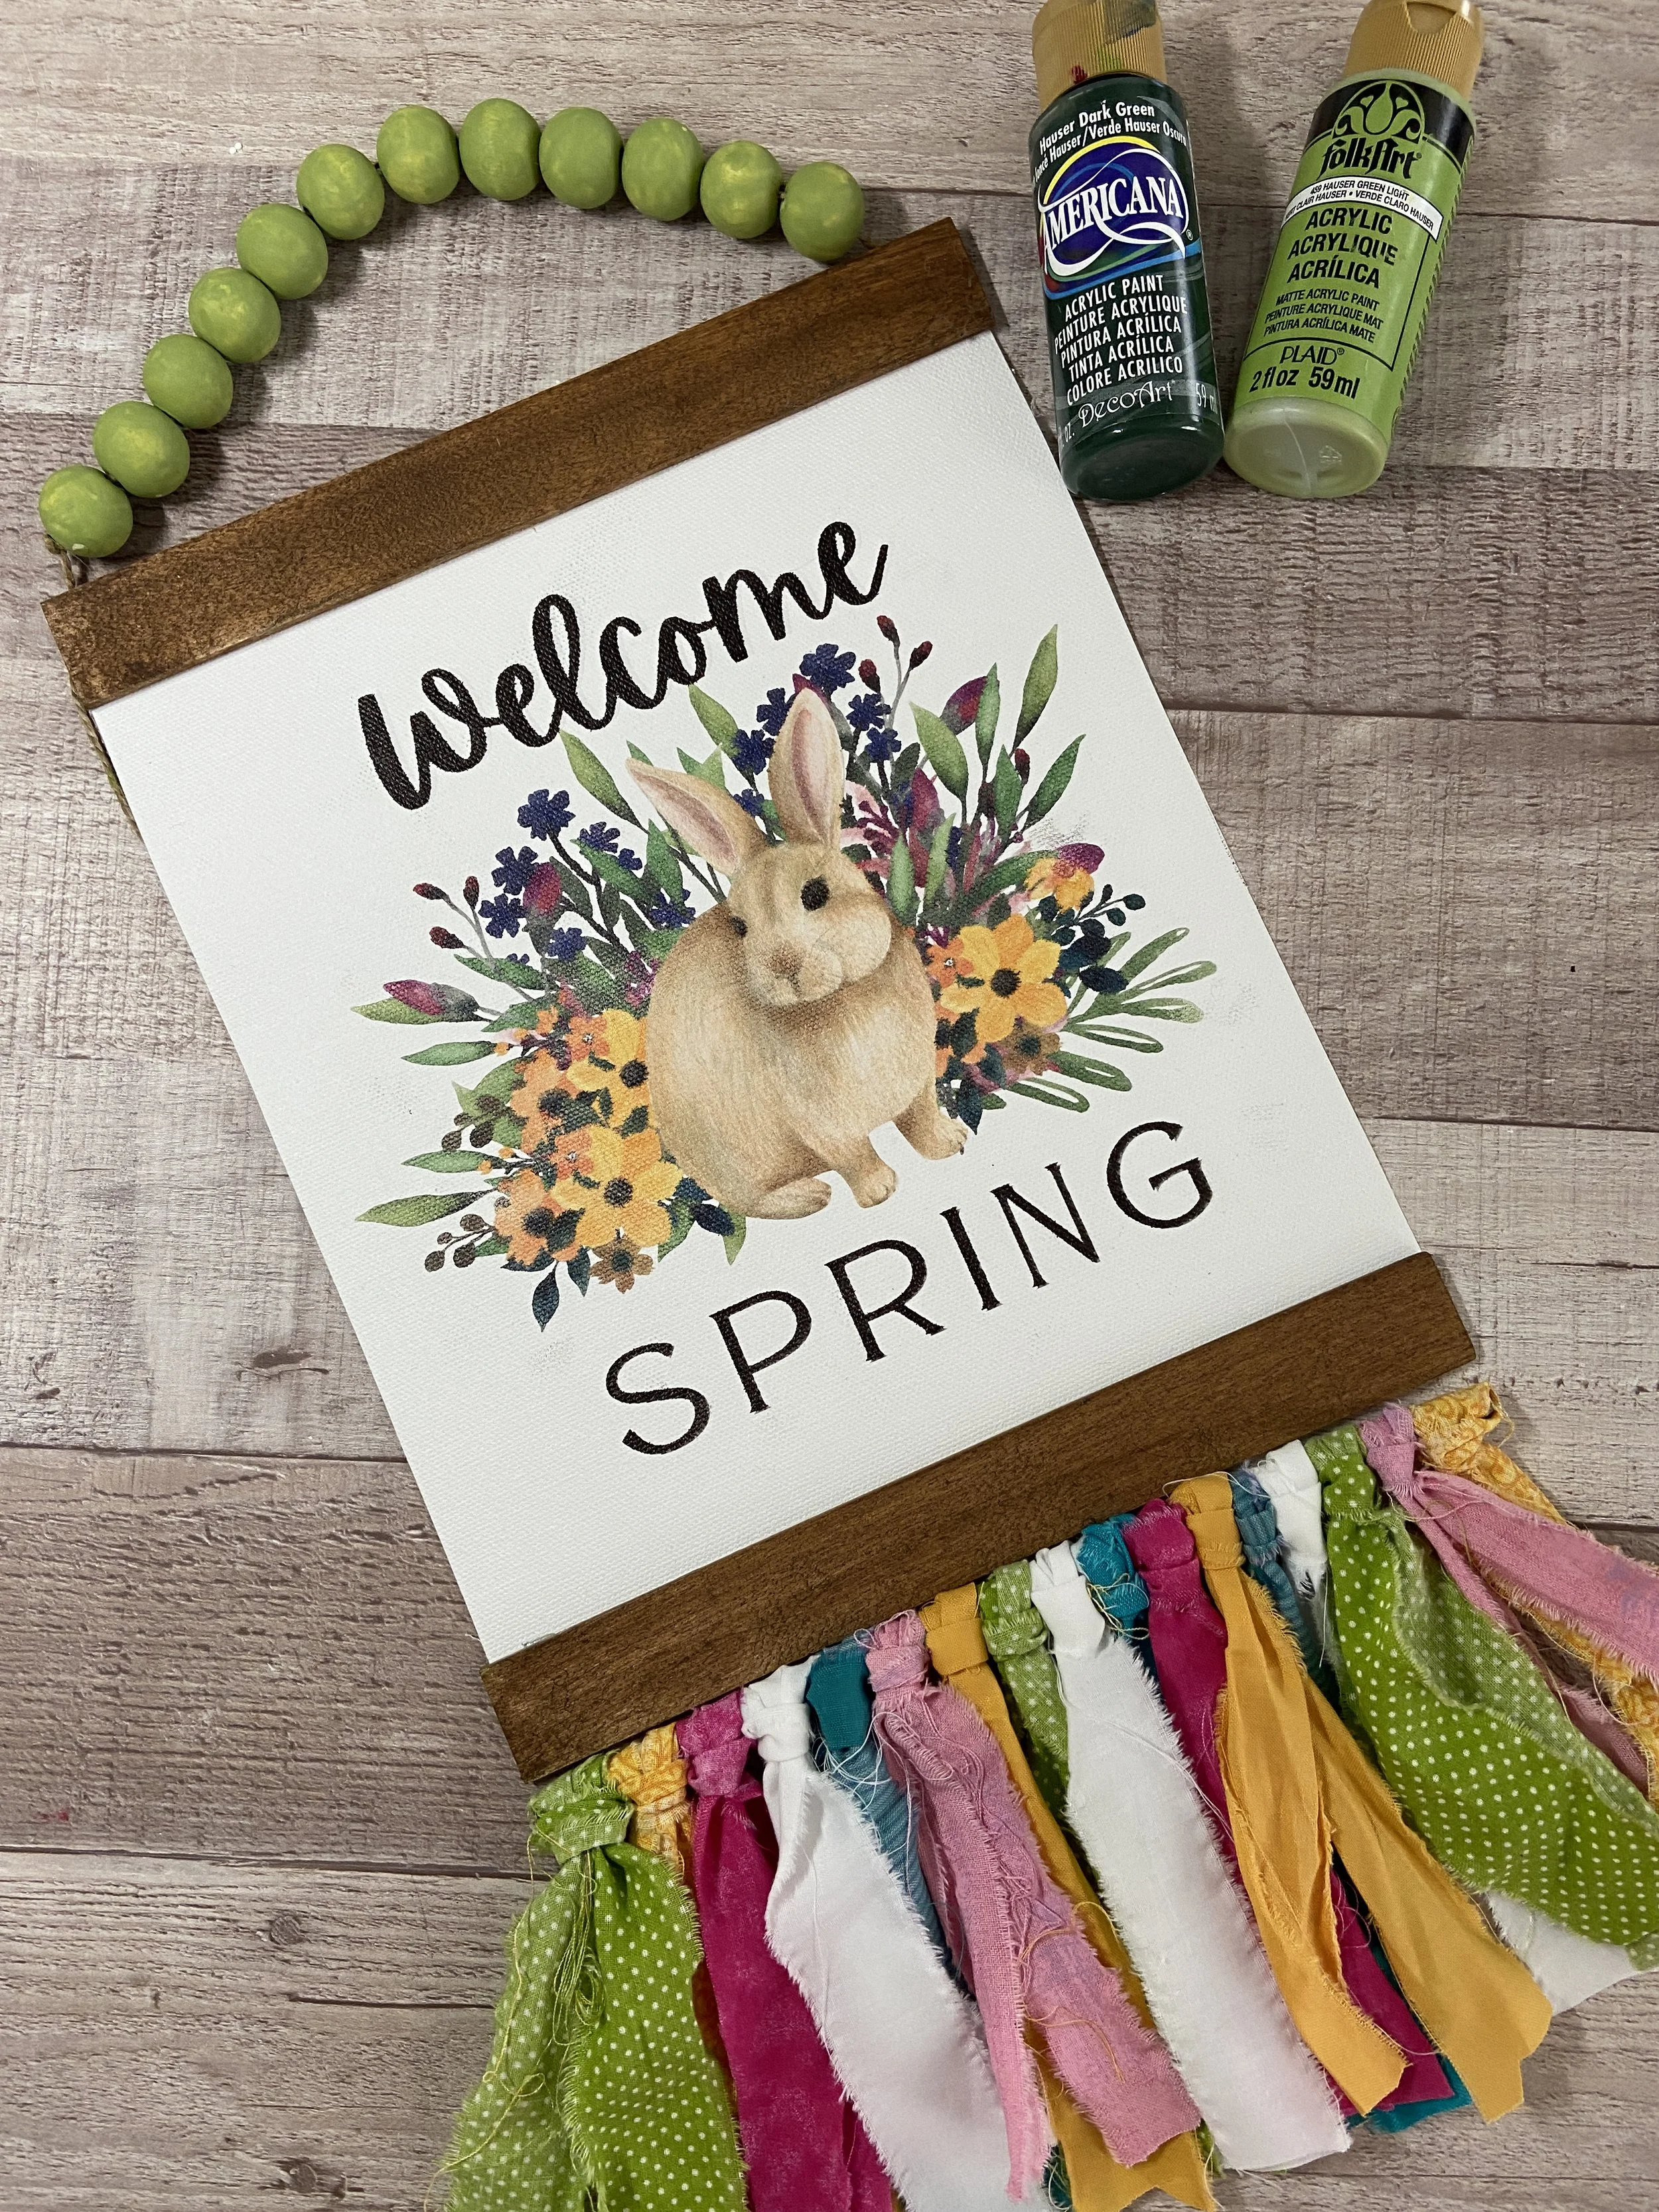
I wanted to make a banner with wooden bars at the top and bottom. I cut four 12” paint sticks to 8 ½” long. I purchased the paint sticks for around $13.00 for 25 paint sticks from Amazon. I find that they are a bit smaller in depth than the ones you buy from a store like Home Depot. To cut my paint sticks to the right length I used a Stanley 14.5” Clamping Miter Box and a 14” saw and gave a quick sand on the ends before painting.
I gave the banner bars a coat of Waverly Antique Wax that I purchased from Walmart.
I used hot glue to adhere the bars to the bottom and the top of the canvas and sandwiched two together (one on the front of the canvas and one on the back).
I cut a small dowel rod to 8 ½” inches. If you don’t have a dowel rod, you can always use a cheap plastic coat hanger.


I tore 1” strips of fabric (about 12” long) and attached them to the dowel rod with a slip knot. I didn’t use any particular pattern. I just picked up a color I liked and added it to the dowel rod.
I used about 15-18 strips of fabric. The number of strips will depend on how wide your strips are and how close you push them together.
A ran a bead of hot glue along the bottom of the paint stick bars and attached the dowel rod with the fabric strips. I trimmed the fabric strips to about 5” long. The length of the strips is totally up to you.
Tinting Wooden Beads
Here is a quick an easy way to add color to wood beads with acrylic paint.
Add acrylic paint (not much) to a cup.
Add a little water to thin the paint down.
Add the number of wooden beads that you need for your project and swirl the beads around in the cup until they are all coated with paint
Then, like throwing dice from a cup in the game of Yahtzee, throw them onto a plate or box lid. Allow to dry and you are ready to go!
Attaching the Hanger to the Banner
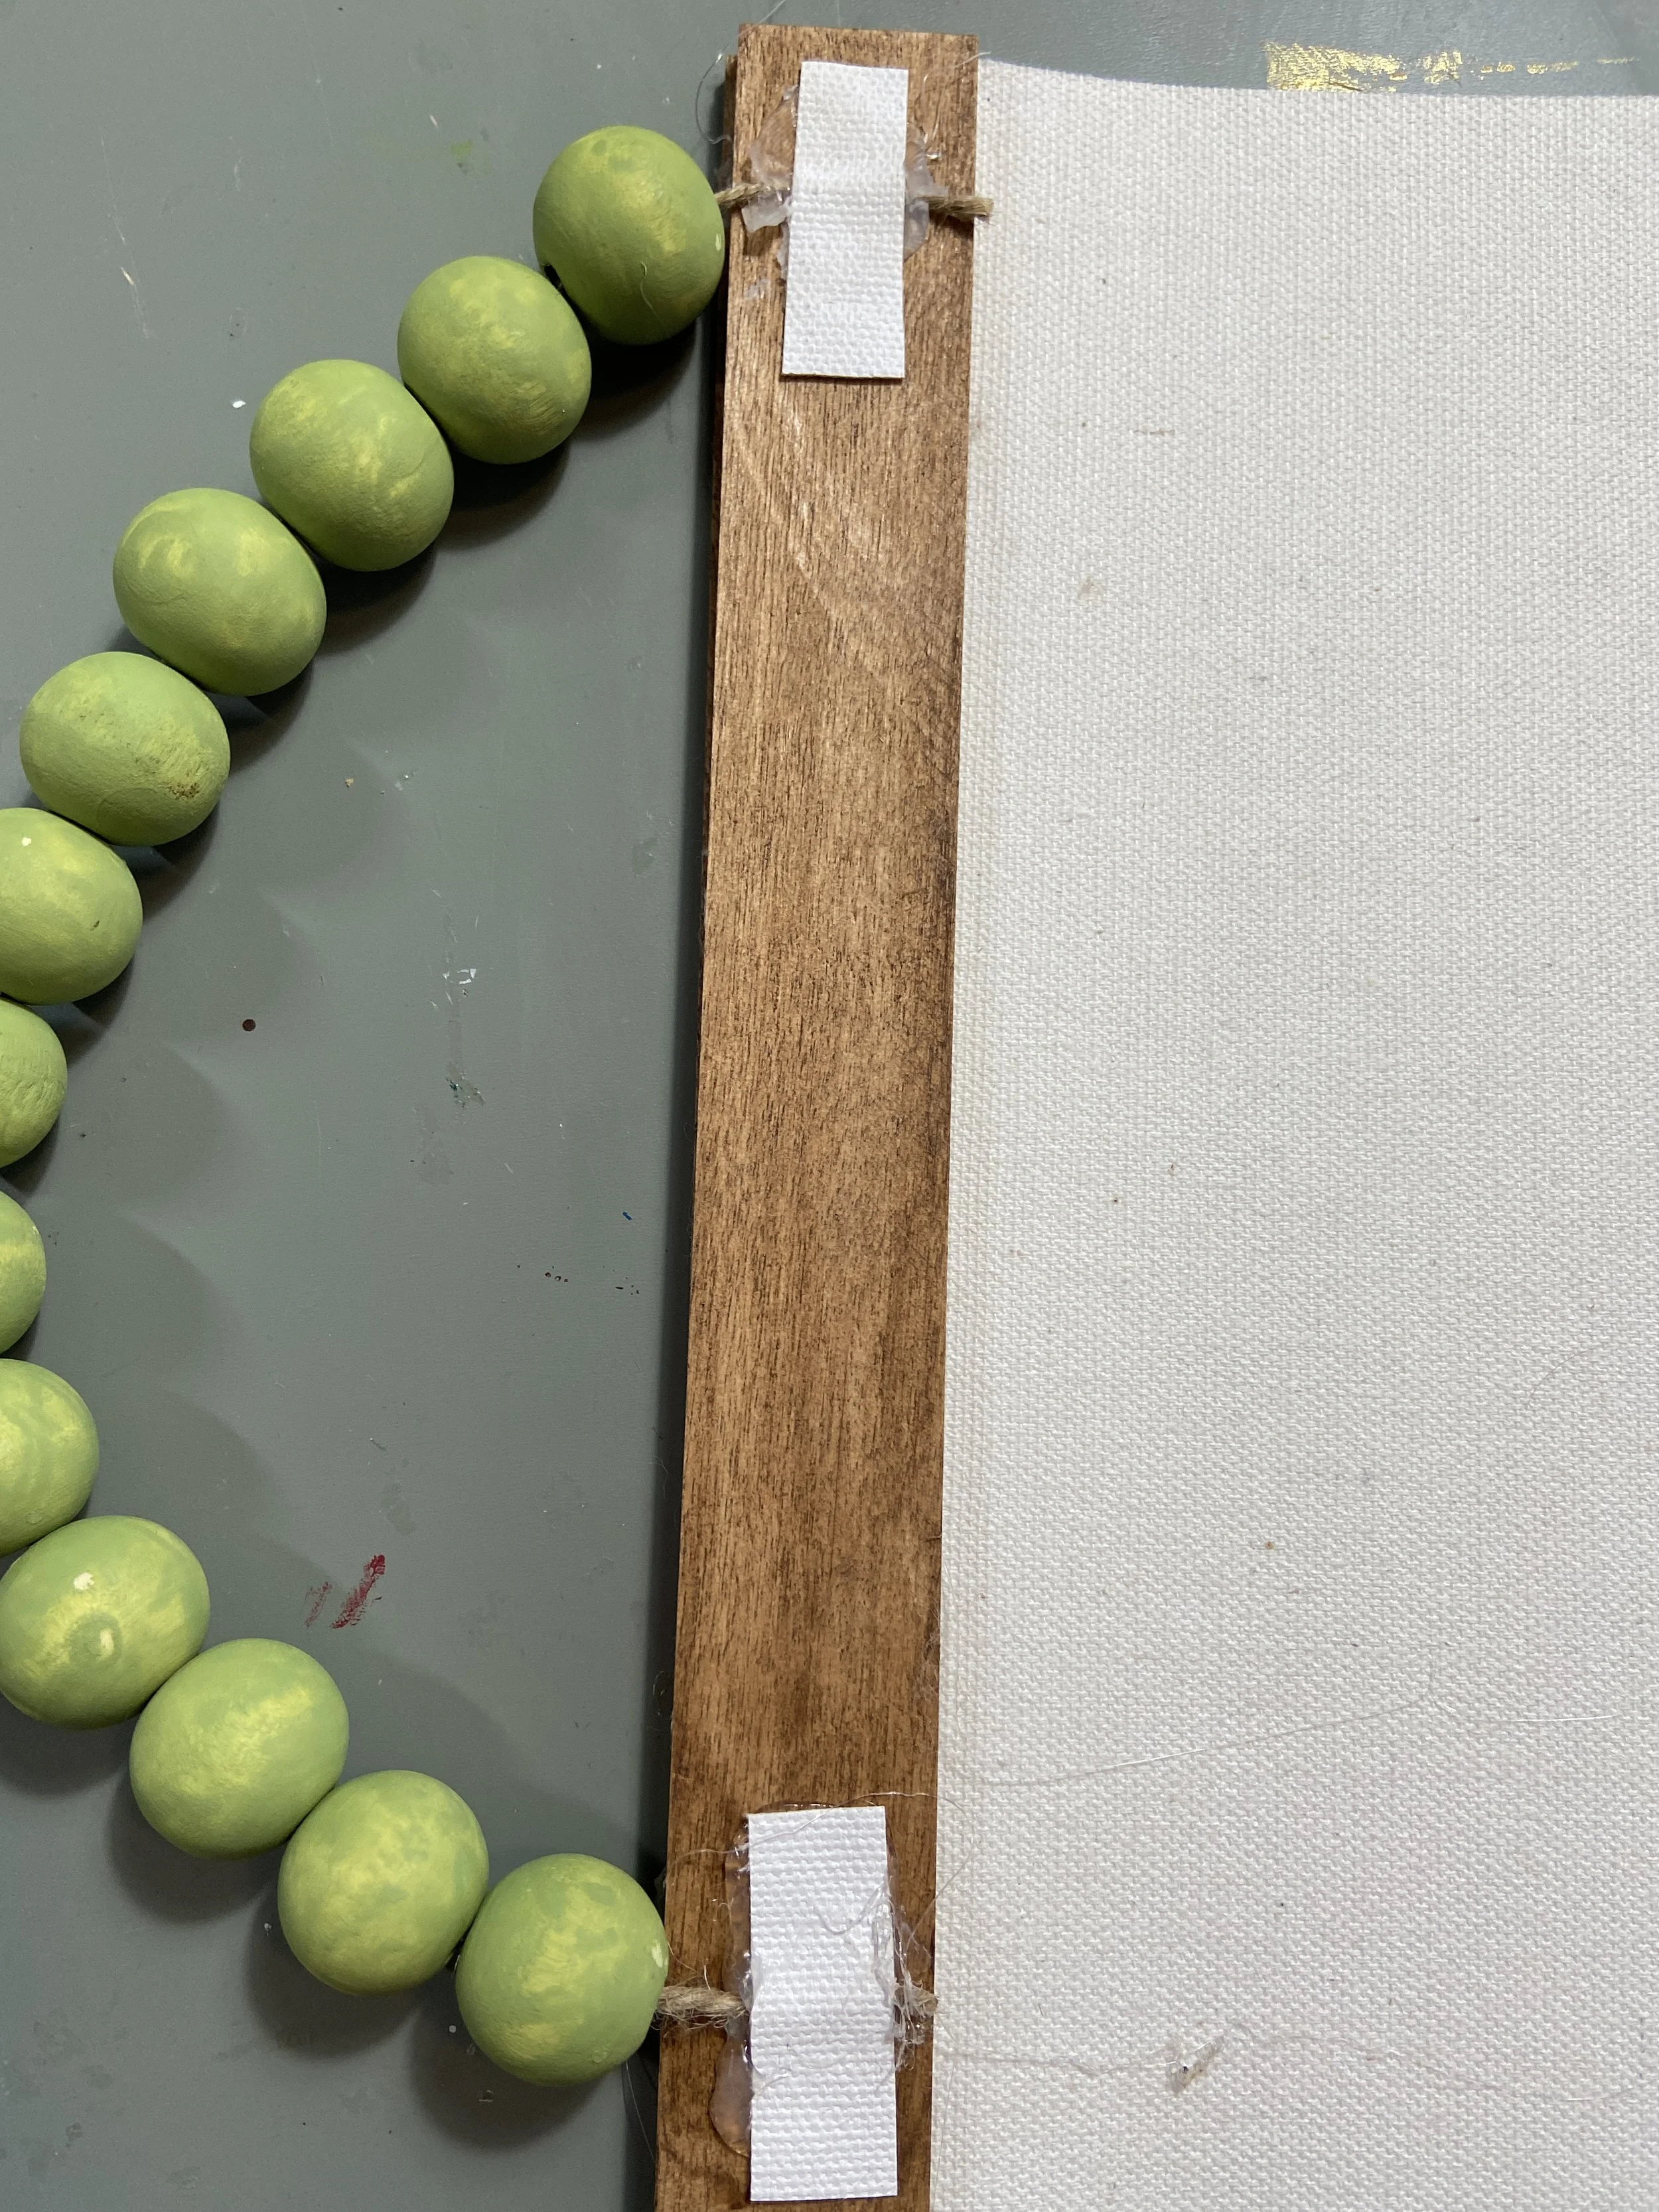
The first time that I made a banner in the Fall I tried to sandwich the jute twine between the two top bars of wood. This made it difficult to get a good seal because the jute rope made it bulky in the middle. This time I hot glued my wood bead hanger onto the back and then added small strips of leftover canvas on top. This really gives it a good seal and helps the jute rope from coming off of the back of the banner.
That’s all there is to making a Welcome Spring Banner. You can find the printable for this banner in the FREEBIES tab above or simply click the word and it will take you to the page. I’ve also made a 5” x 5” version that you can add to a 6” x 6” wooden panel. This would make a great gift to share with a friend.