Unique Halloween Decor: Pumpkin Canvas using Paper Piecing
Tired of the same old Halloween decorations? Spice things up with an adorable and colorful Mixed Media Stacked Pumpkin Canvas made using paper piecing! Let’s create a truly distinctive Halloween decor piece that will add a touch of creativity and artistry to your home. Get ready to impress your guests with your crafting skills!
Gather your materials:

Black Acrylic Paint
Stencil - not the exact one that I used but close
Scrapbook Paper
Template (in the FREEBIES section)
Matte Medium or Mod Podge Matte
Scissors
Faber Castell Big Brush Markers
Let’s Get Started:
Start with a blank canvas as your foundation. Choose the size that suits your preference, whether it's a small piece for a cozy nook or a larger statement piece for a prominent display.
I will be using a 8” x 24” canvas because I wanted to add three stacked pumpkins.
Step One:
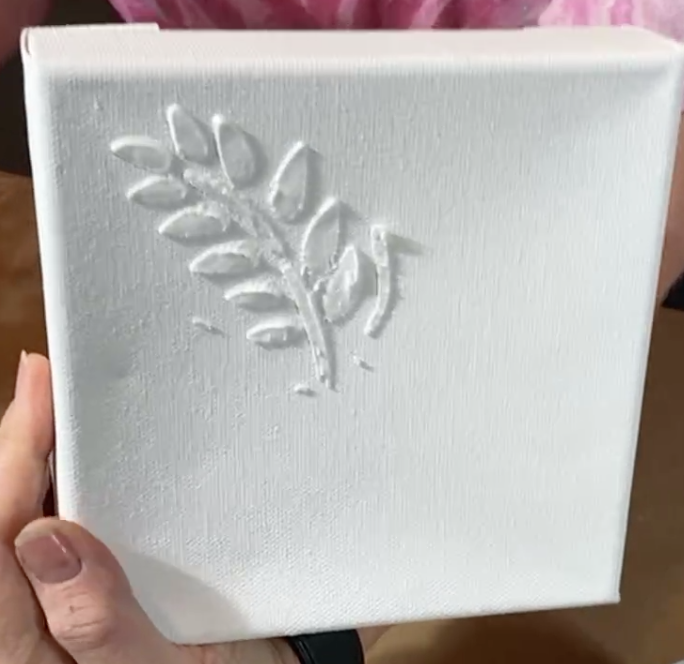
Add texture to the canvas by using Modeling Paste through a stencil of your choice using a palette knife. I chose a leaf stencil that reminded me of Fall.
Apply the paste through the stencil with a palette knife. Smooth it on like you were frosting a cake. Gently lift the stencil and wipe off any extra that you don’t want on your canvas. Allow the modeling paste to dry completely before going onto the next step.


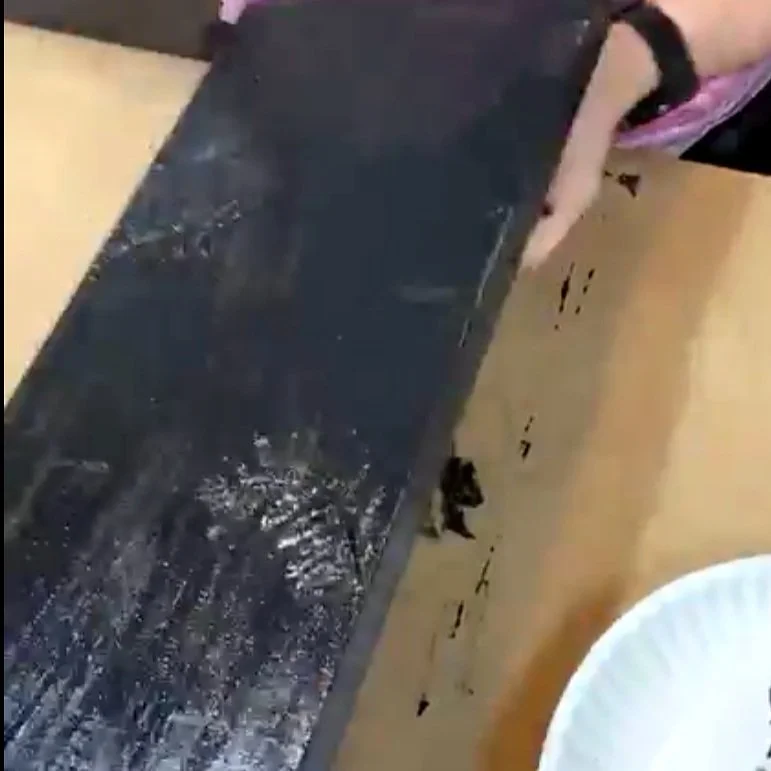
Step Two:
I painted the entire canvas black but you can use any color that you chose. I think that purple would look fabulous as well but since I was using so many bright colored pieces of scrapbook paper, I thought that they would show up better on a black background.
Allow the paint to dry before starting to glue the paper pieces.
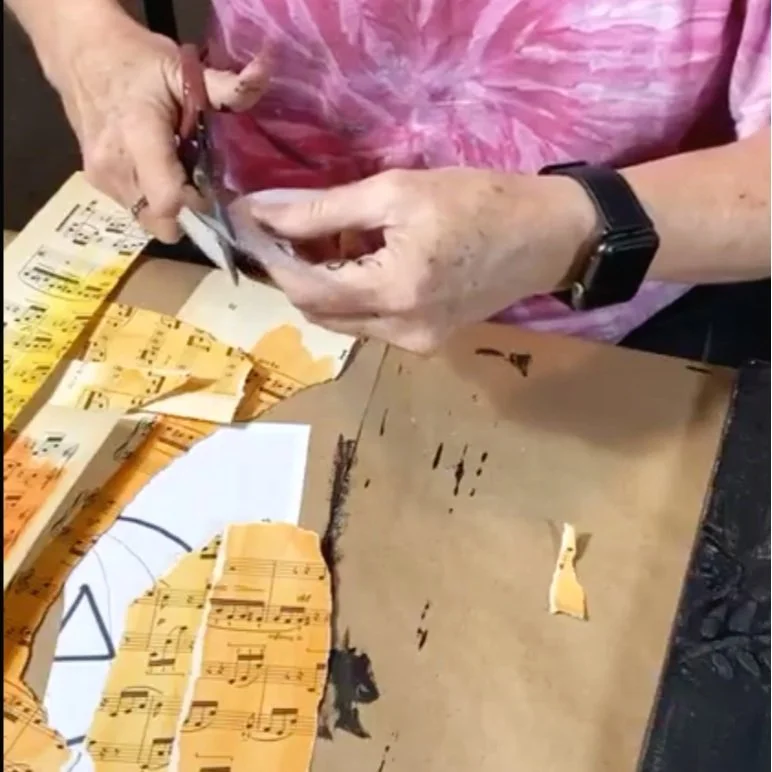
Step Three:
Using the template provided, cut out all the pieces from book paper or vintage music paper. I used watercolor on the music paper in orange for my bottom pumpkin. To the book paper, I added black that will be used for the eyes, nose and mouth on the top pumpkin.
I have a ton of 6” x 6” scrapbook paper pads and I just gathered the colors that I knew that I wanted to use. I chose to use bright colors but these stacked pumpkins would also look great with traditional Halloween colors of orange, yellow, purple and white on the black background.
Helpful Tip: Place all your paper pieces where you want them to go and take a photo to use as a reference when you begin to glue everything down.
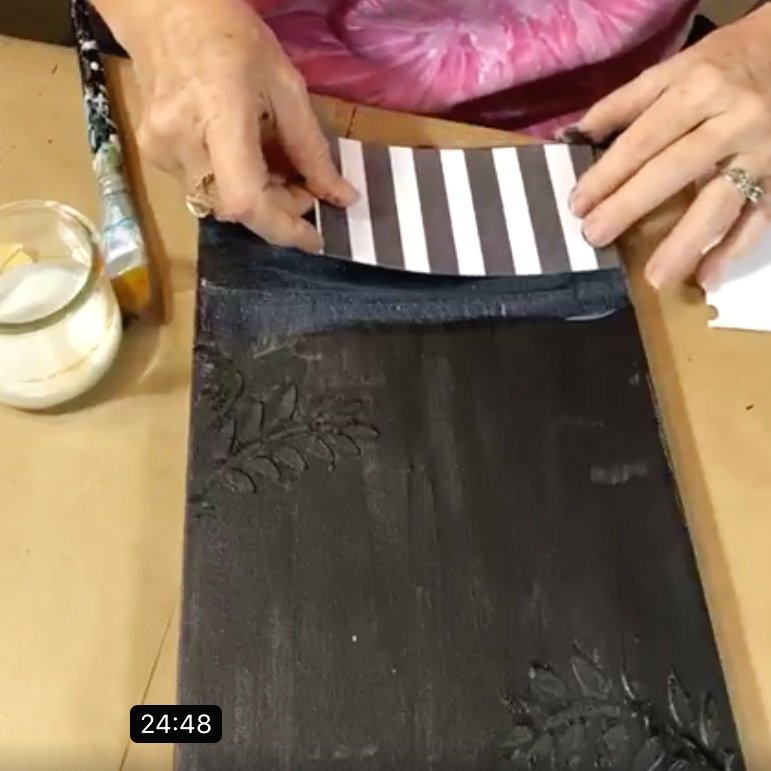


Step Four:
Using matte medium, start at the bottom of the canvas and work your way up. I found this cute black and white striped paper to use at the bottom…just so the pumpkins had something to stack upon.
Start by adding the bottom pumpkin. I used the orange watercolor vintage music paper for this pumpkin. Place the pieces where you want them and start with the outside section and work your way in. You want the middle section of the pumpkin to be on top.
If you want to add the fall leaves and swirls under the pumpkin, be sure and leave the area free before pressing everything down.
Helpful Tip: Add your matte medium or mod podge directly to the canvas and then to the back of your paper pieces. This way you are certain to have the whole area covered. Also, be sure and add a layer of medium over the top of each piece as well.
As you work on positioning the pumpkins, don't be afraid to overlap pieces or layer them to create depth and dimension. This mixed media technique allows you to bring your pumpkins to life on the canvas, making them appear three-dimensional.

Step Five:
For the middle pumpkin, I wanted to use different colors for the pumpkin sections. You could definitely just use one color.
Step Six:
Glue the top pumpkin onto the middle pumpkin. Then start adding the hat. Be sure and don’t press down on the top part of the paper, so that you can add the next hat piece under the first piece.


Step Seven:
Add the star and allow everything to dry before adding the facial pieces to the pumpkins.
Step Eight:
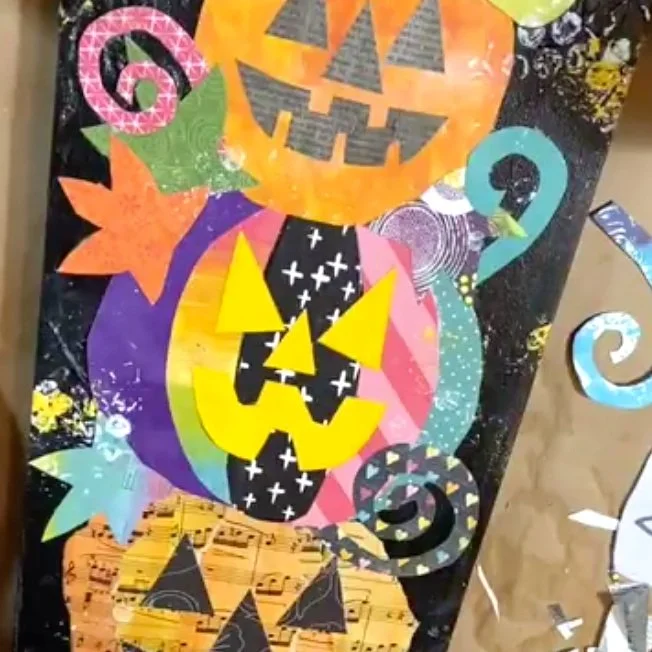
Once everything is dry, add all the facial pieces to the pumpkins and watch them come to life! For the top pumpkin, I watercolored book text with black. The middle pumpkin, I used yellow scrapbooking paper. The bottom pumpkin is black patterned scrapbook paper.
Step Nine:
You can add the leaves and swirls while you are gluing down the pumpkin pieces or wait until the end and trim them so that they will fit. You can also use spiders, fabric scraps or ribbon.
Step Ten:
Once everything was dry, I added highlights to each pumpkin with either a black or white Posca pen.
To add shading to each piece, I used a Faber Castel Big Brush Marker. All you need to do is, add some marker and with your finger smeared it where you want the marker to go. The marker will only smear if you have applied a top coat of the matte medium. This technique just gives you more control over how much shading you are adding.
If desired, you can include additional elements like stencils, stamps, or markers to personalize your artwork even further. I used bubble wrap like a stamp and adding dots in acrylic paint in white, yellow and orange.

Incorporating unique and artistic elements into your Halloween decor can transform your space from ordinary to extraordinary. With a Mixed Media Stacked Pumpkin Canvas crafted through paper piecing, you can captivate your guests and create a truly memorable atmosphere. As you proudly display your masterpiece, your guests will be in awe of the intricate details and the innovative approach you took. Remember, Halloween is the time to embrace the unusual and the imaginative, so why settle for the same old decorations when you can create something truly remarkable?
Happy Halloween!
