How to decorate for the 4th of july...quick and easy


Are you hosting a 4th of July party and need a few last minute easy craft projects? I’ve got a few projects for you! Be sure and check out my earlier post “Hooray, for the Red, White and Blue!” for other ideas.
Patriotic Candles
I have a ton of Patriotic napkins in my craft stash and I decided that a few would look great on a candle. I purchased 3 white candles from Walmart. You can also use LED candles that are wax based not plastic.
All you need is a Patriotic Napkin, scissors a heat gun (or hair dryer) and a piece of wax paper.
First thing you need to do is cut out your image that you want to add to your candle. Remove all the extra plys of the napkin and place it on the candle where you want it and cover the image with a sheet of wax paper. (Helpful Hint: It is easier to cut the napkin first before you remove the extra ply of napkin)
Using your heat gun or blow dryer, go over the image carefully making sure that you don’t get the candle so hot that it begins melts. Basically, you are melting the napkin image onto the candle. You want to make sure that all of the napkin image get’s melted into the candle. You can tell when it’s melted…it’s a lot like using embossing powder.


Can you believe that those candles are made with napkins? It’s really amazing how great they turned out!
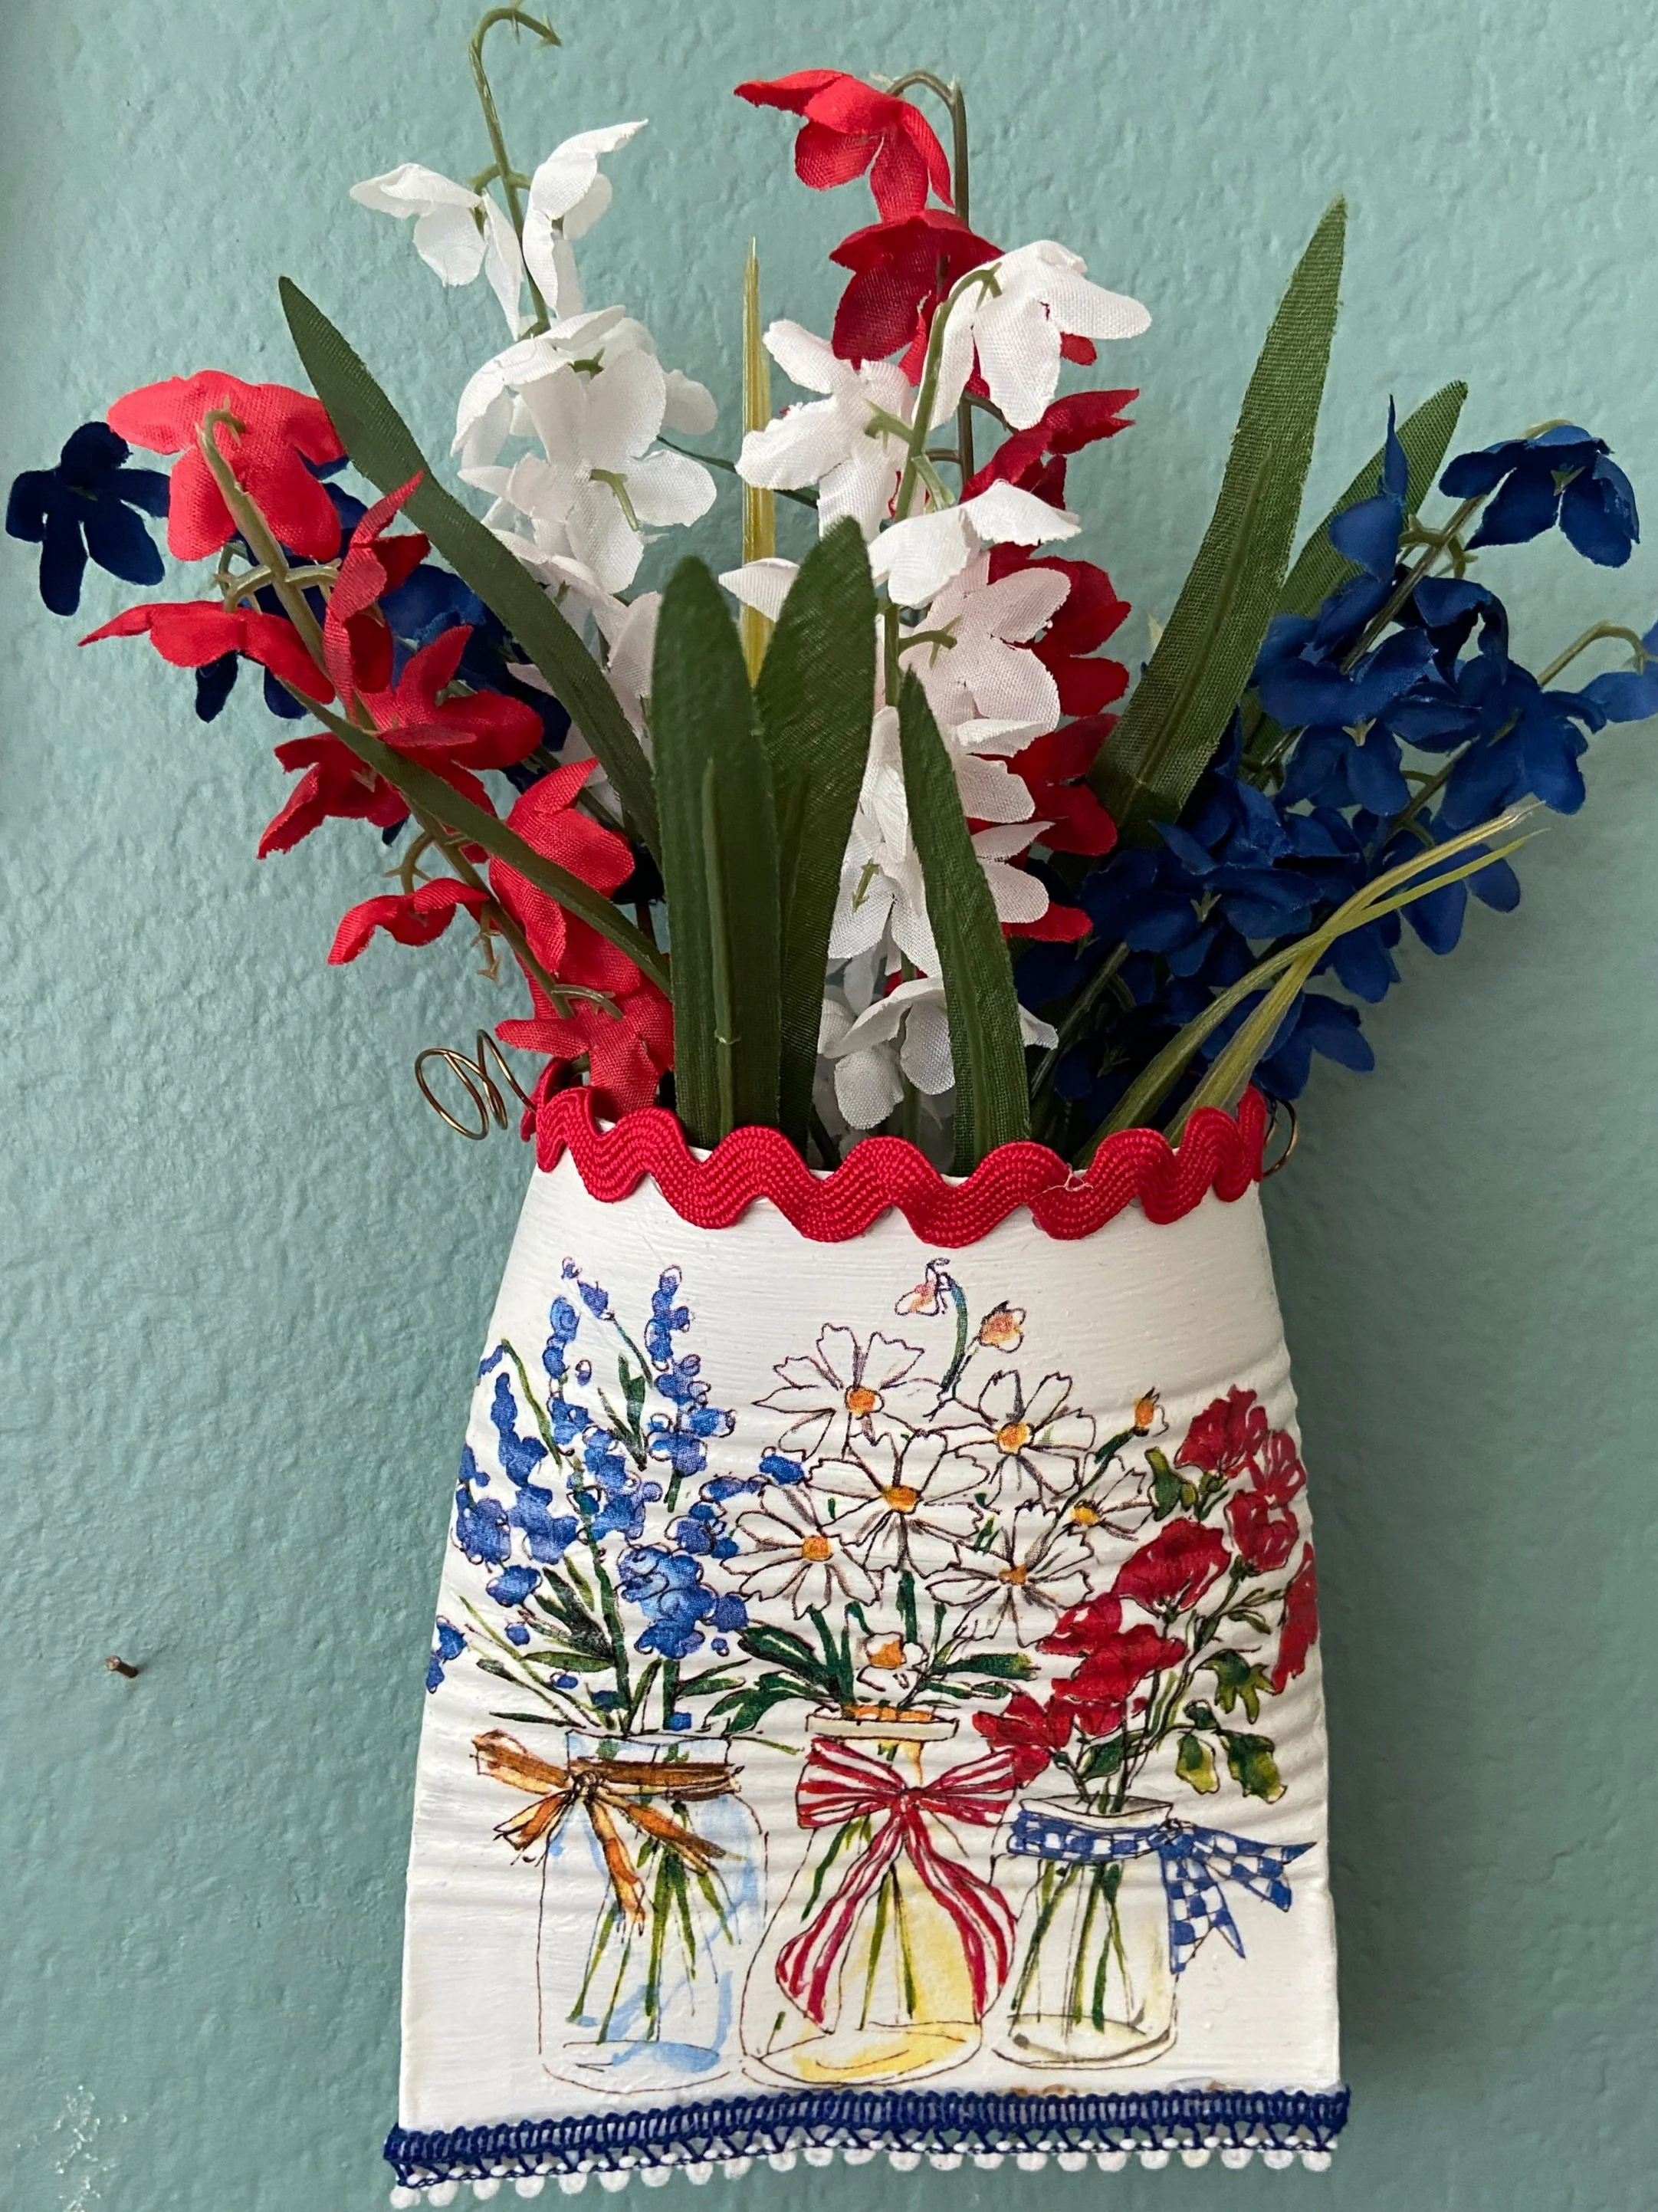
Tin Can Baskets
Are you having any can vegetables tonight for dinner? Be sure and save those tin cans. They make a great hanging basket that can be used as decor or maybe as a gift for each guest.
Peel off the label and clean thoroughly. You don’t even have to worry about getting that small strip of adhesive because you are going to cover it up with paint.
You need to cut the bottom of the can off as well. Basically you now have a tube.
Take a hammer and pinch the bottom of the can together. I placed my can on a small piece of wood and just hammered out my frustrations!!!
The next step is to paint your can. I used Rustoleum White Chalk Paint that I purchased from Amazon and I gave it two coats. This quart size chalk paint is a great bargain!
Cut out your image from a napkin and remove the extra plys. (Helpful Hint: It’s easier to cut out your image first before you remove the extra plys)
Apply mod podge to your can and glue the napkin to the tin can. I use a bristle brush or chip brush to pounce the napkin into all the ridges of the can.
When it’s dry, add a top layer of mod podge.
I used a We Are Memory Keepers Hole Punch to punch a hole on the sides and added wire to make a hanger. You can add flowers or use your basket for pens, pencils or whatever you’d like. My sister-in-law uses hers to store her small glue sticks, so she always knows where they are.
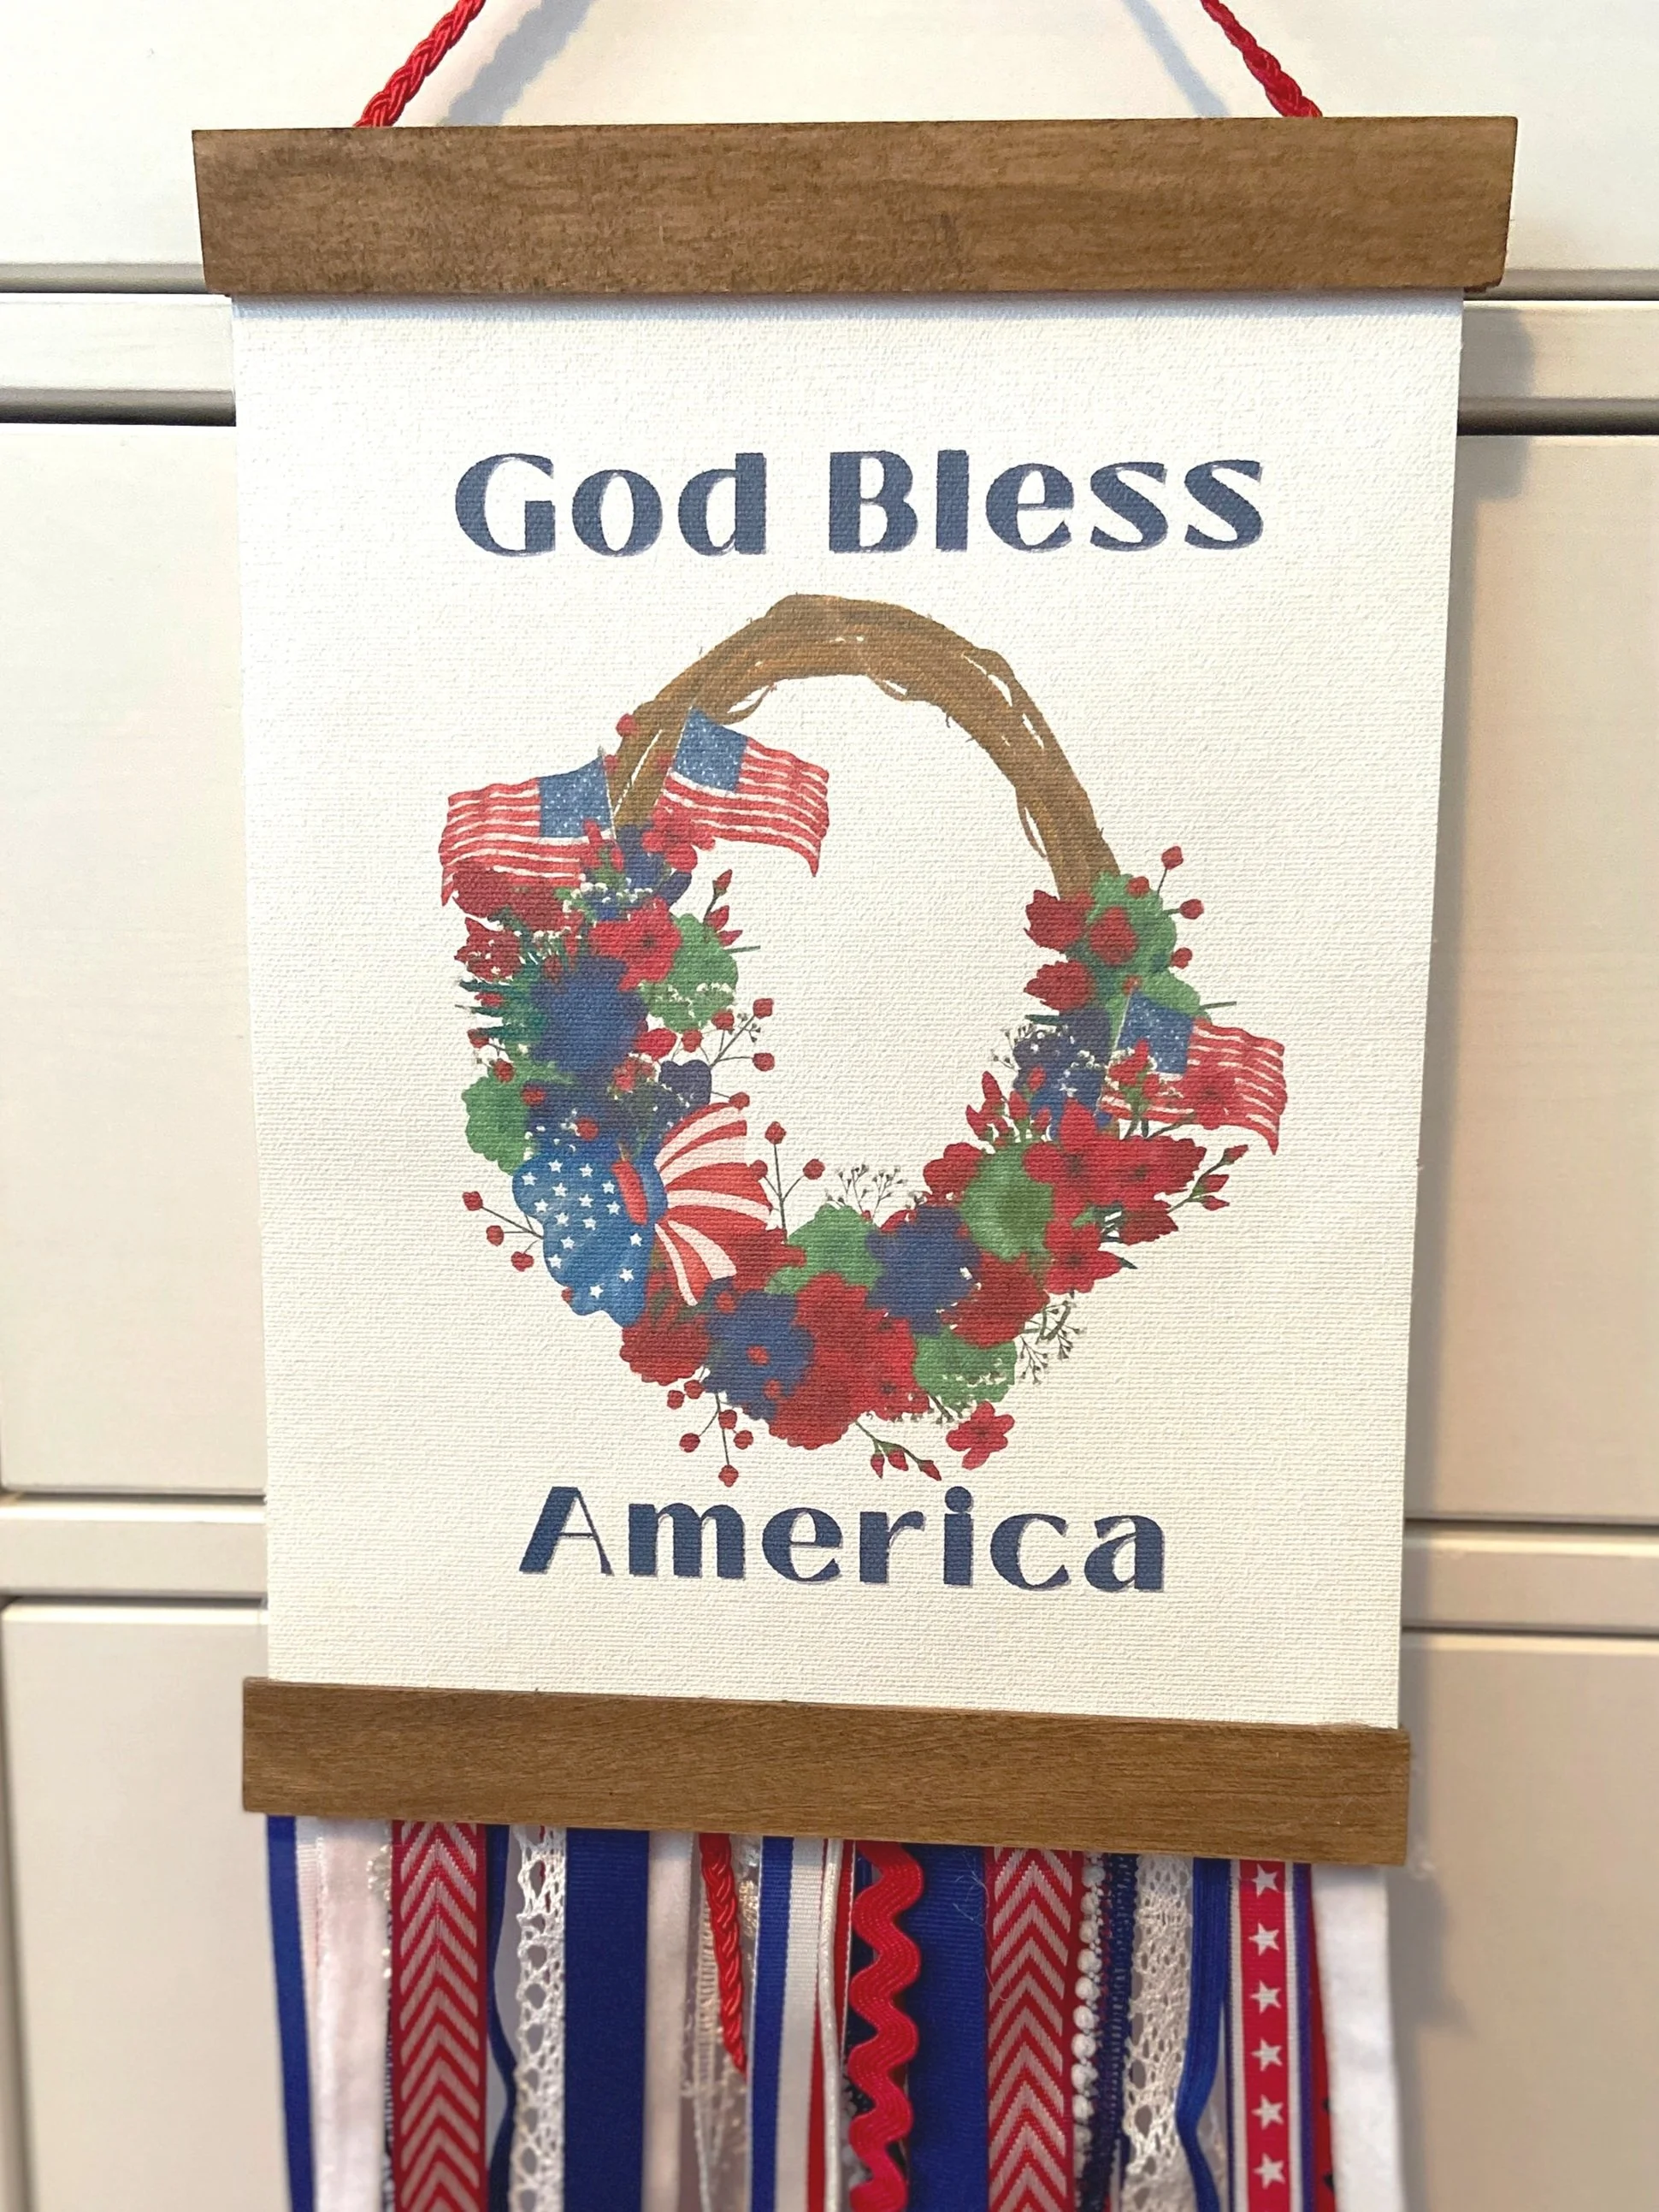
God Bless America Banner
Check out the “God Bless America” printable that I have in my FREEBIES section.
I printed this image on a sheet of canvas that I purchased from Amazon.
I just ran it through my printer and added a spray of Clear Coat, Fixative or Varnish to make sure that if the image got wet it wouldn’t bleed. Trim your canvas to 8 1/4” x 11”.
I trimmed (4) 10” paint sticks to 8 1/2” each. Paint or stain the sticks to your desired color.
Hot glue the paint sticks to the top and bottom of the canvas and then add them to the back. Basically, you are making a sandwich with the paint sticks at the top and bottom of your banner.
Add a layer of ribbons at the bottom and trim to approximately the same size.
Last thing to do is add a jute rope or wood bead hanger to the top and you are ready to display your “God Bless America” banner.
I hope that you’ve enjoyed these patriotic crafts and be sure and post pictures on my Facebook site. I’d love to see your projects!